
Difficulty
Mechanical: Easy
Coding and Electrical: Basic
Construction: Medium
This traditional mini-golf structure adds impact and movement to your course.

If you like building and are new to electronics, this is your project. The windmill is a structure that converts wind energy into a rotational energy using blades or sails. The term windmill specifically refers to milling gain but the term can be extended to wind pumps and other turbine based systems.
The Body
The body can be as simple as a box with a tunnel. It also offers plenty of opportunity to add design and bling. In this example we make a quick body out of the existing box’s structure.
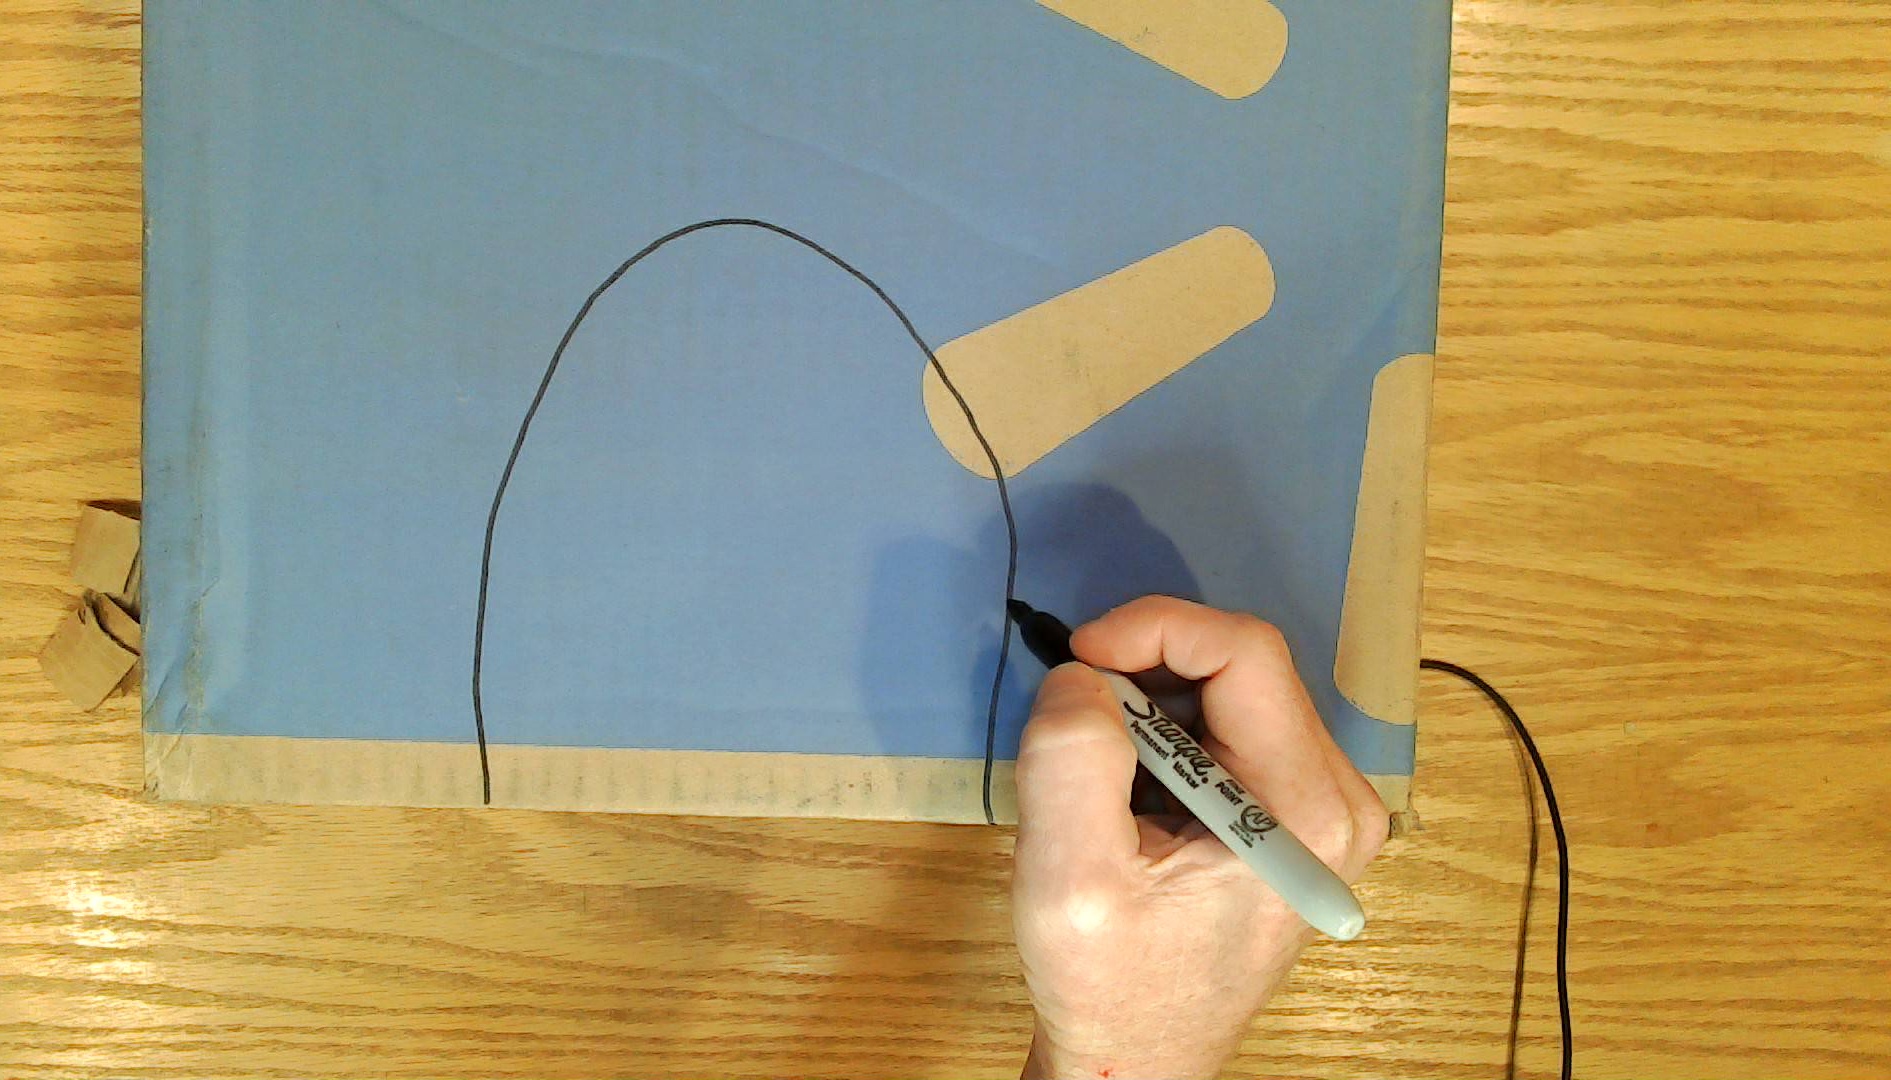
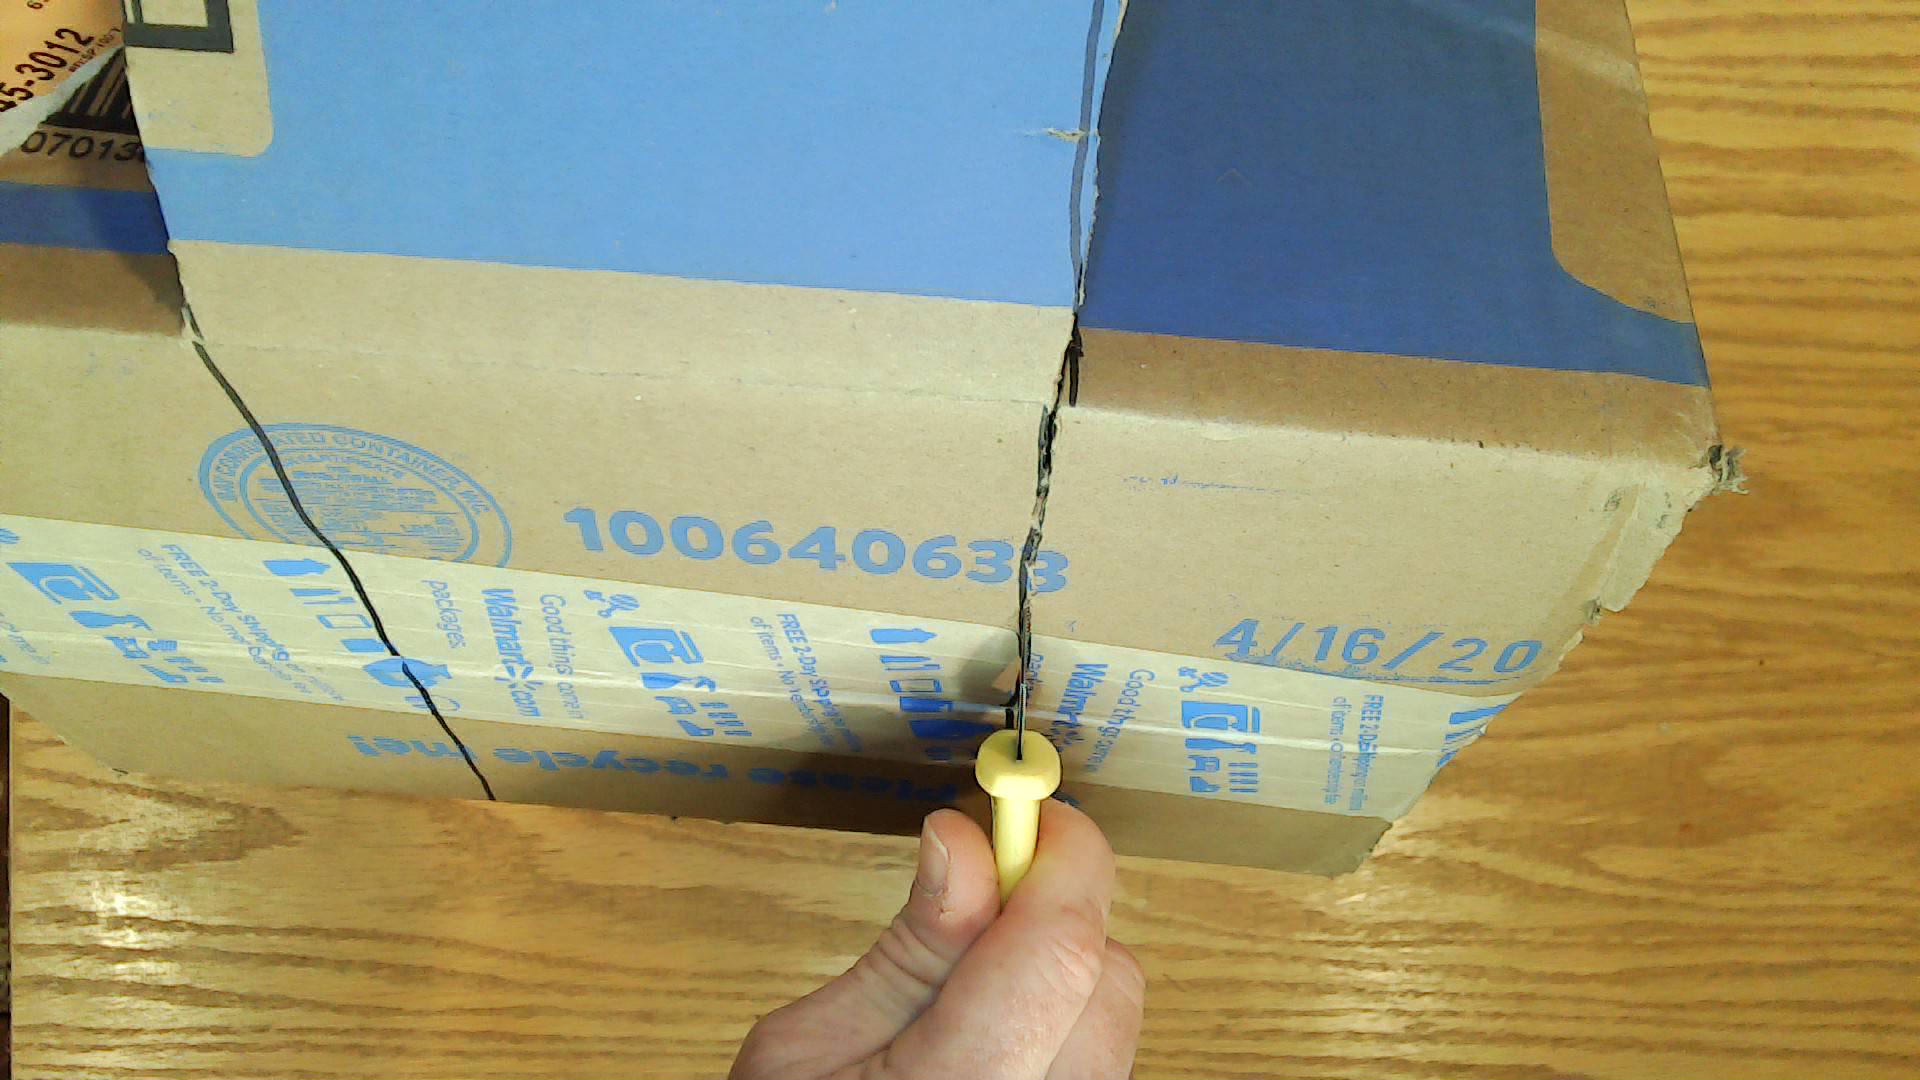
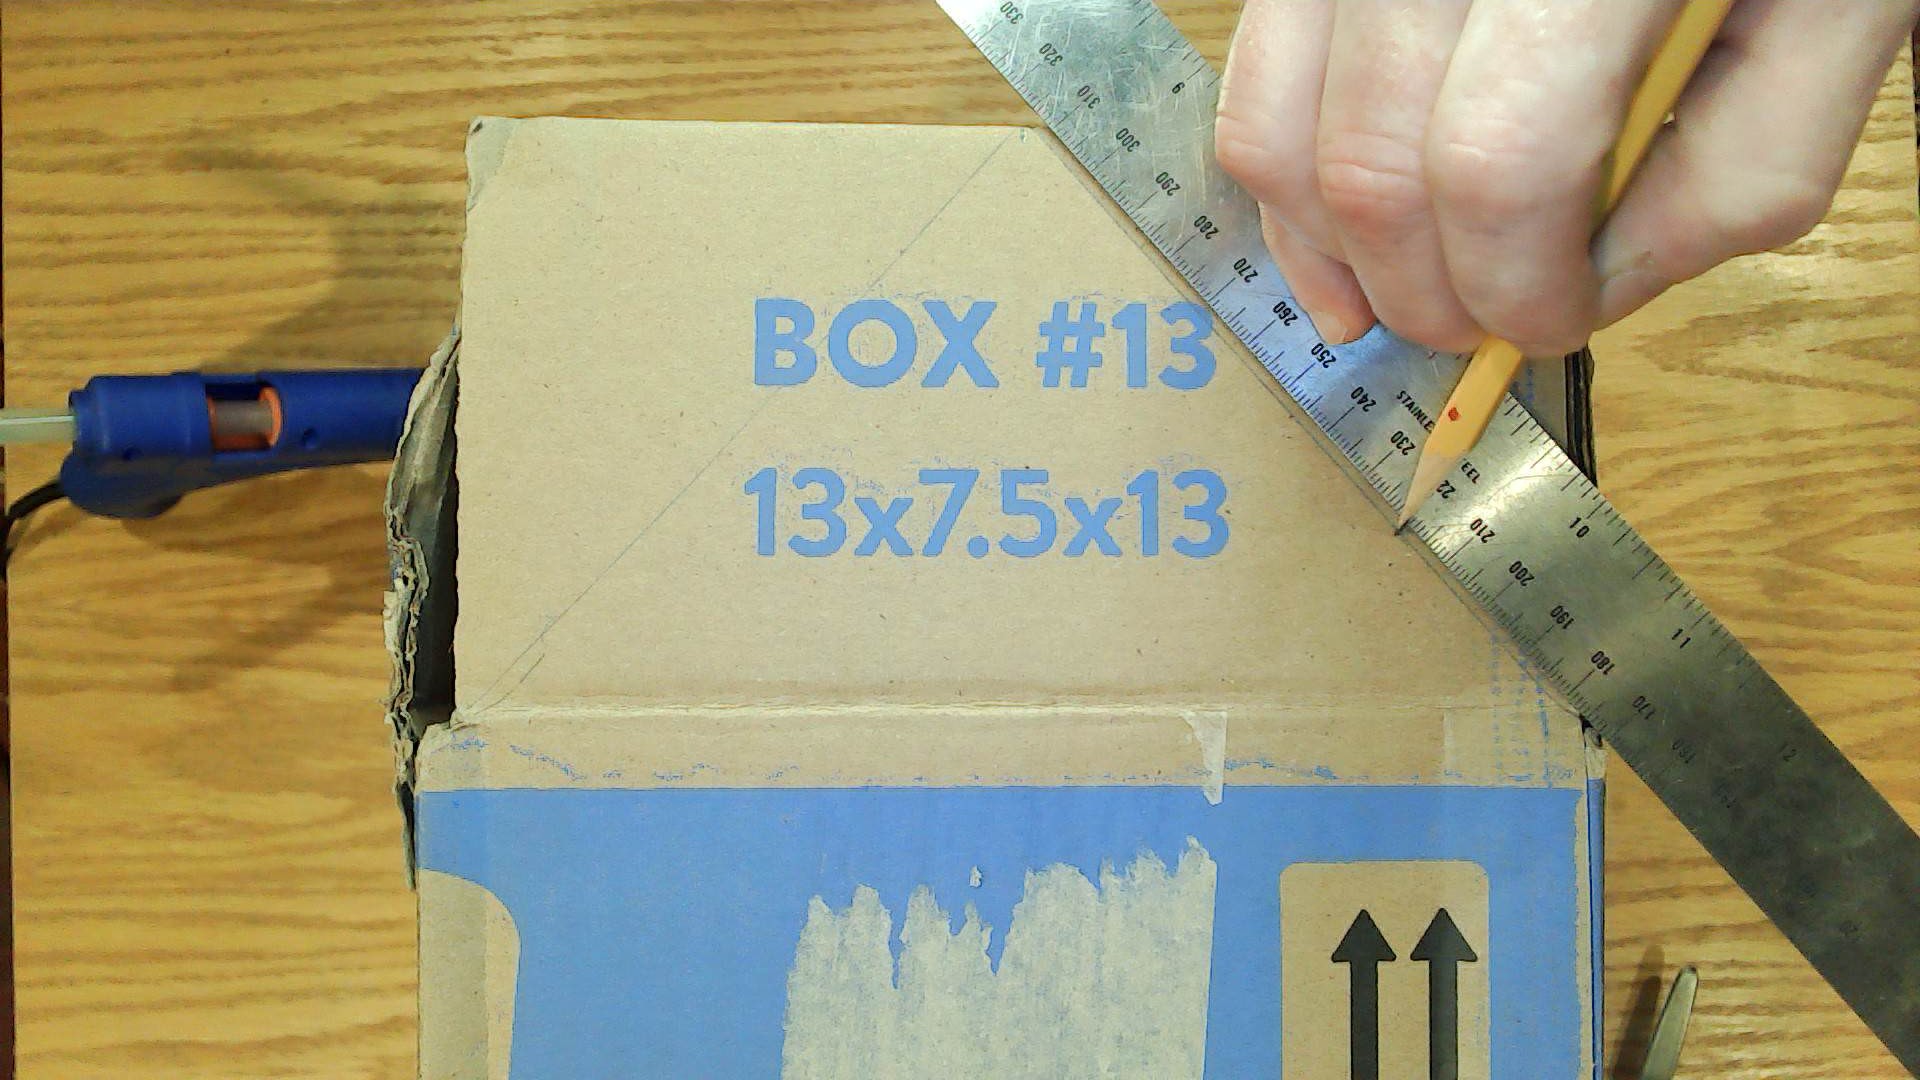
Take any existing box and tape it closed on all sides
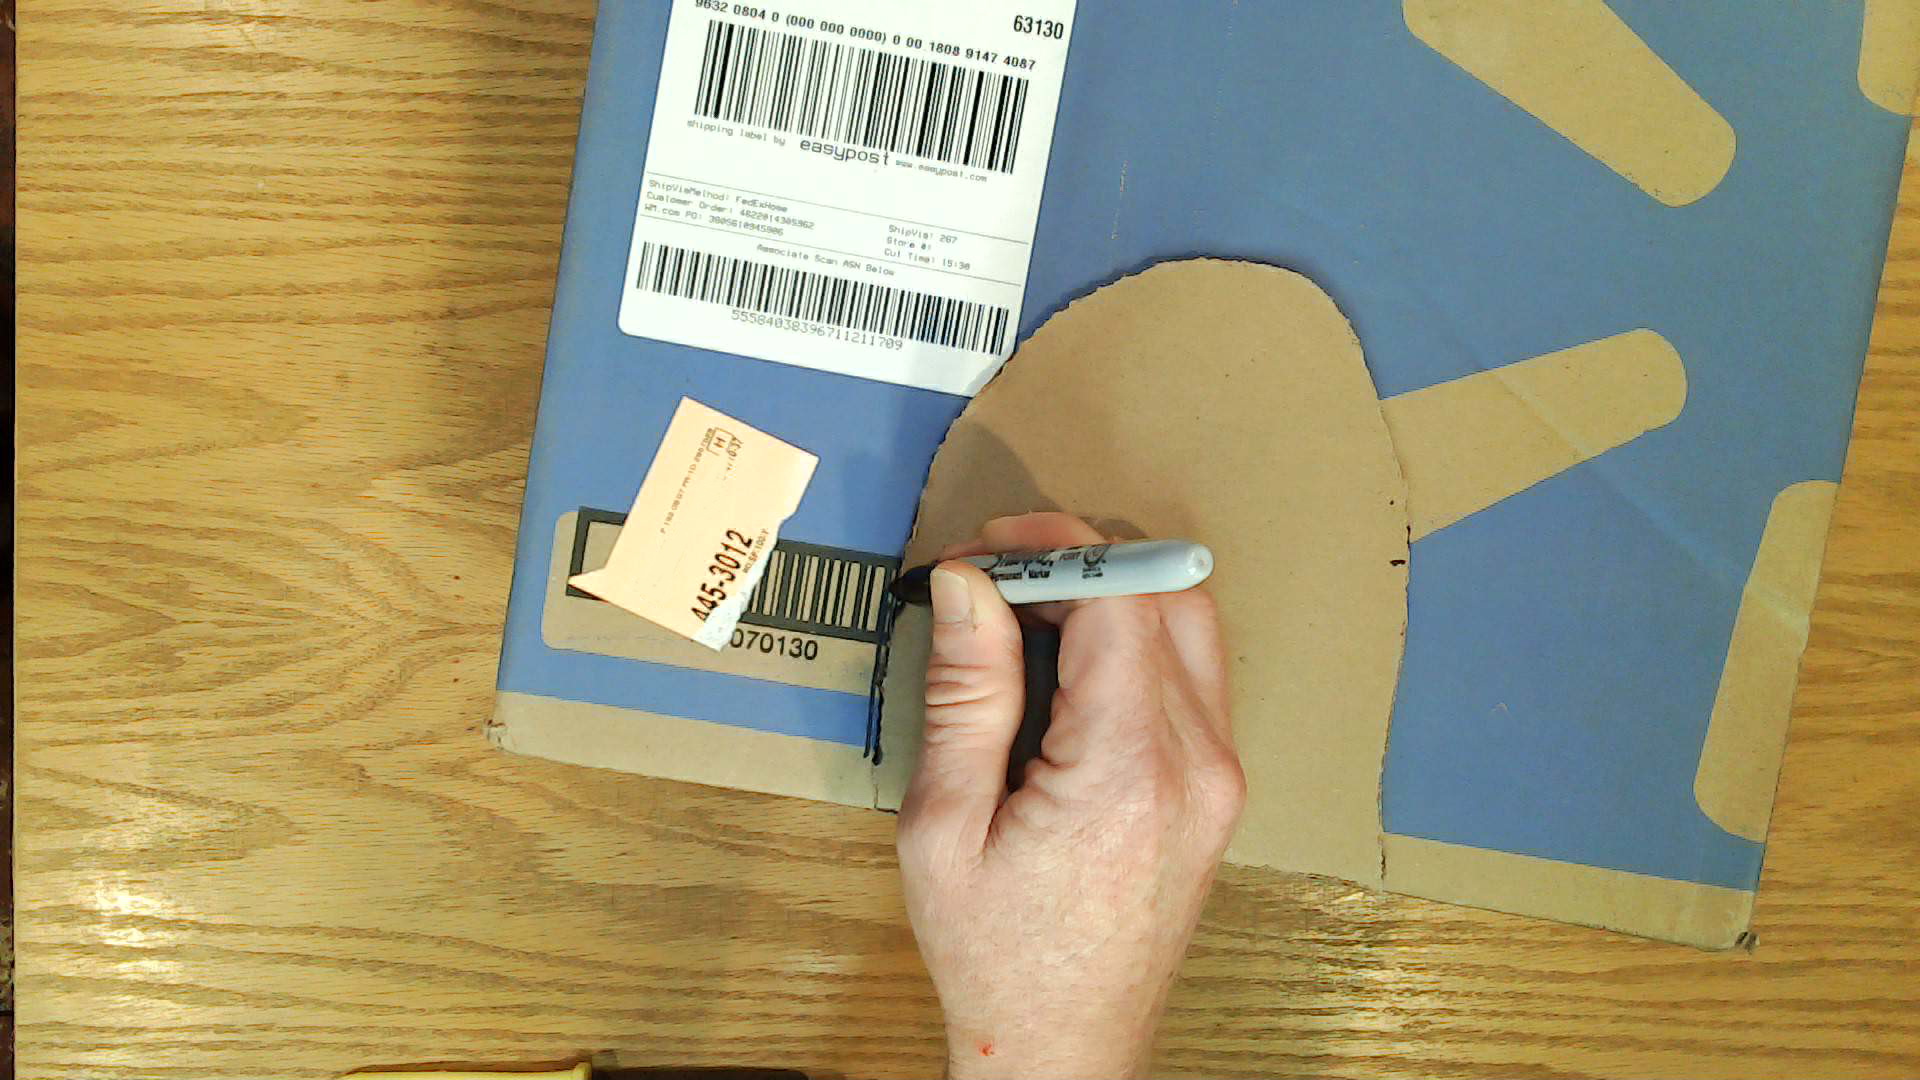
Draw a tunnel hole on any side
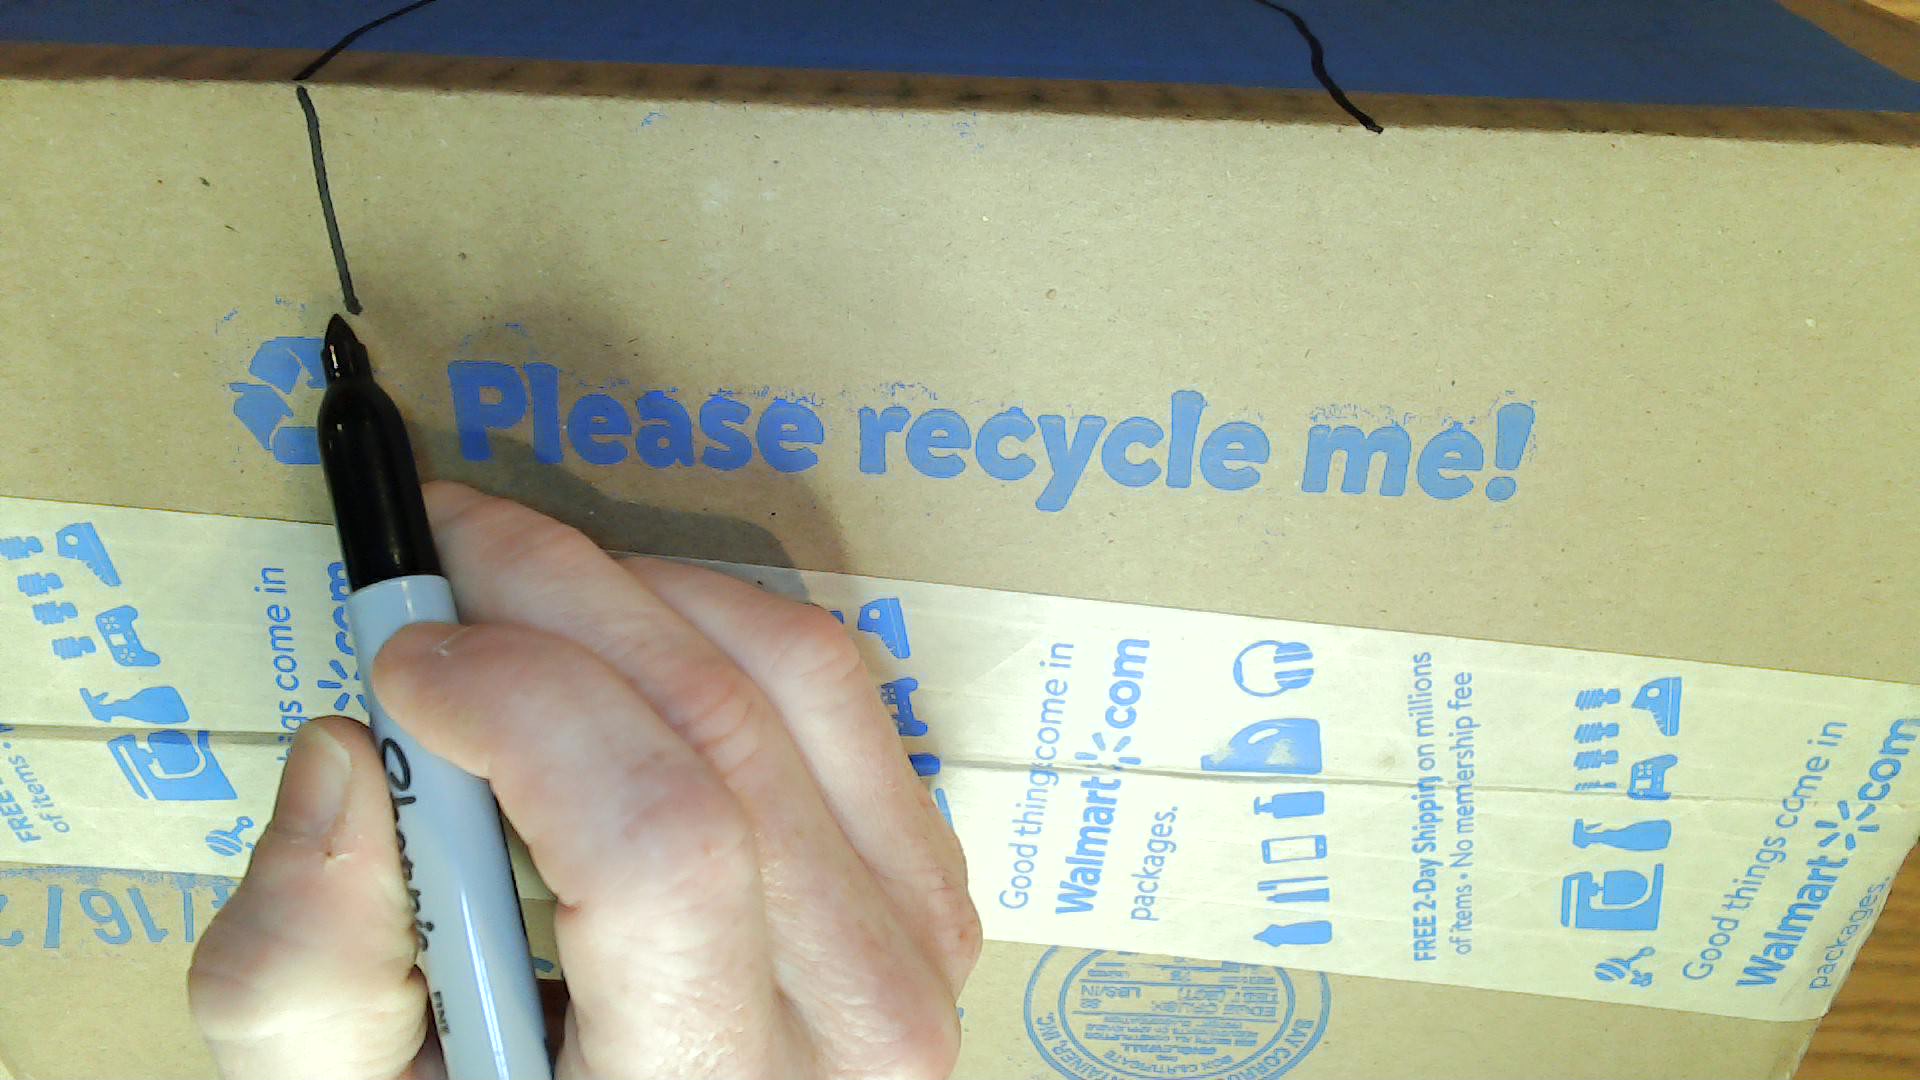
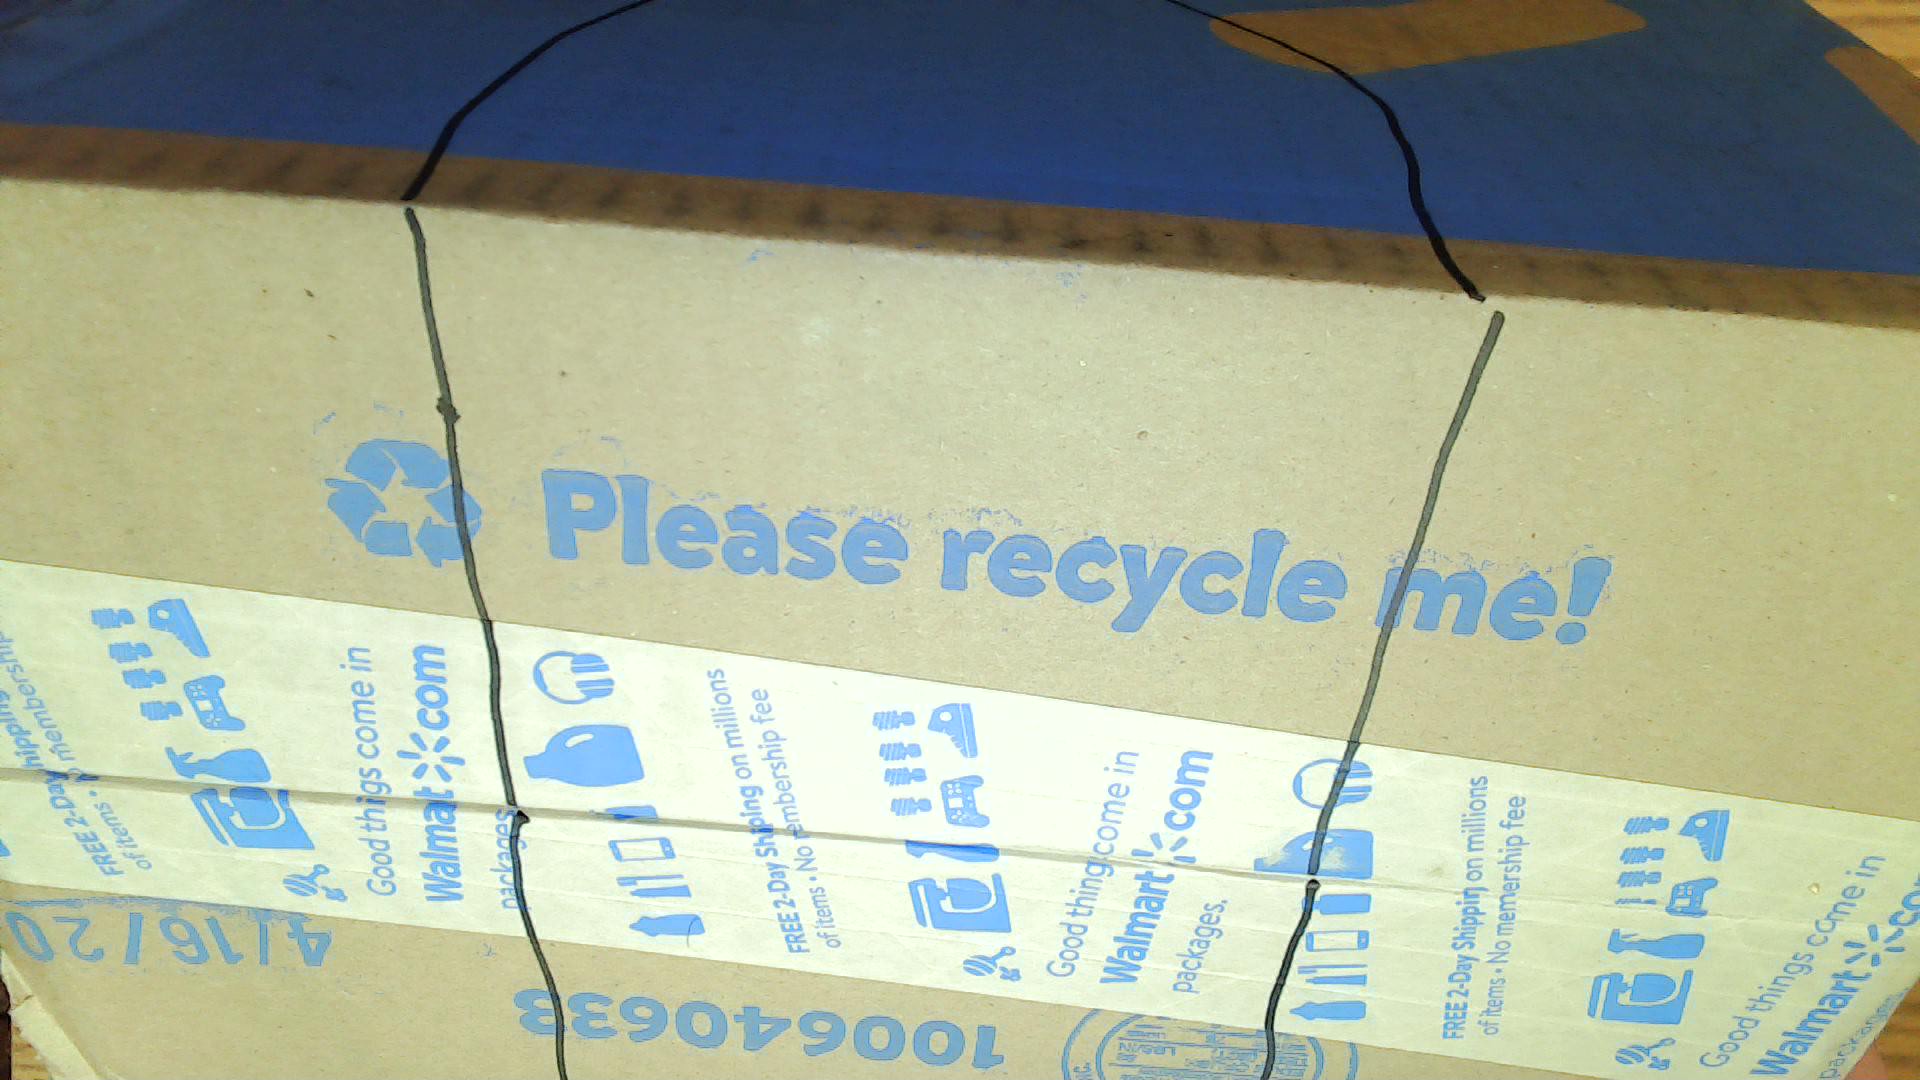
Draw straight lines on the bottom of the box from both edges of the tunnel hole to the other side of the box. This will mark the edges of bottom of the other side’s tunnel hole
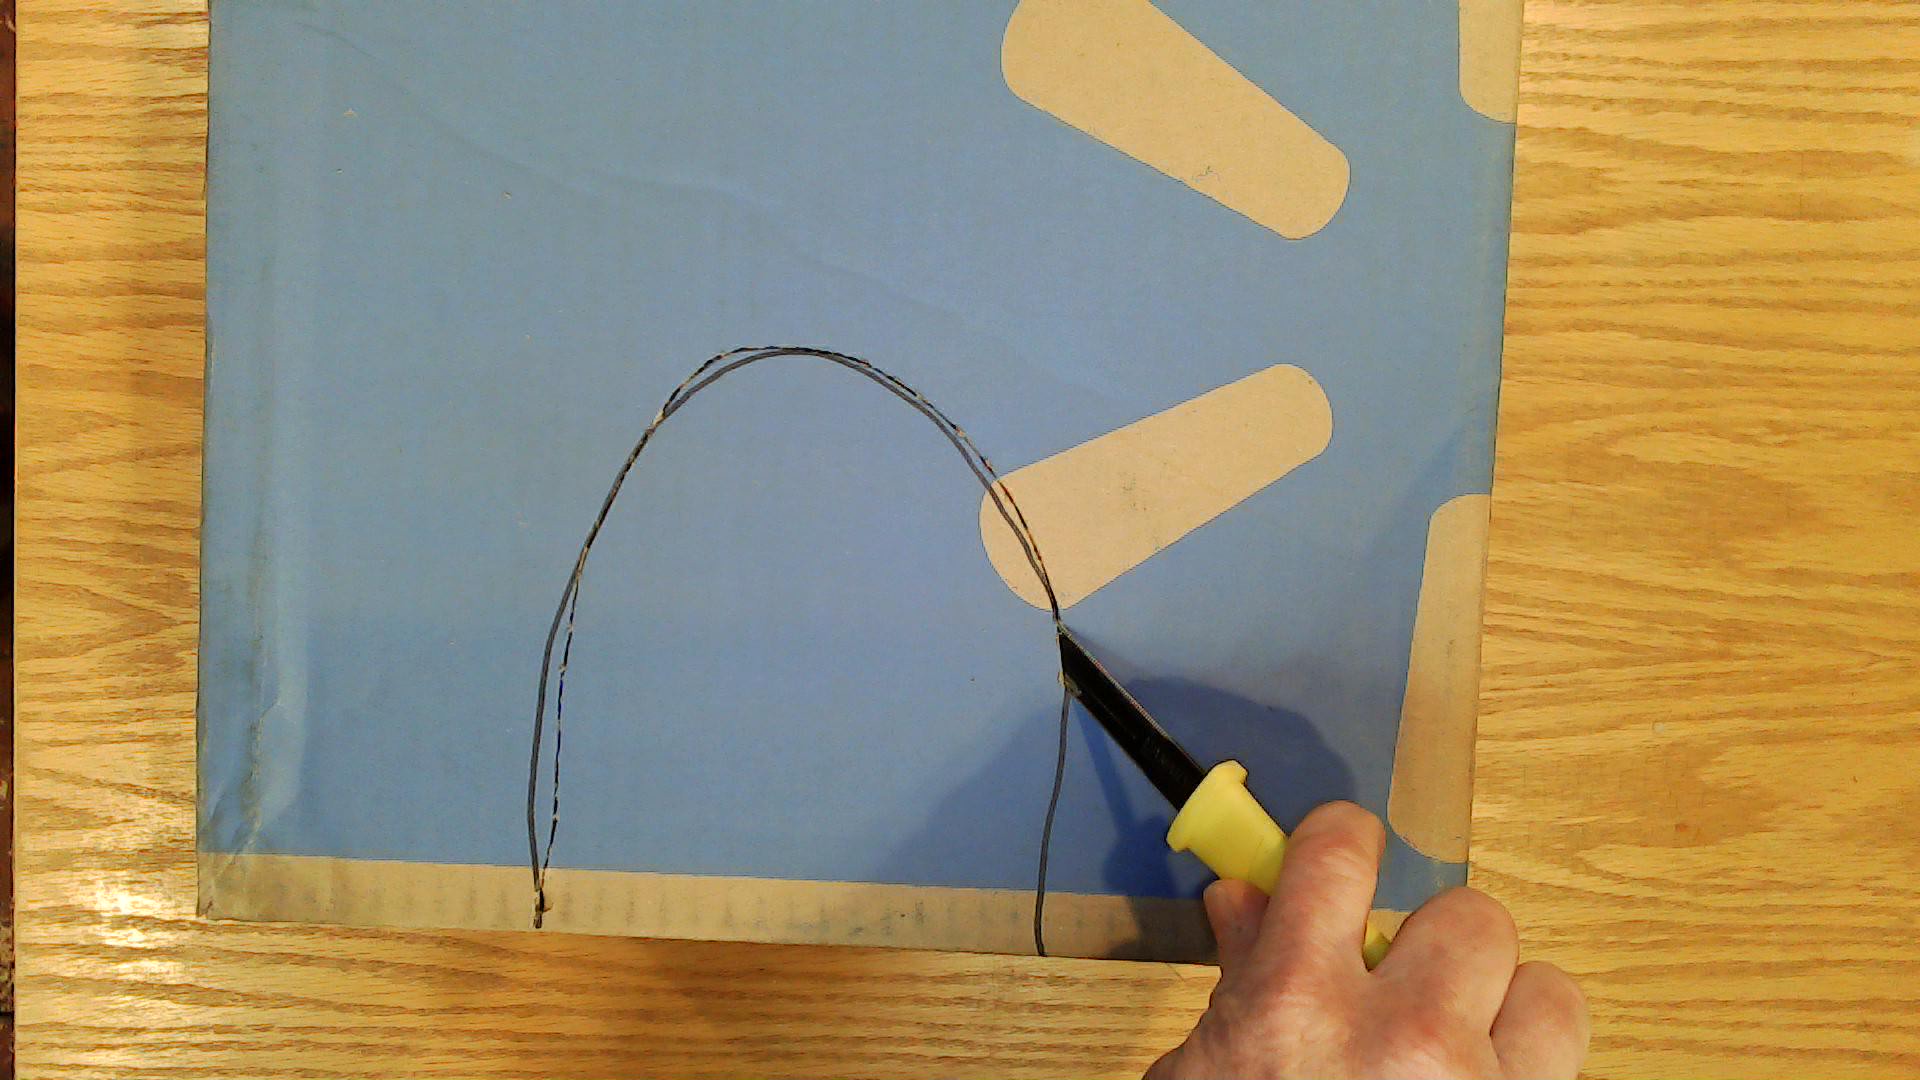
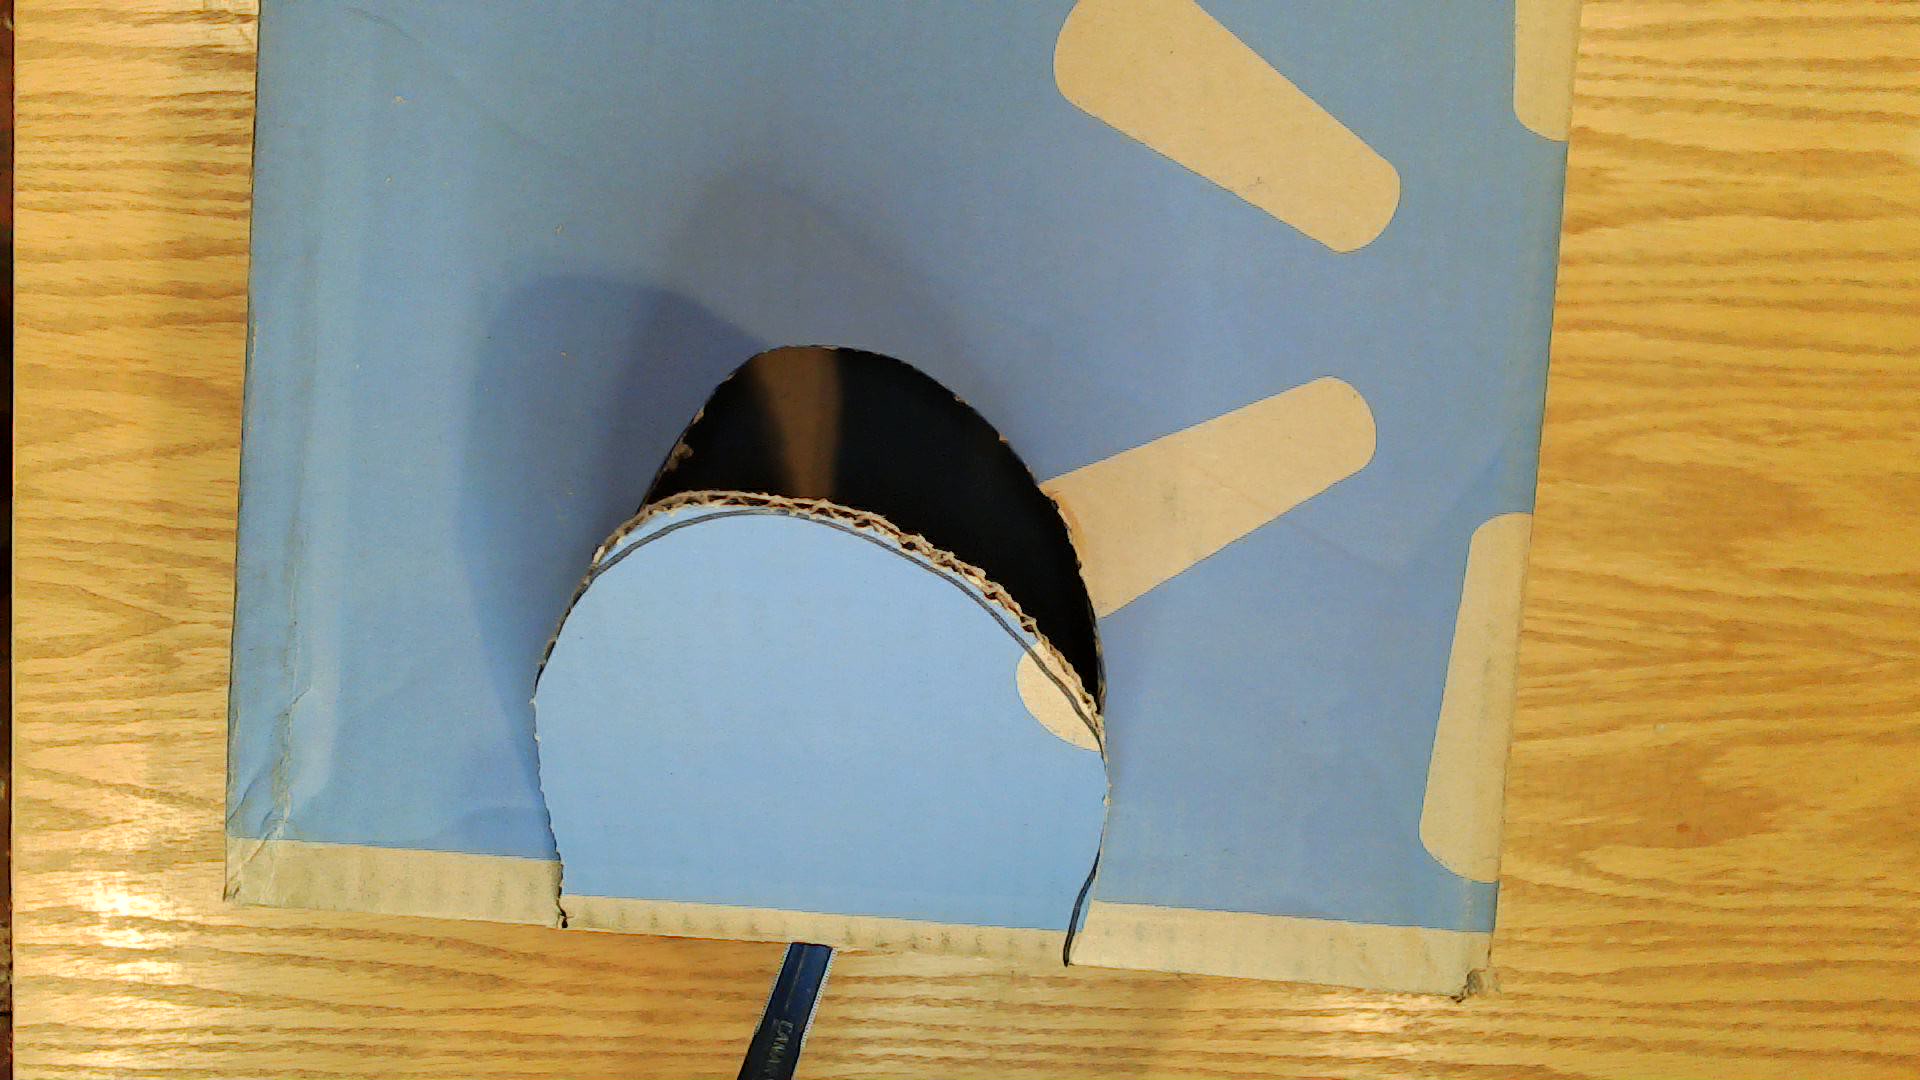
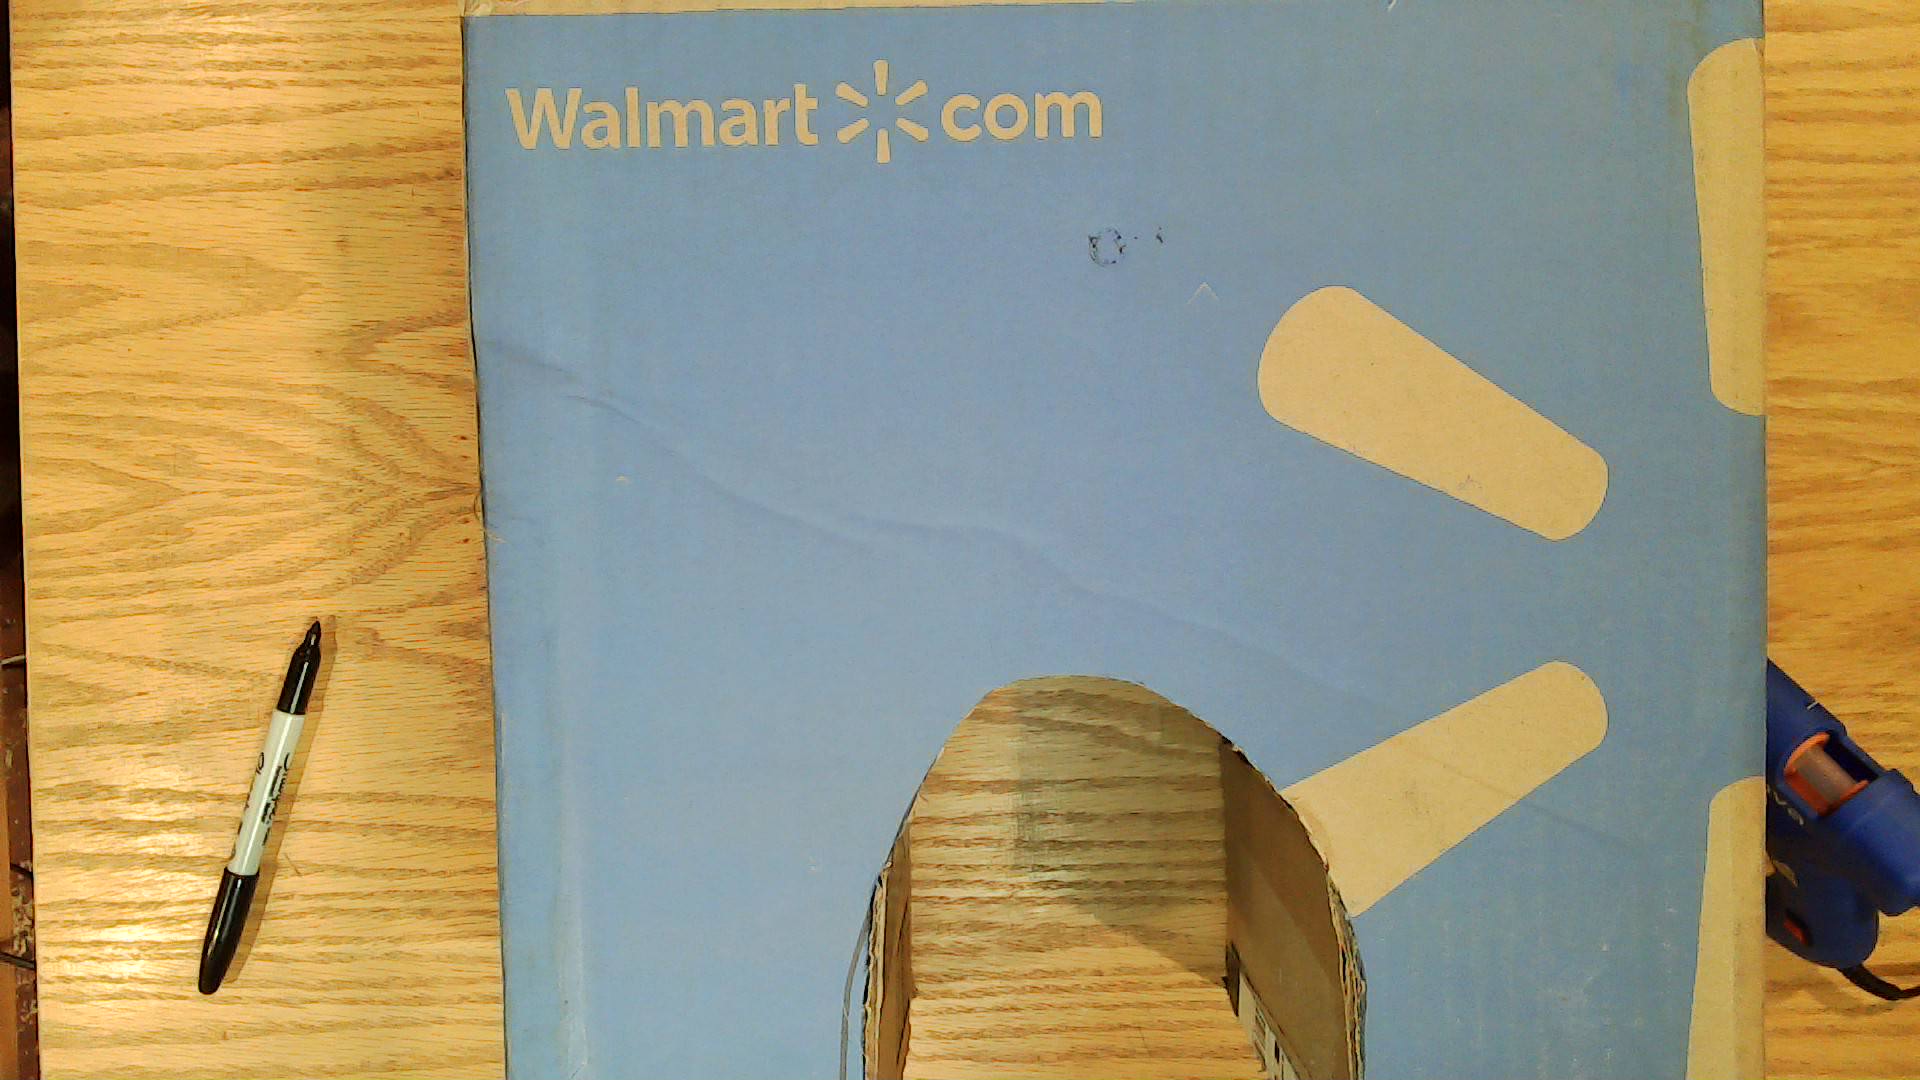
Cut out the first tunnel hole

Use the cut out from the first side as a stencil for the opposite side. Line the stencil up with the lines that you drew across the bottom. Mark the tunnel and cut it out
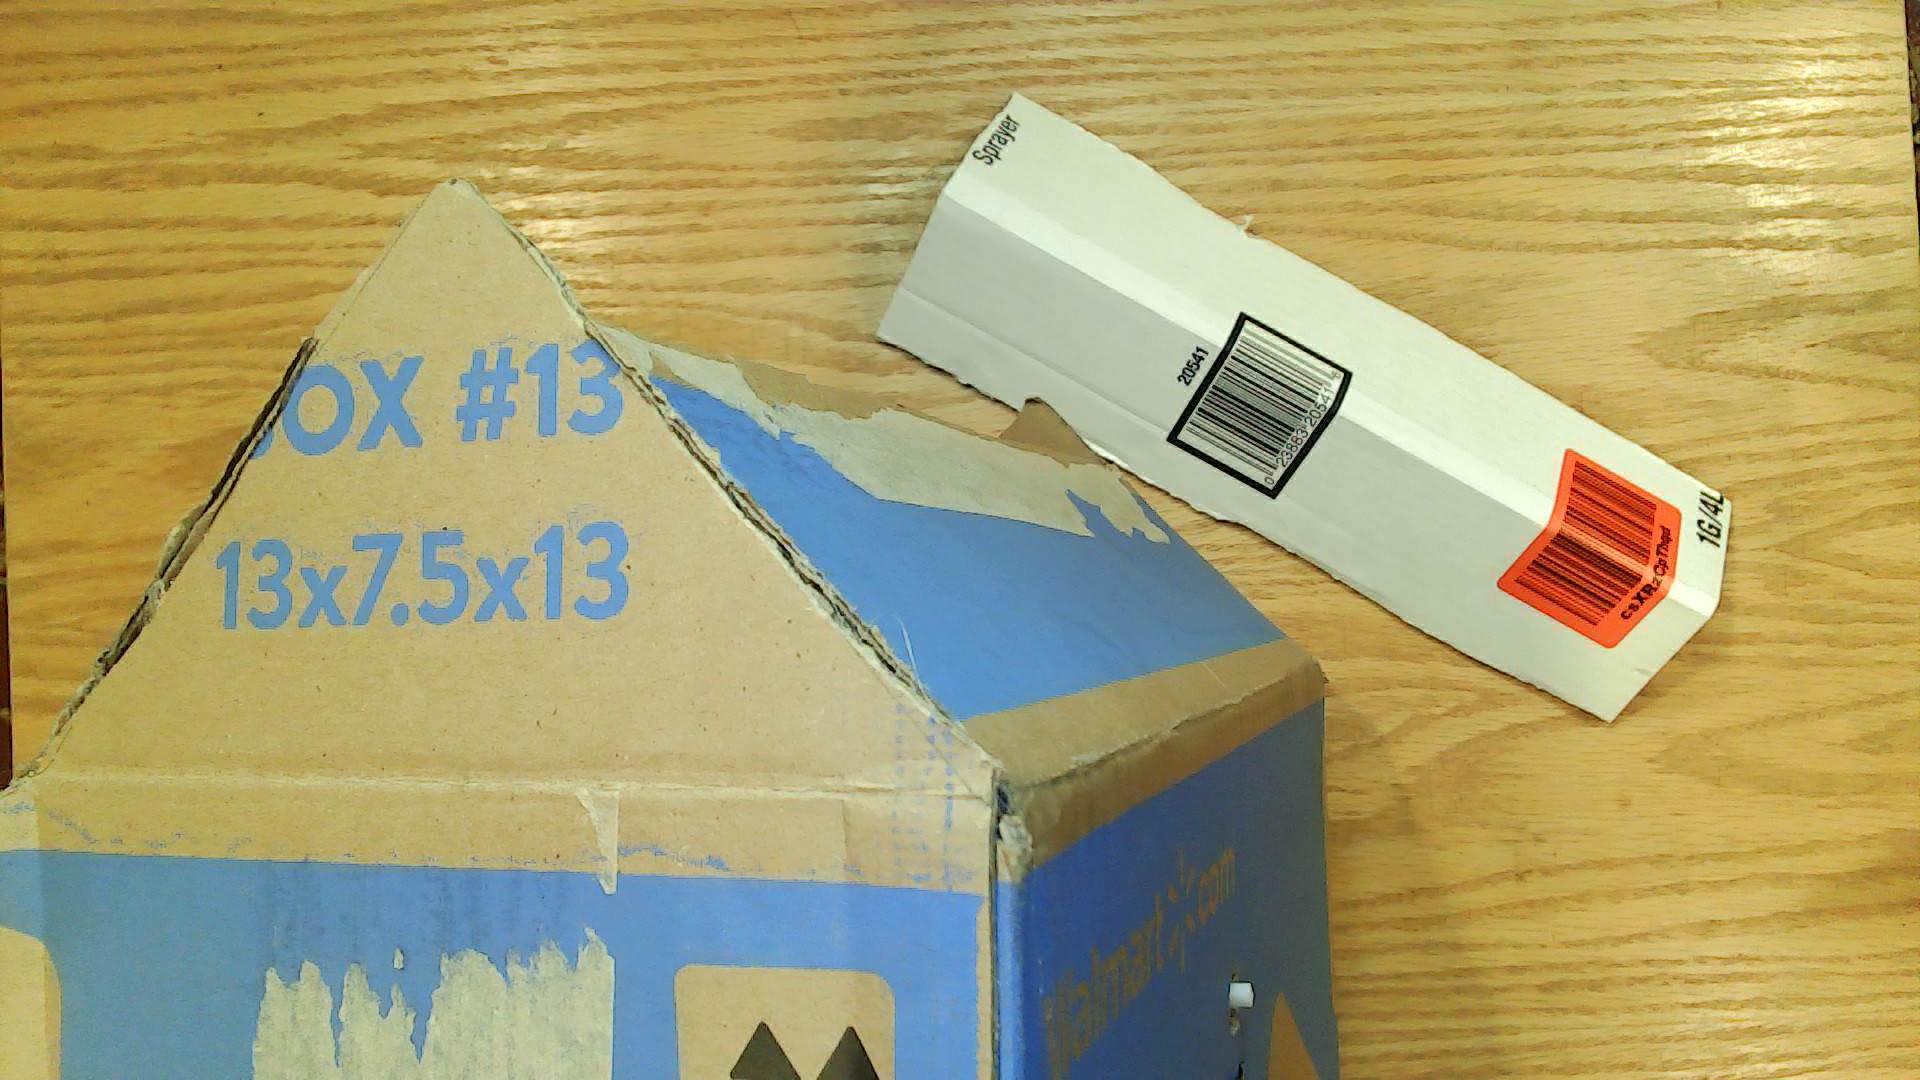
Cut the bottom portion out

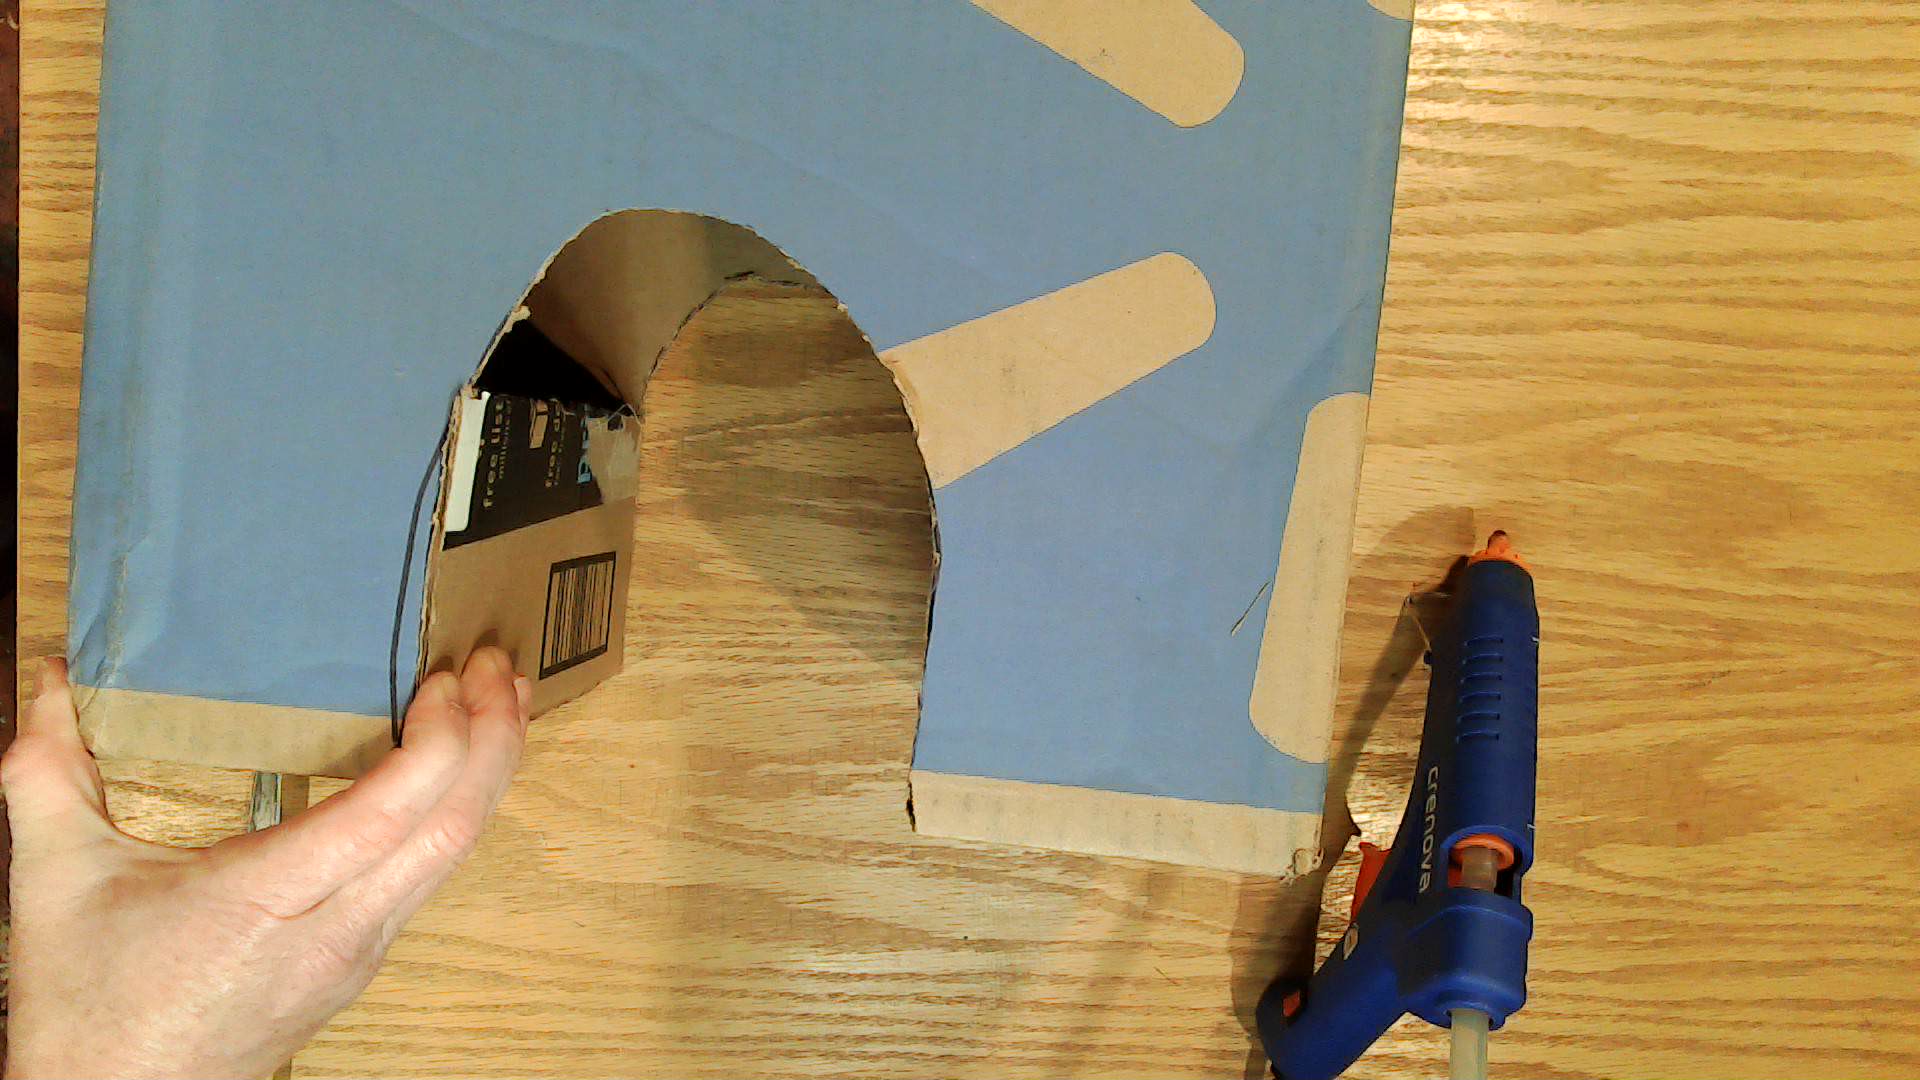
Make it a tunnel!
You now have a hole cut into your box. Add sides to the passage to turn the hole into a tunnel. It will also keep the ball from getting trapped in the box.
Making The Blades
We are going to use 4 fan blades. You could use 2, just make sure your blades cover the tunnel
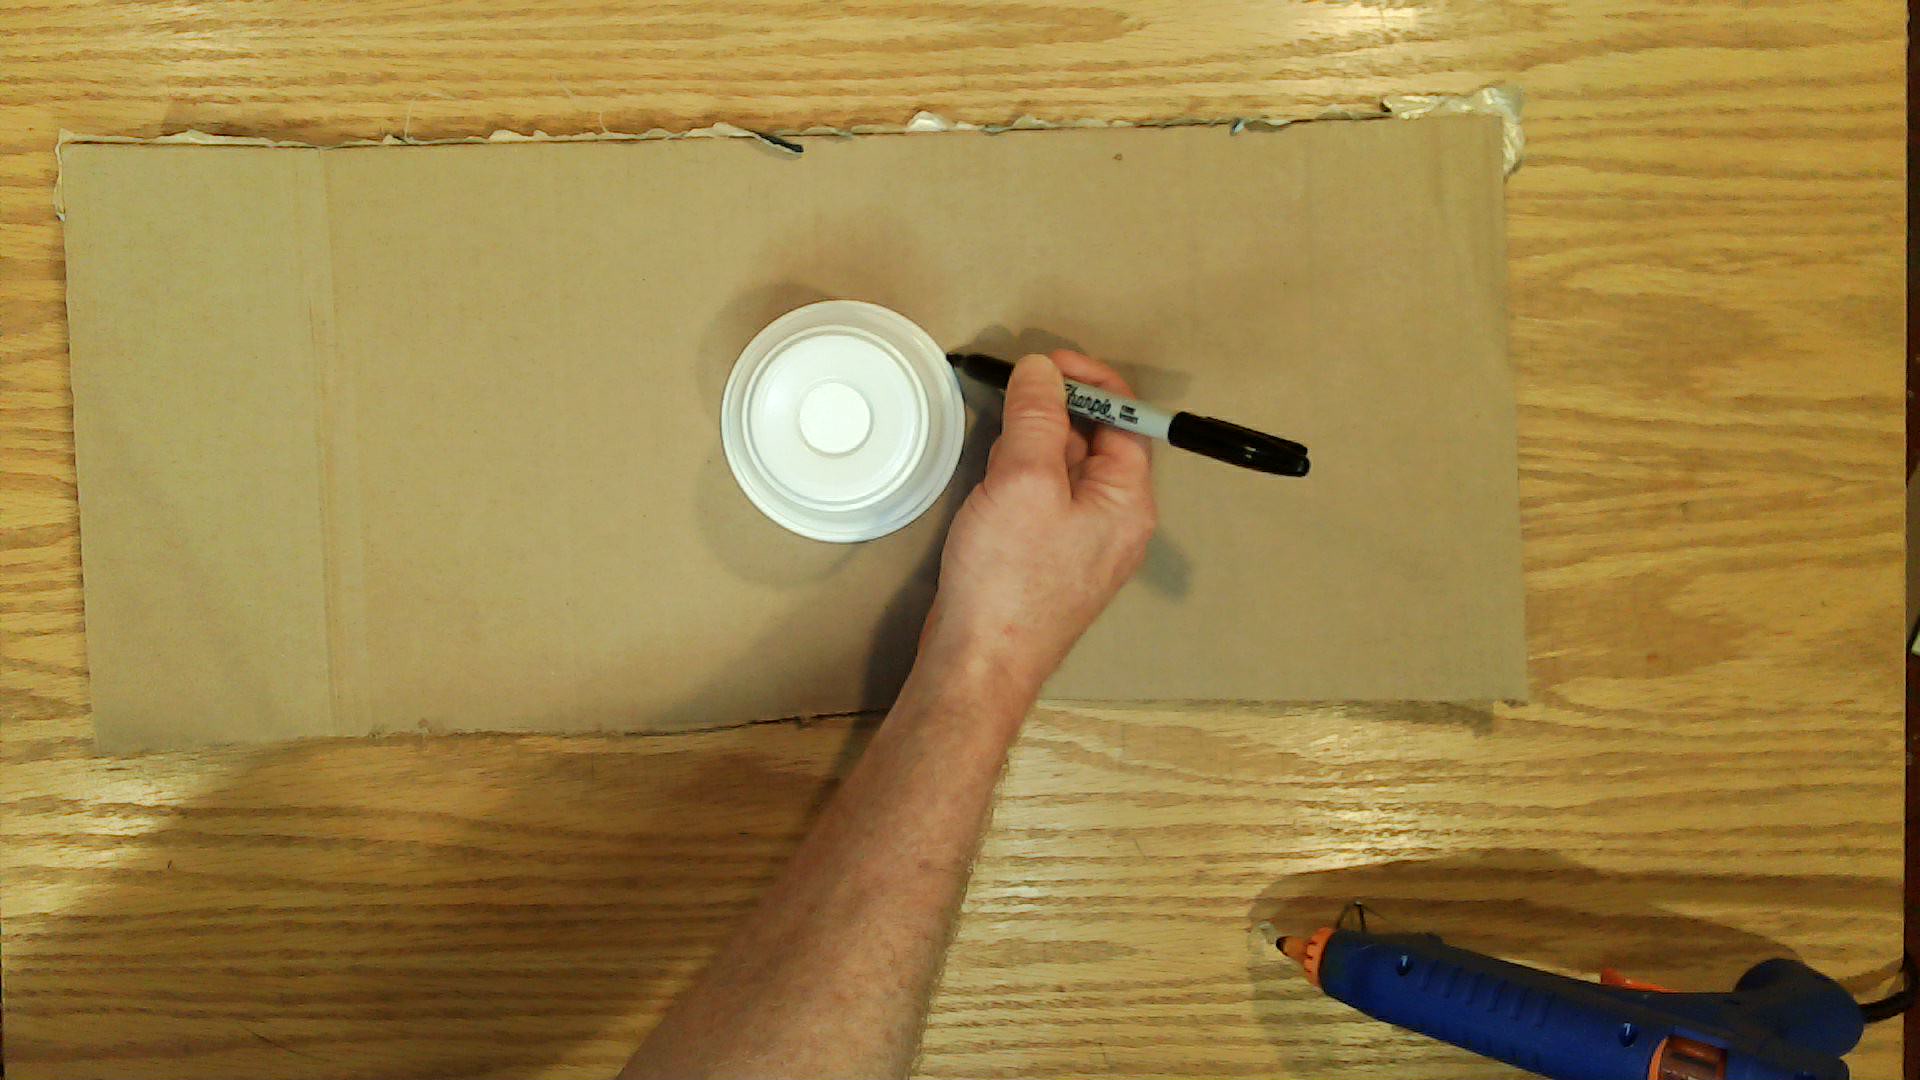
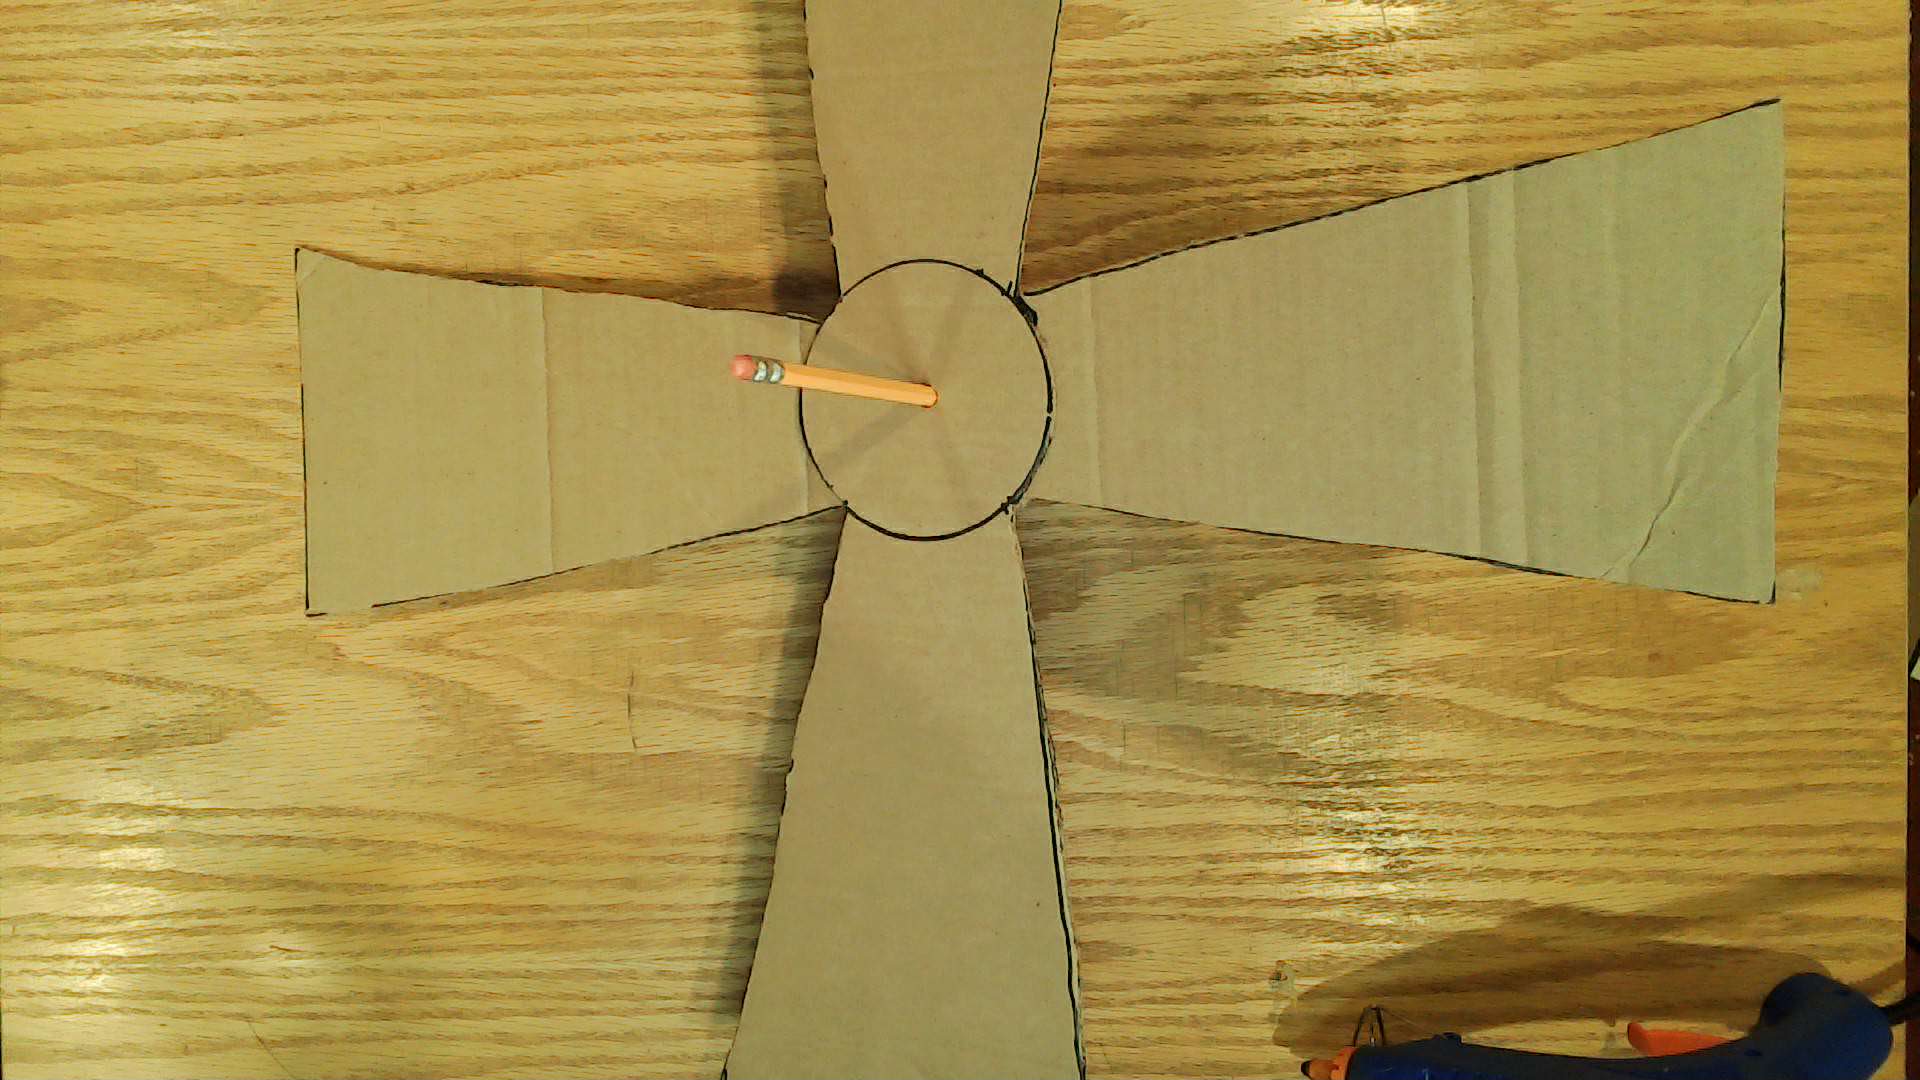
Use any round object to draw a hub for the first 2 blades of the windmill’s fan.
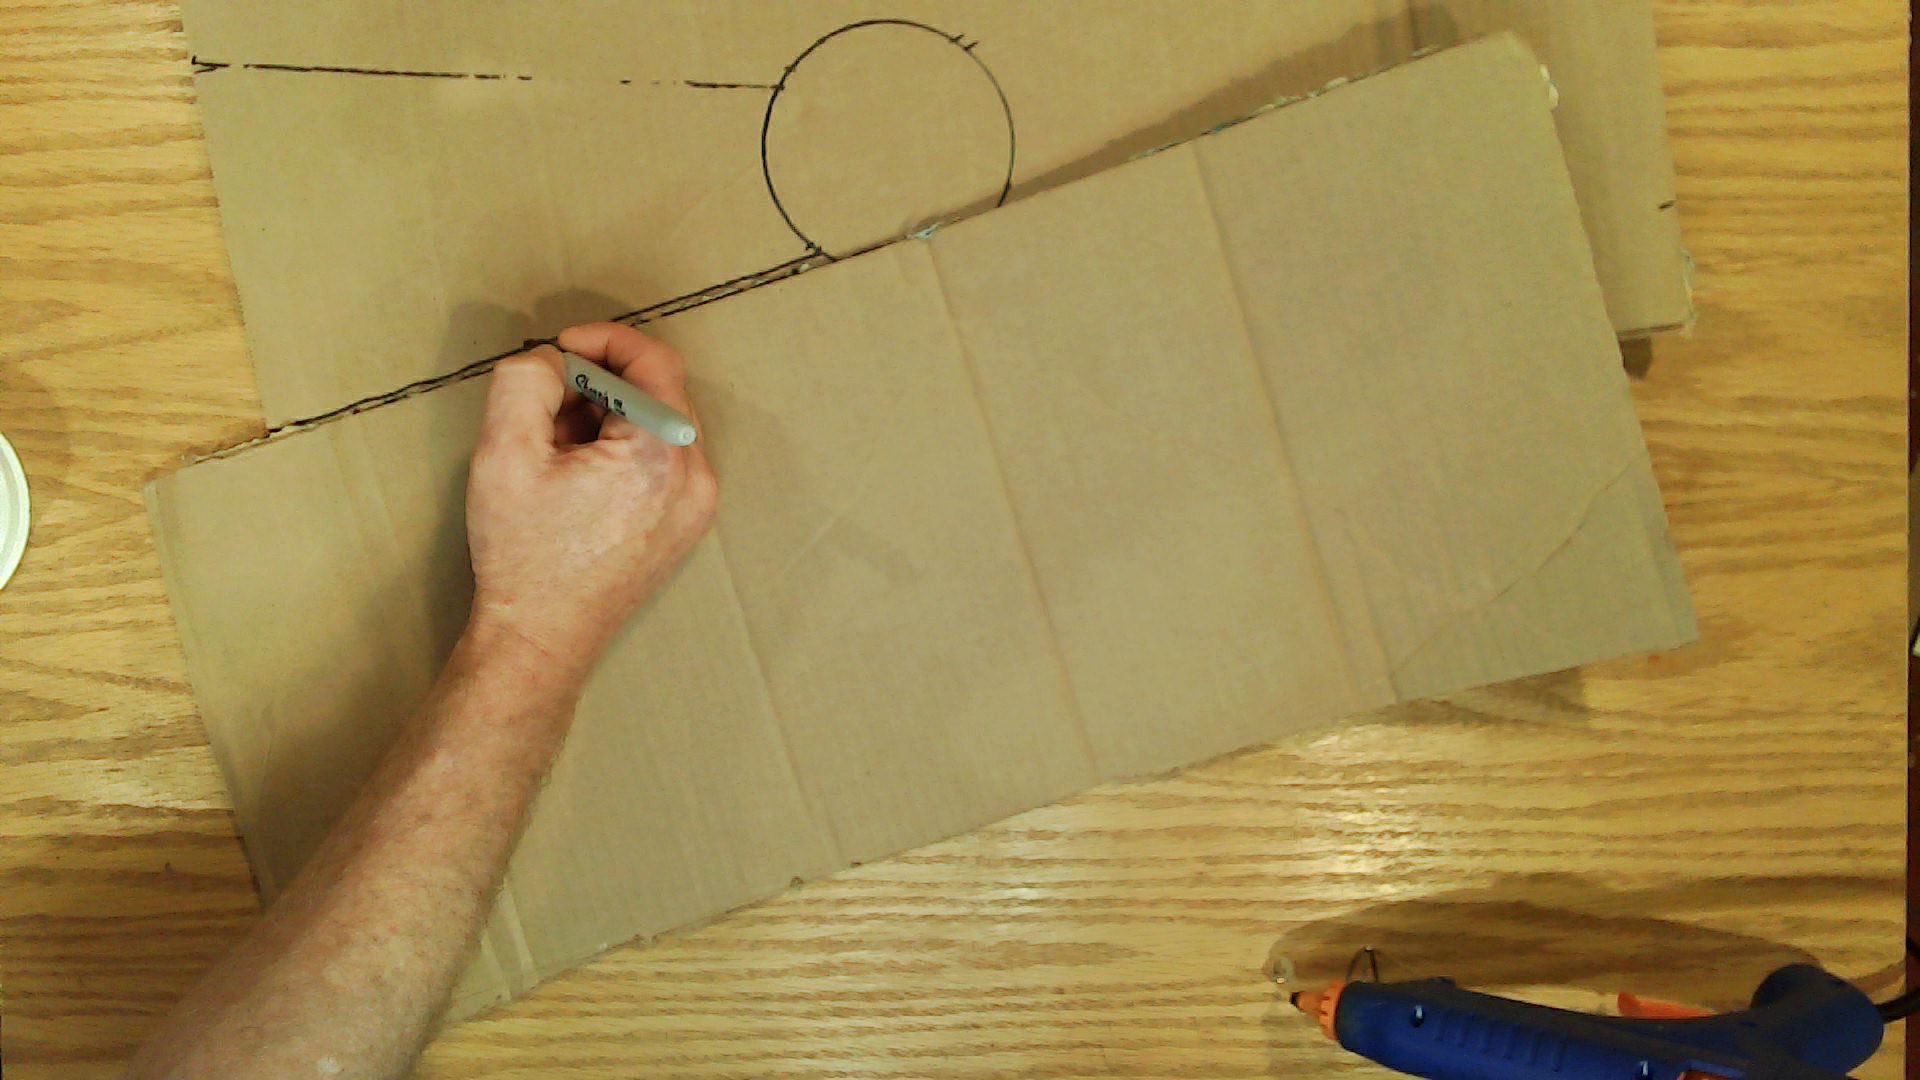
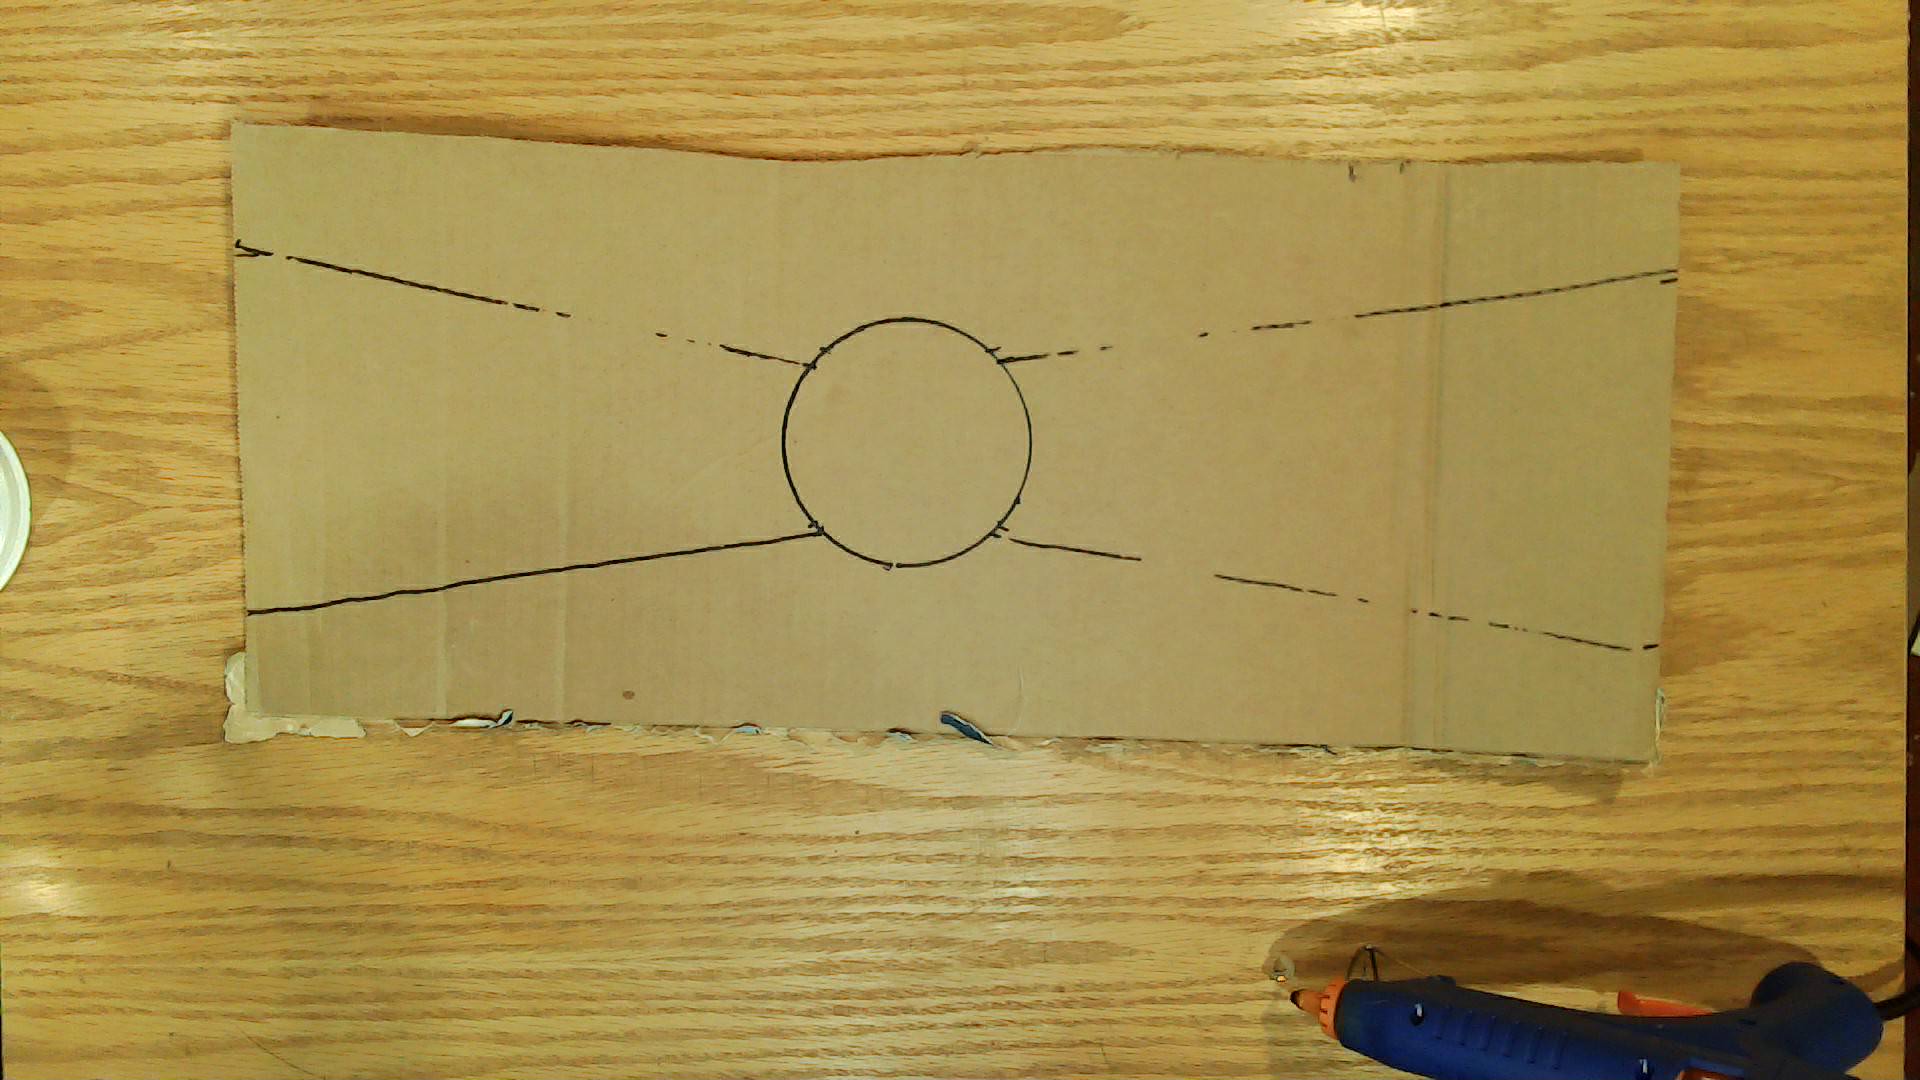
Use a straight side of cardboard to mark the edges of your fan blades. I like to have 2 blades per hub. The blade length should be at least 1 inch taller than the height of your tunnel.
Use a straight side of cardboard to mark the edges of your fan blades. I like to have 2 blades per hub. The blade length should be at least 1 inch taller than the height of your tunnel.
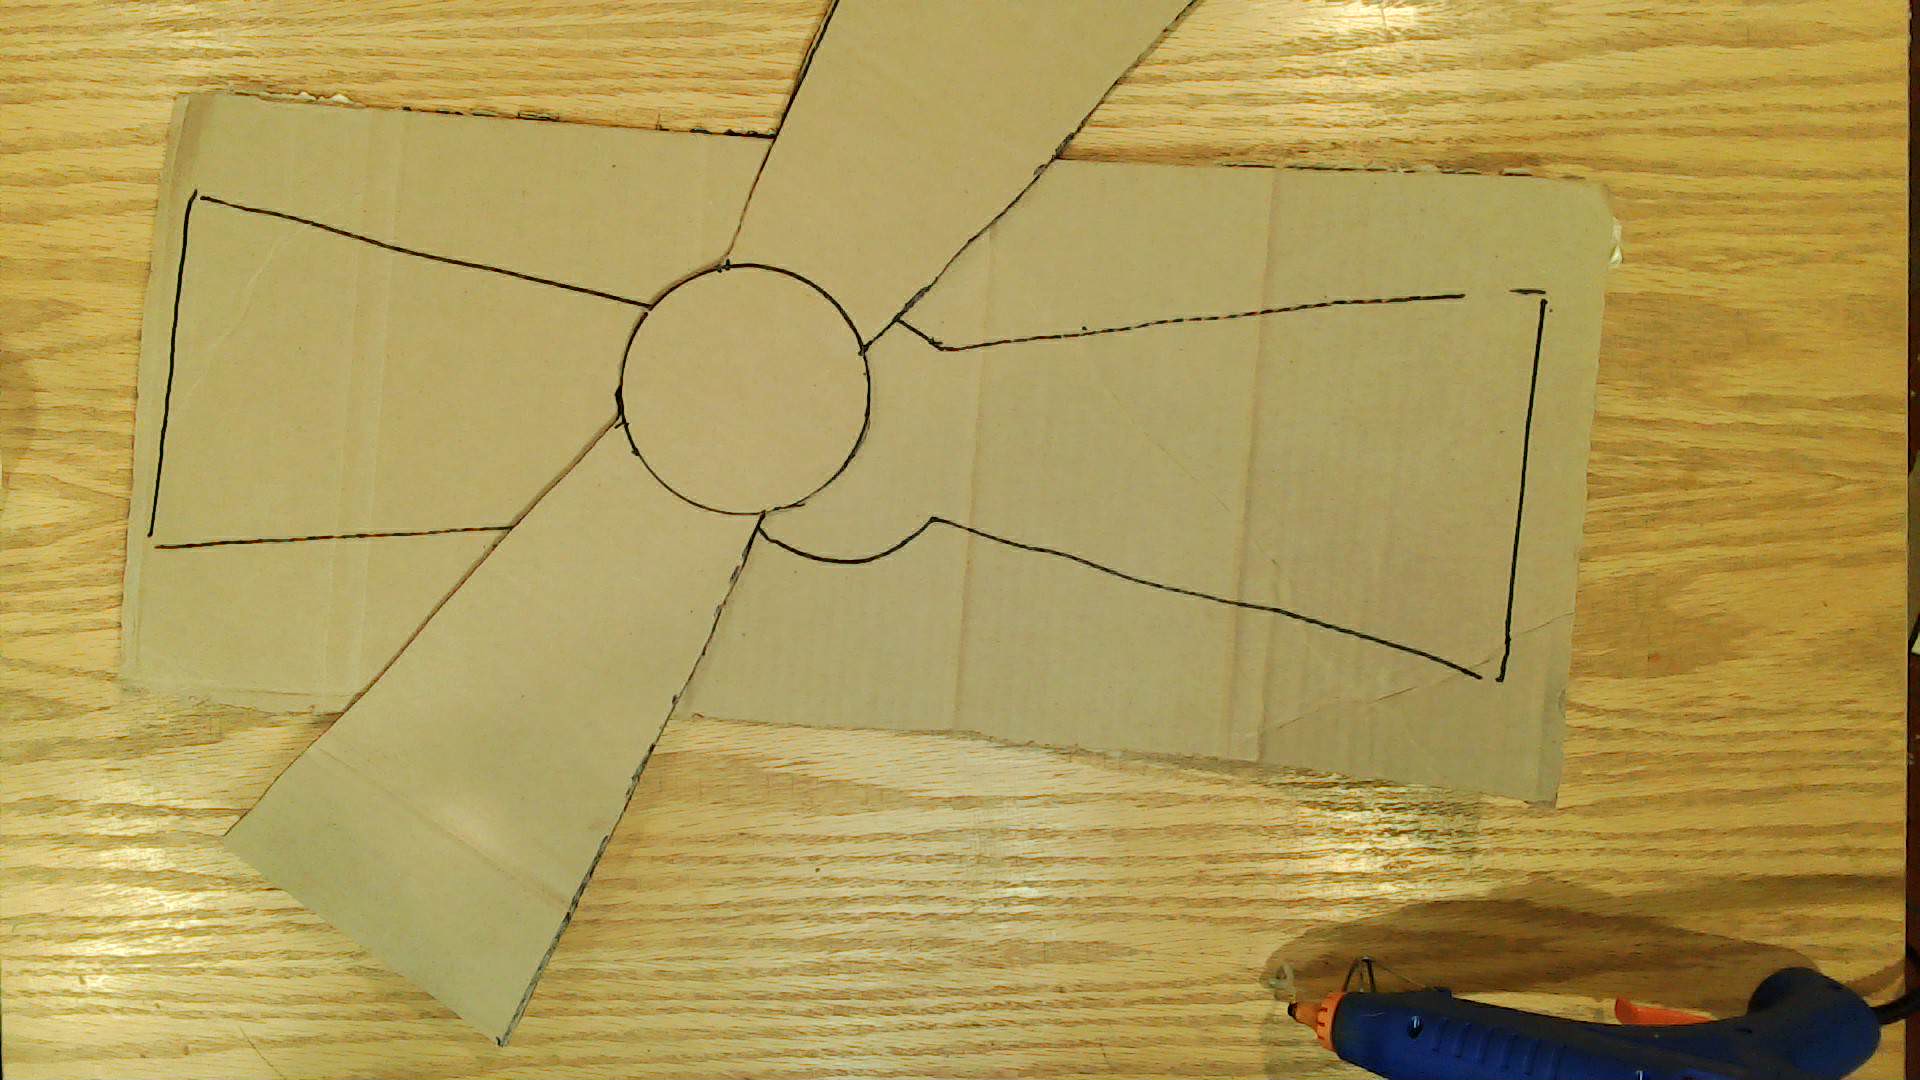

Use your first set of blades as a stencil for your second set.
Cut a hole in the center then stack & glue them together if necessary.
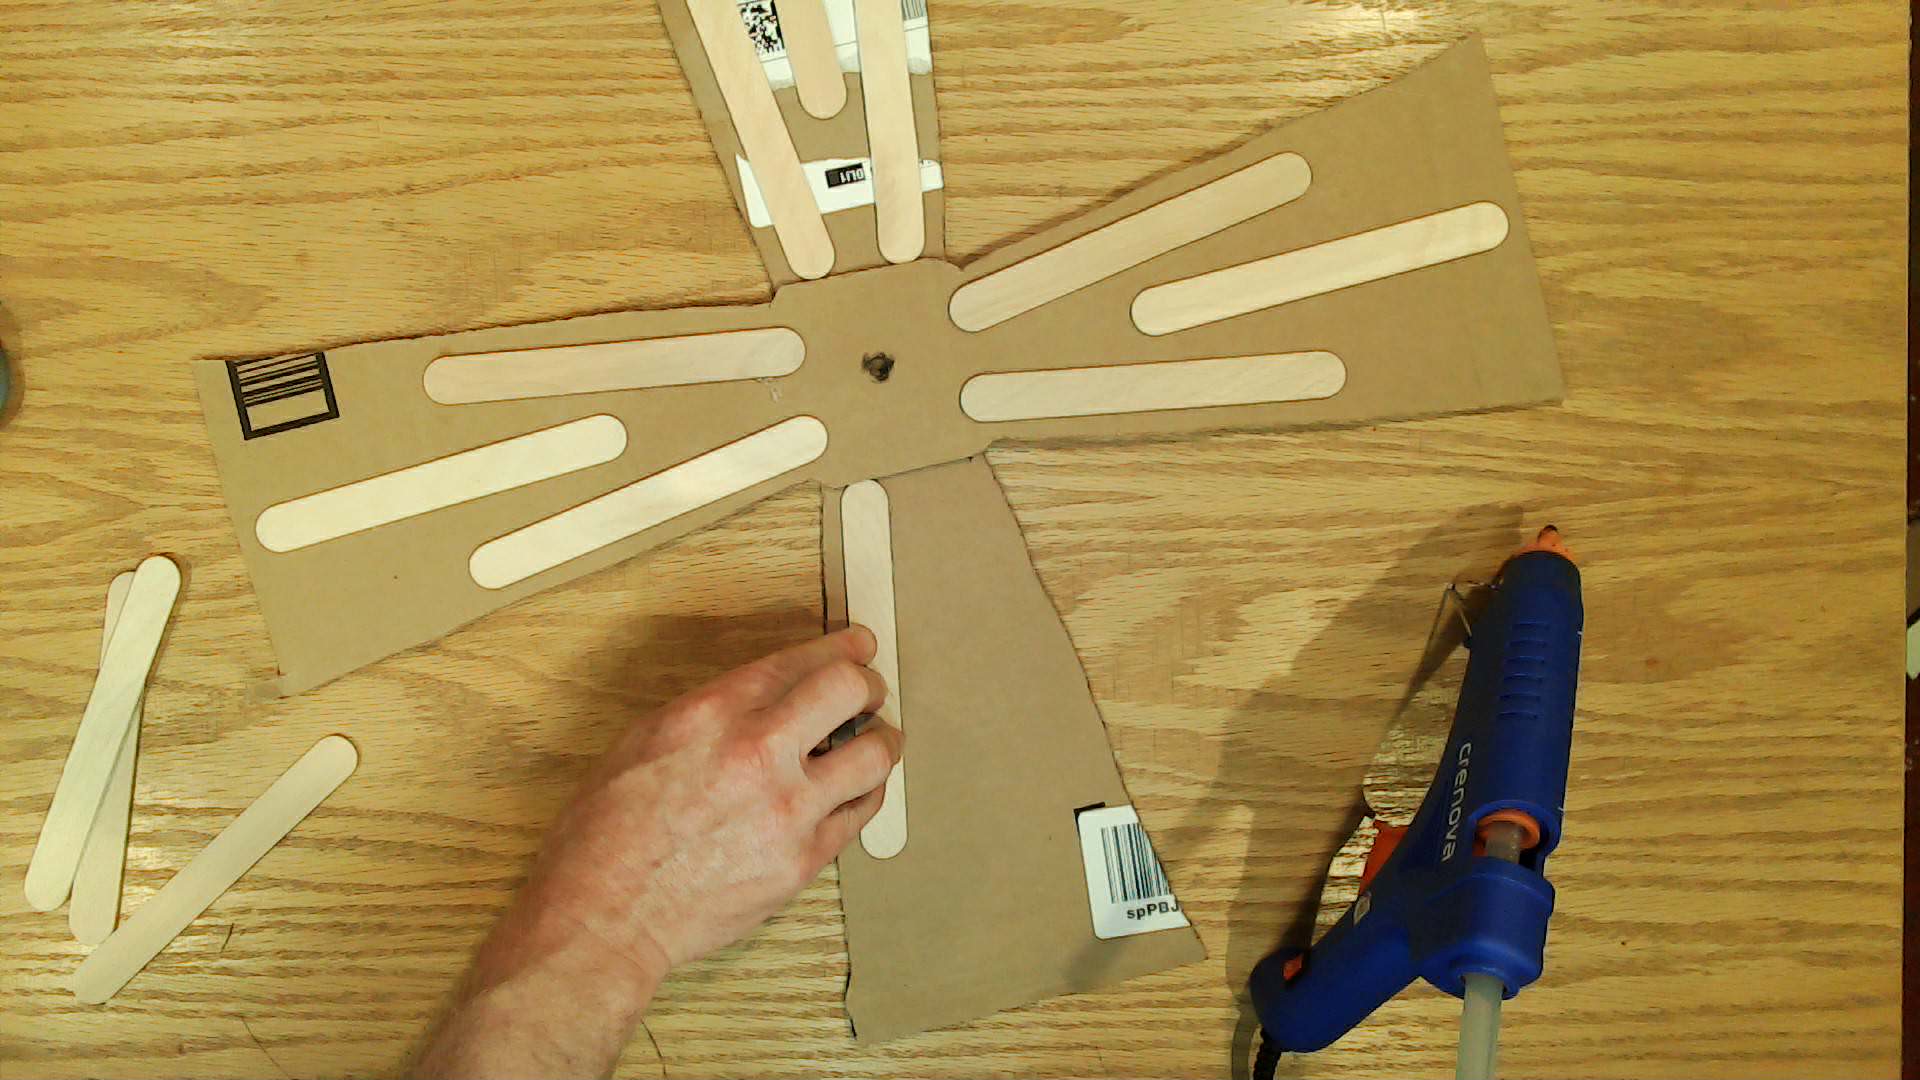
Use craft sticks to reinforce the fan blades.

Glue the hub to the center. Make sure to keep the glue off of the screw hole in the center of the hub.
Your done with the fan blades and ready to move on to final assembly 🙂
Wiring and Final Assembly
Wiring and final assembly are done all at once. You can chose to leave an access panel to get to your motor later.
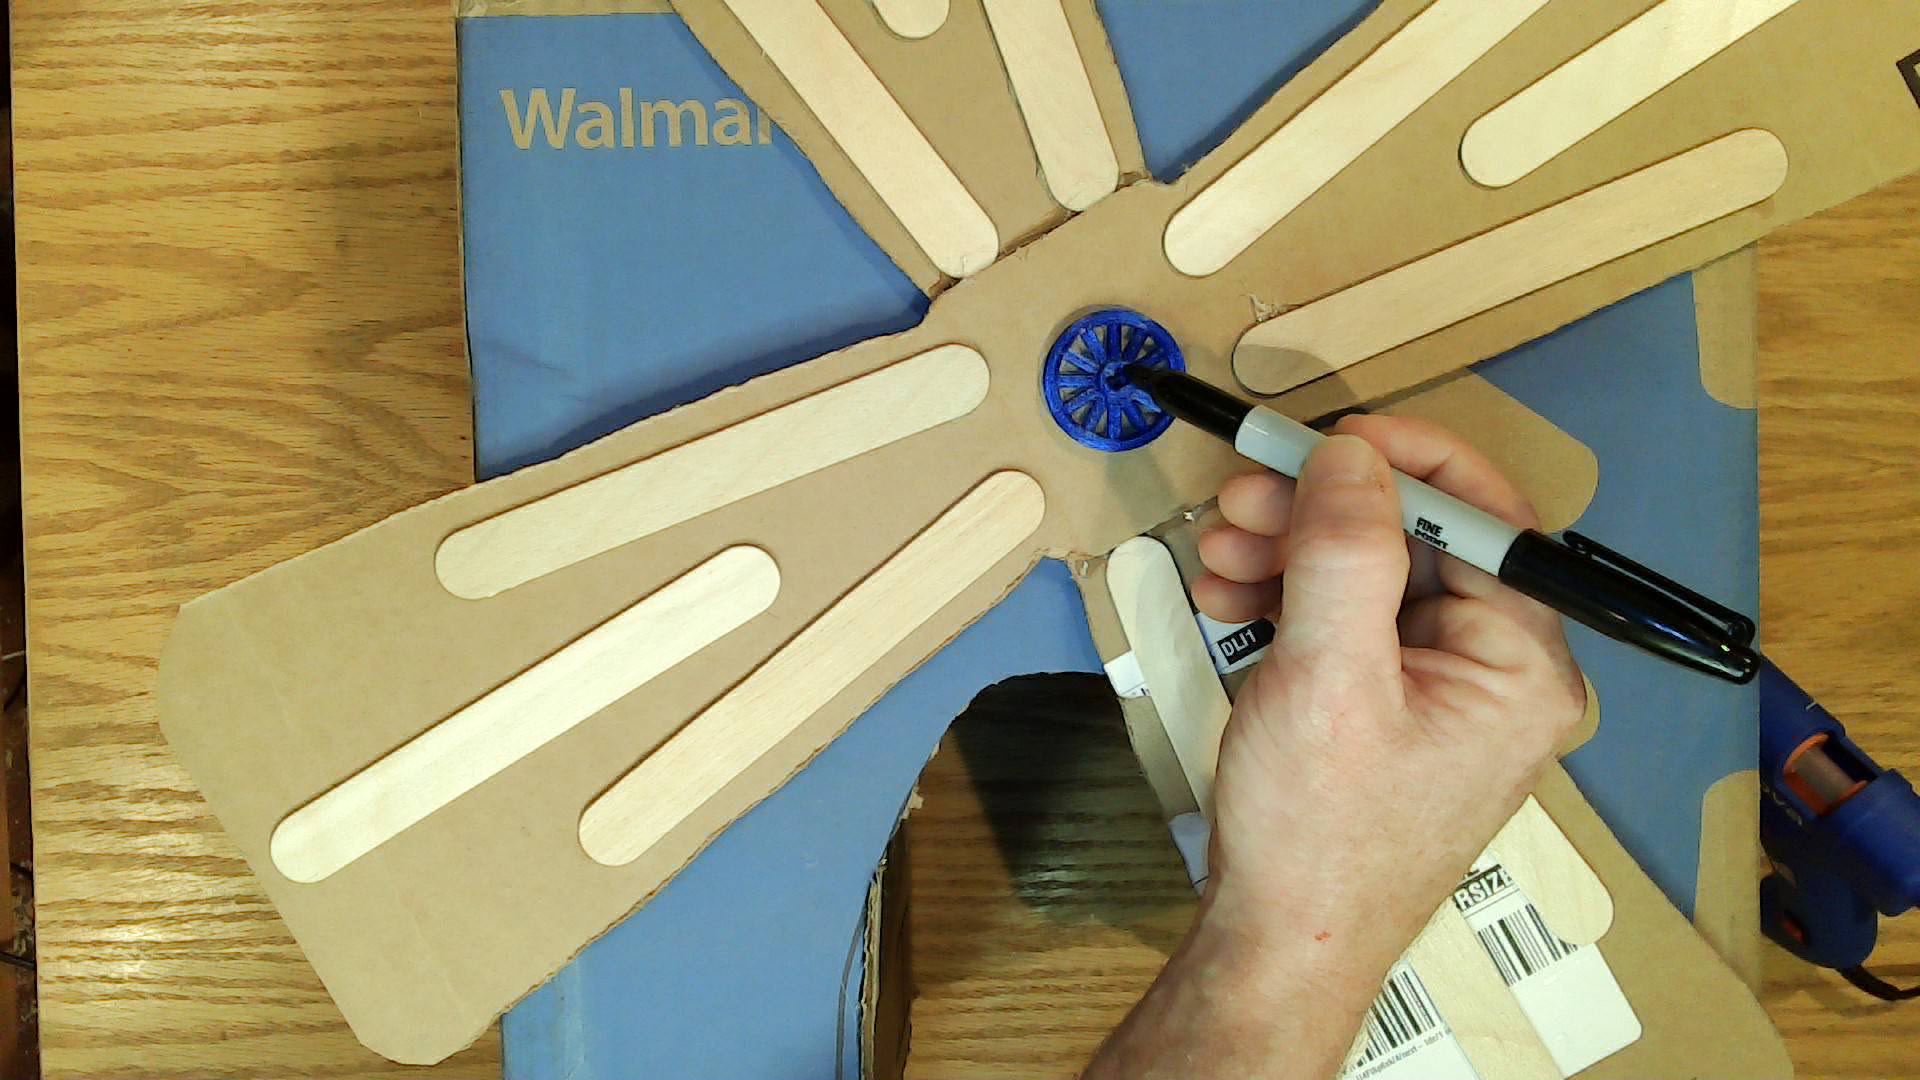

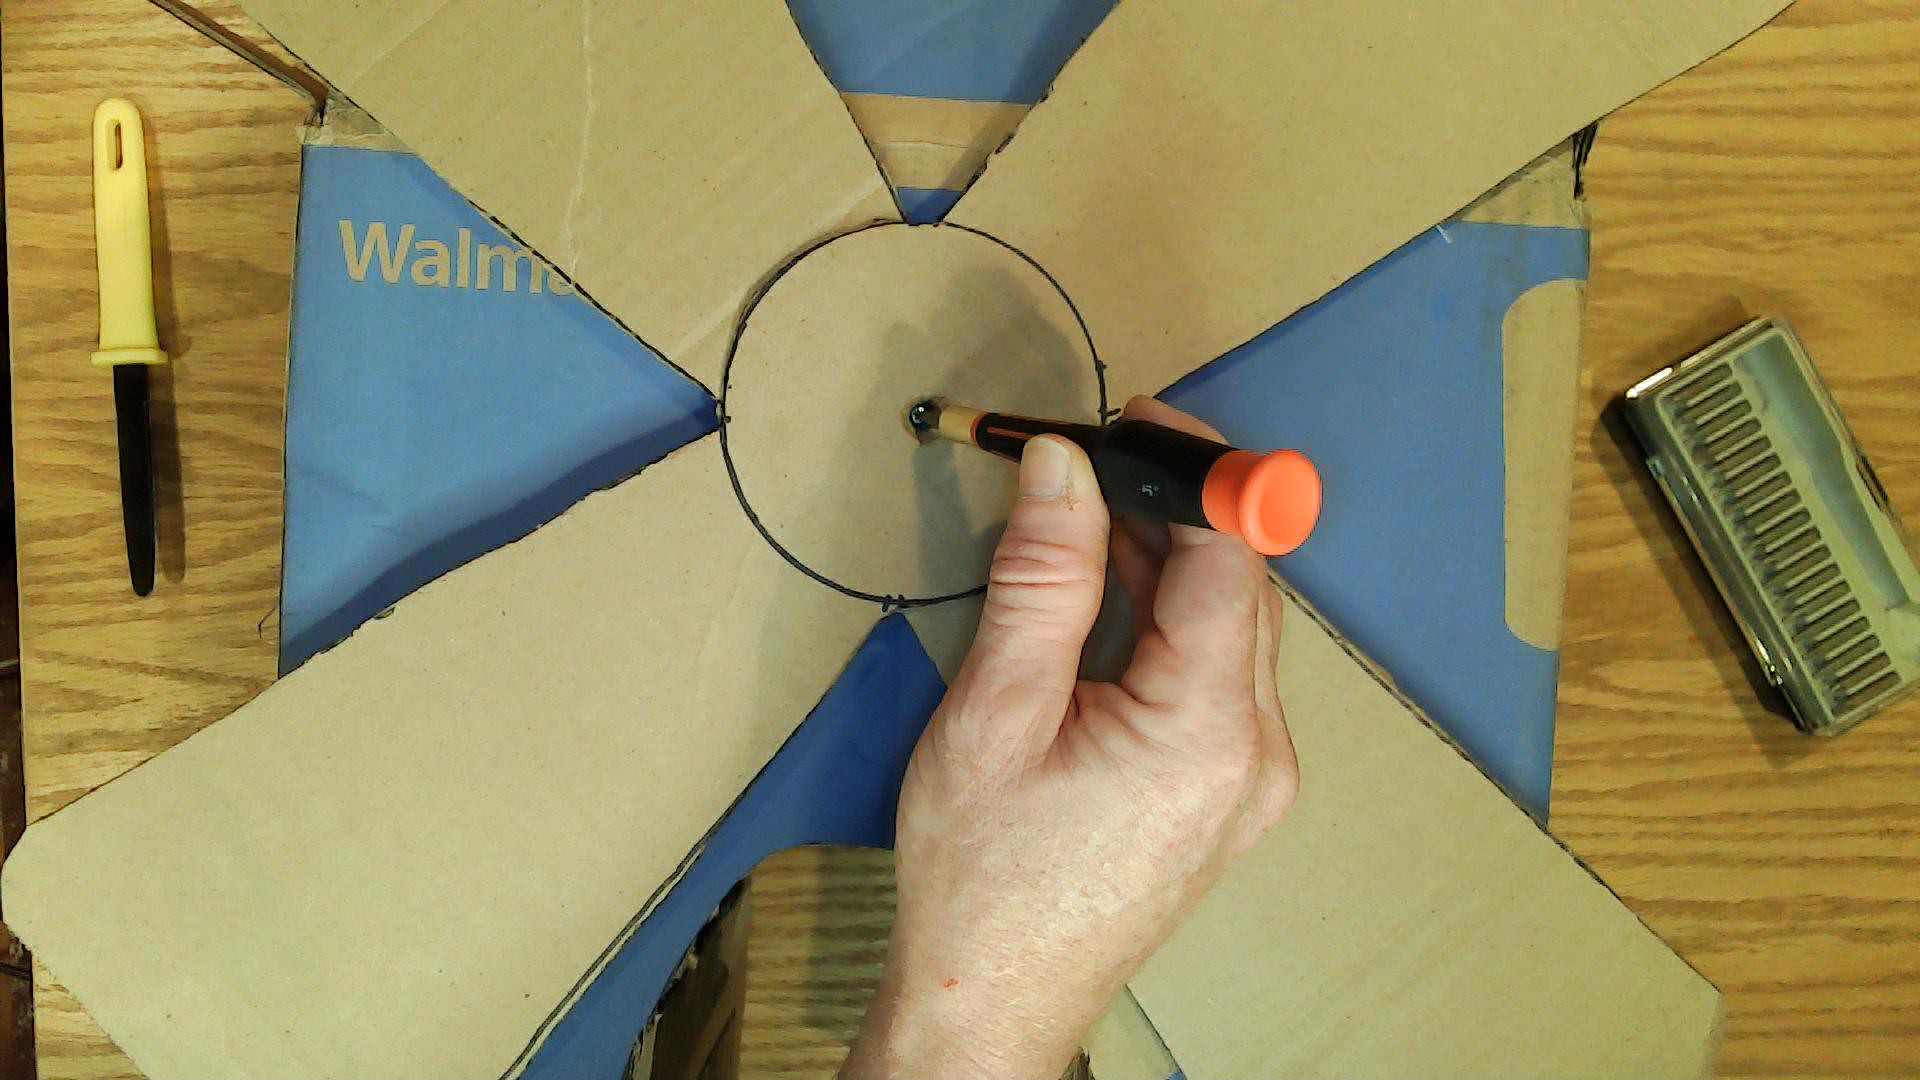
Mark your hole for your motor by lining up the bottom of the fan blade about 1/2 inch from the bottom of your tunnel. Put some marker on your hub and press it onto the box when you have your fan placed correctly. It should mark where you need to cut a hole for your motor shaft to stick through
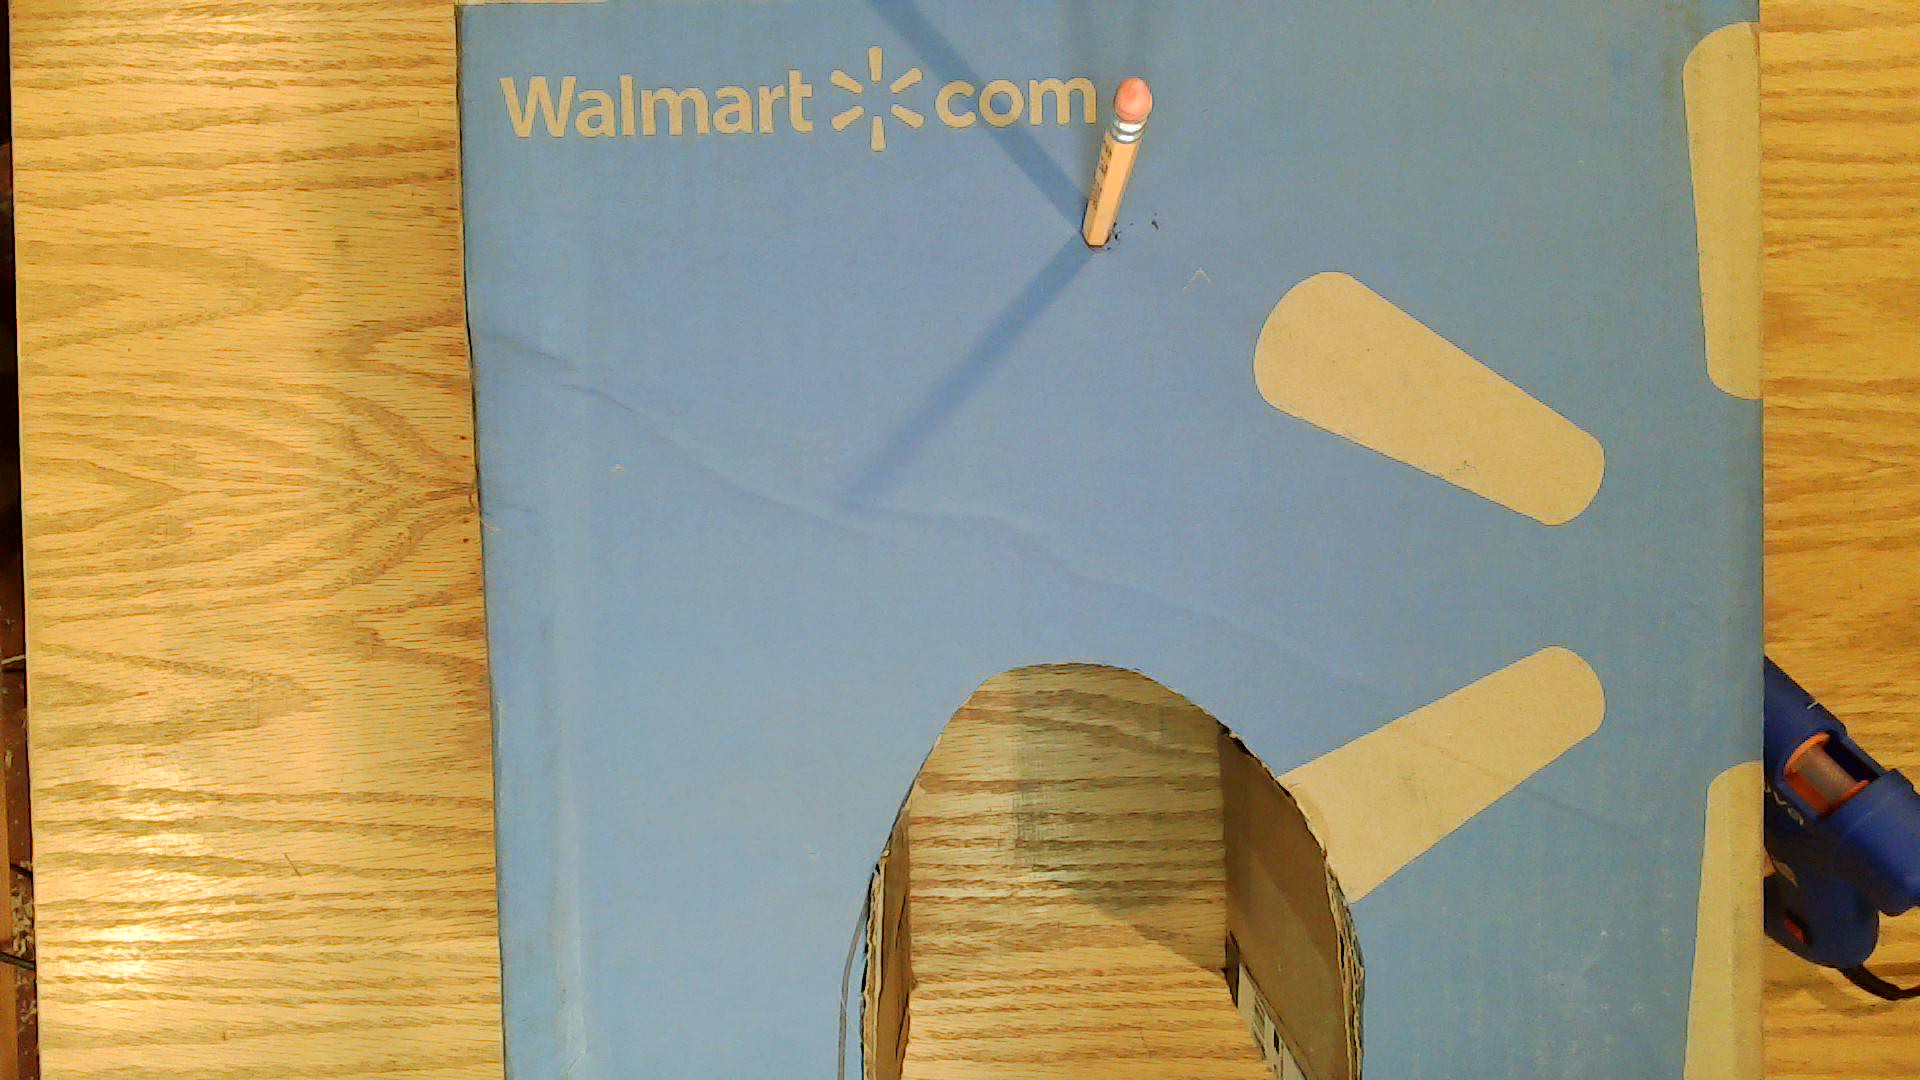
Poke a hole in the cardboard where you just marked for your motor shaft.
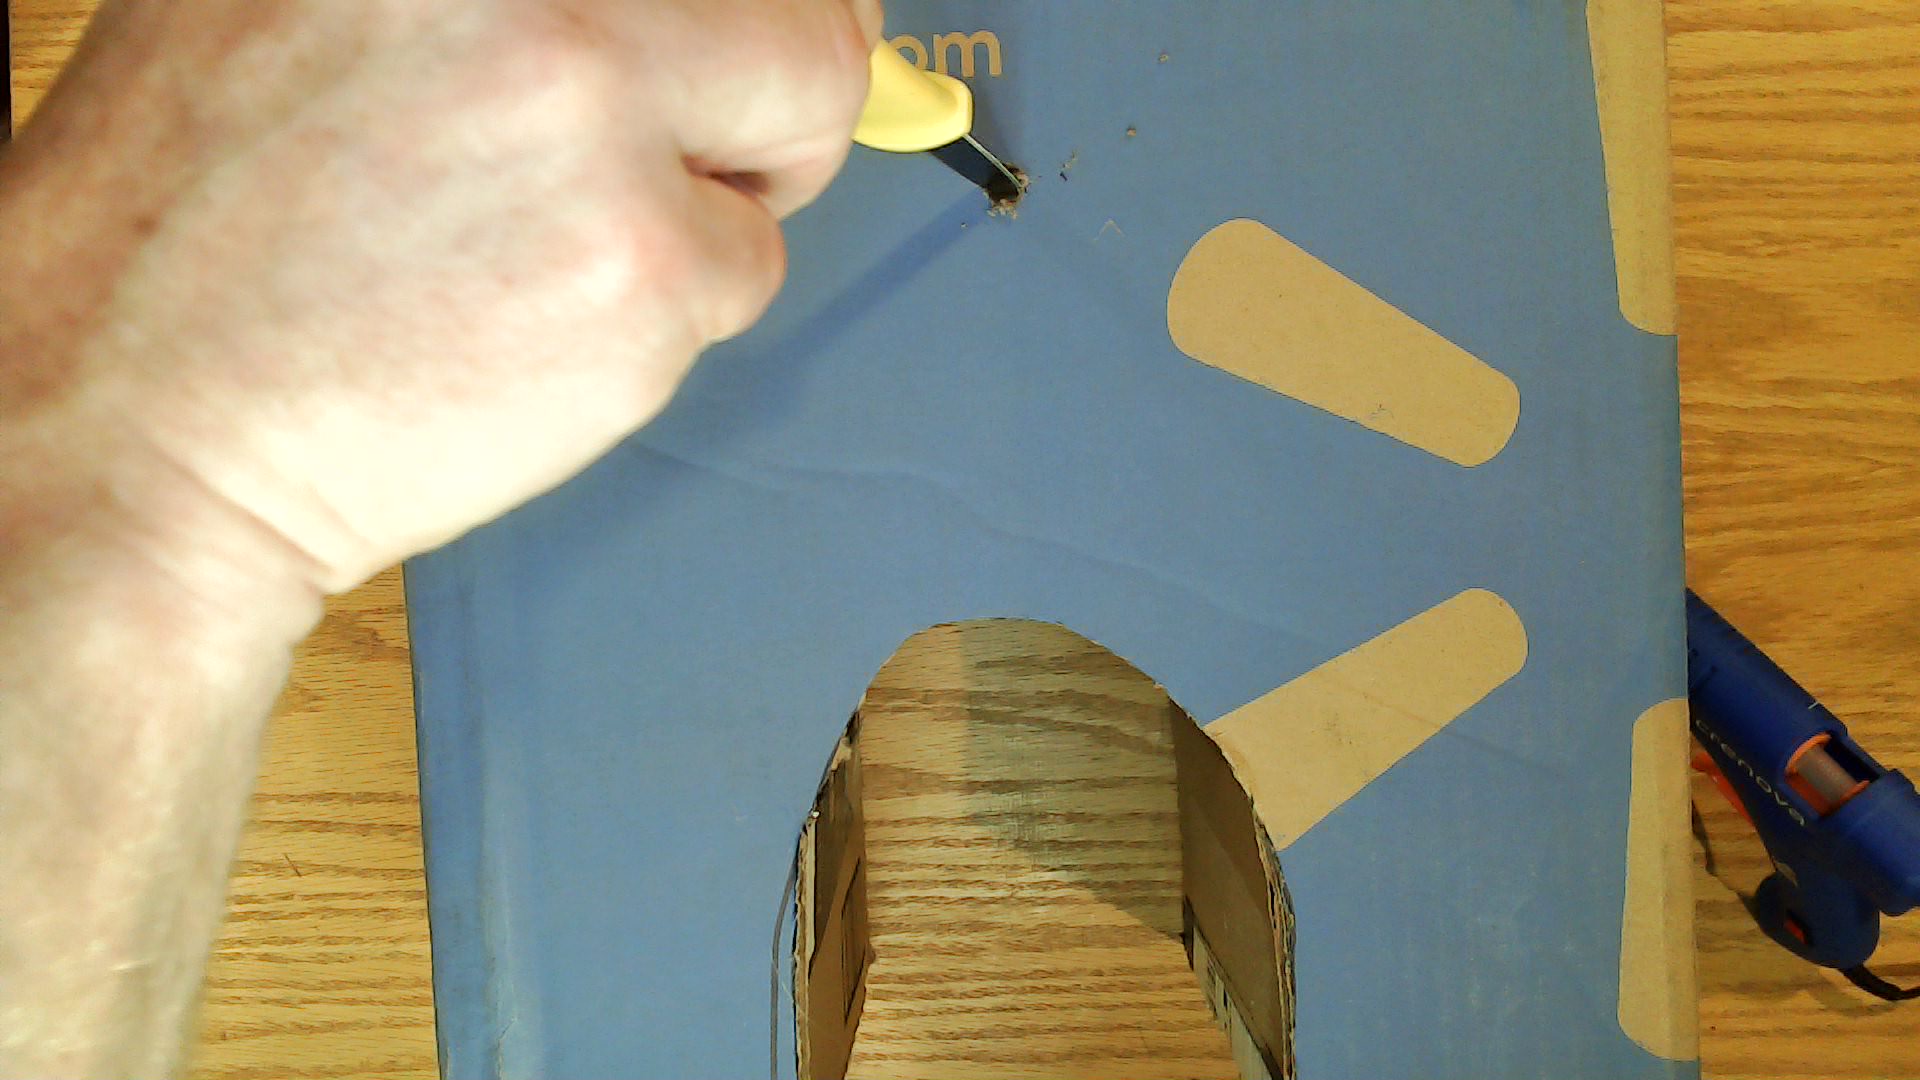
Widen the hole by twisting the cardboard knife like a drill.
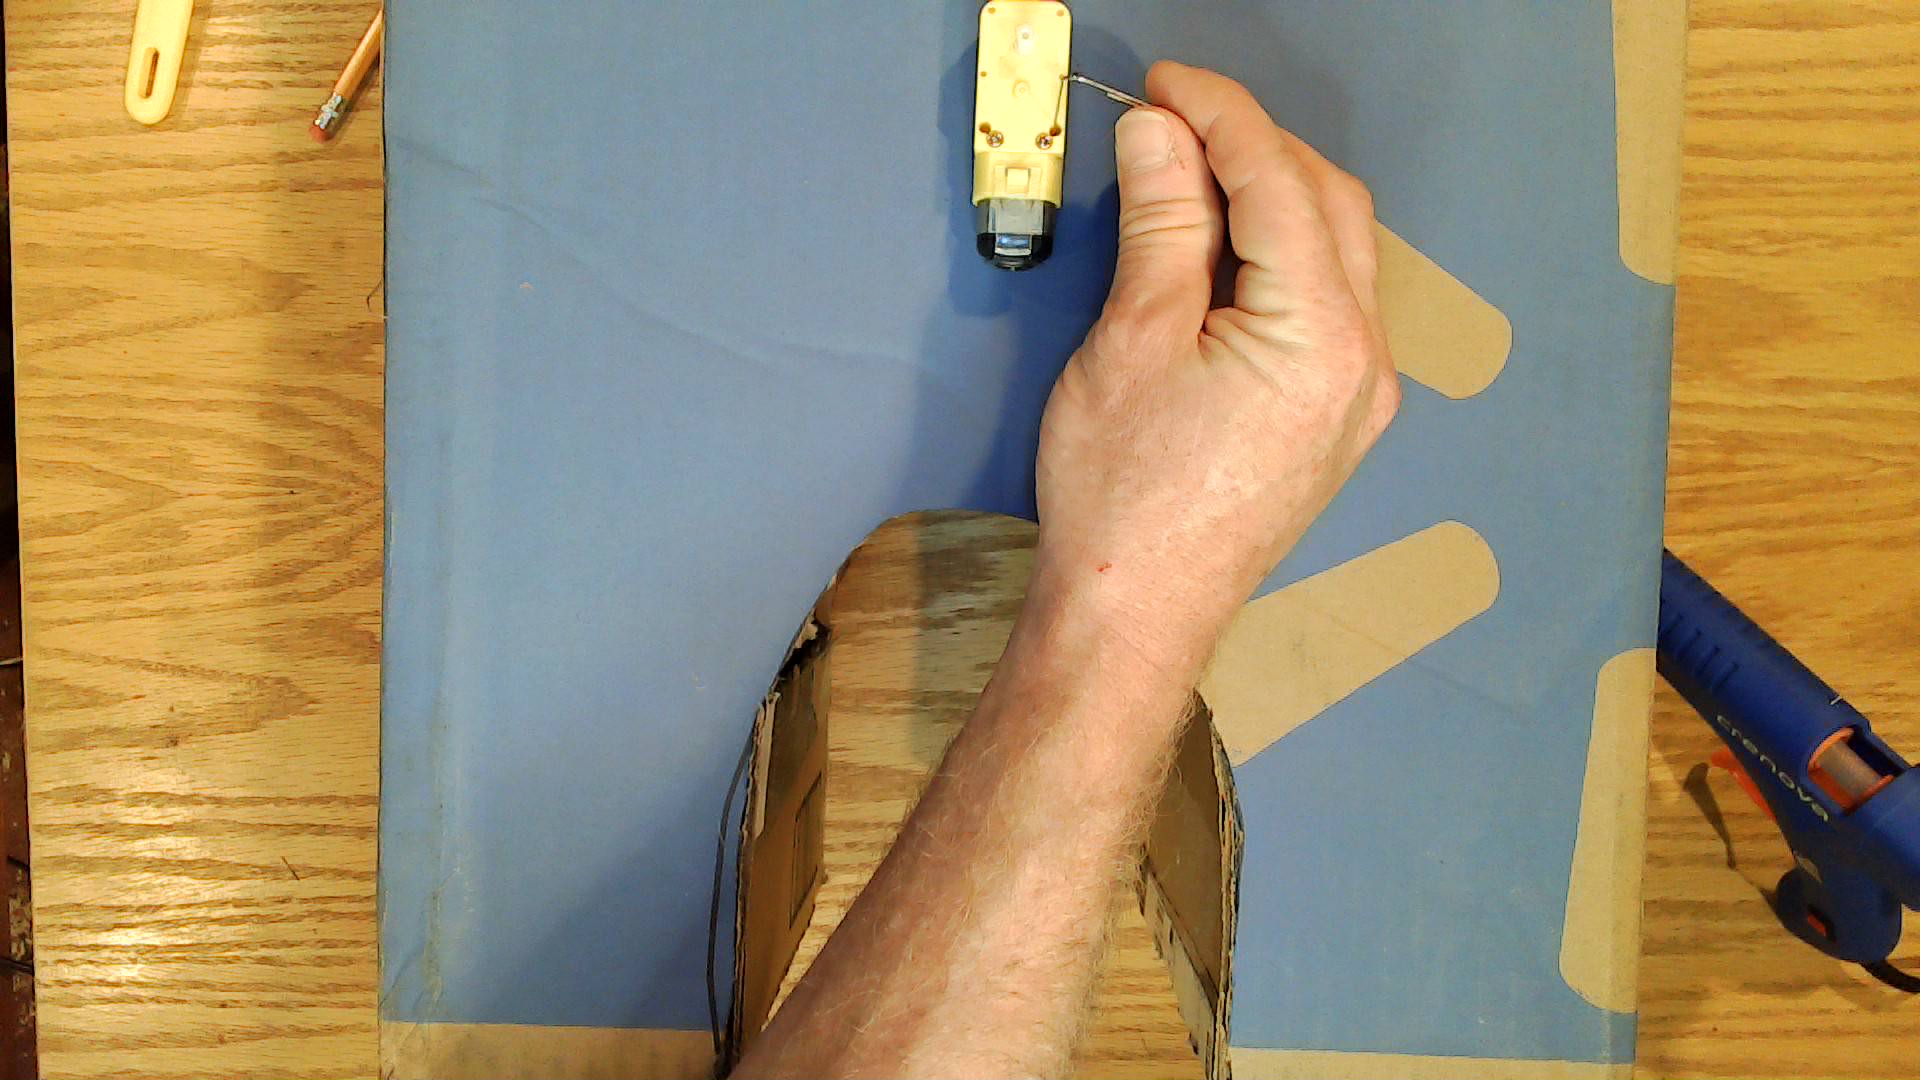
Line your motor up to the hole with the shaft poking through the center of the hole you just made.
Mark the cardboard by poking a straightened paper clip through the two holes in the tt motor and into the cardboard.
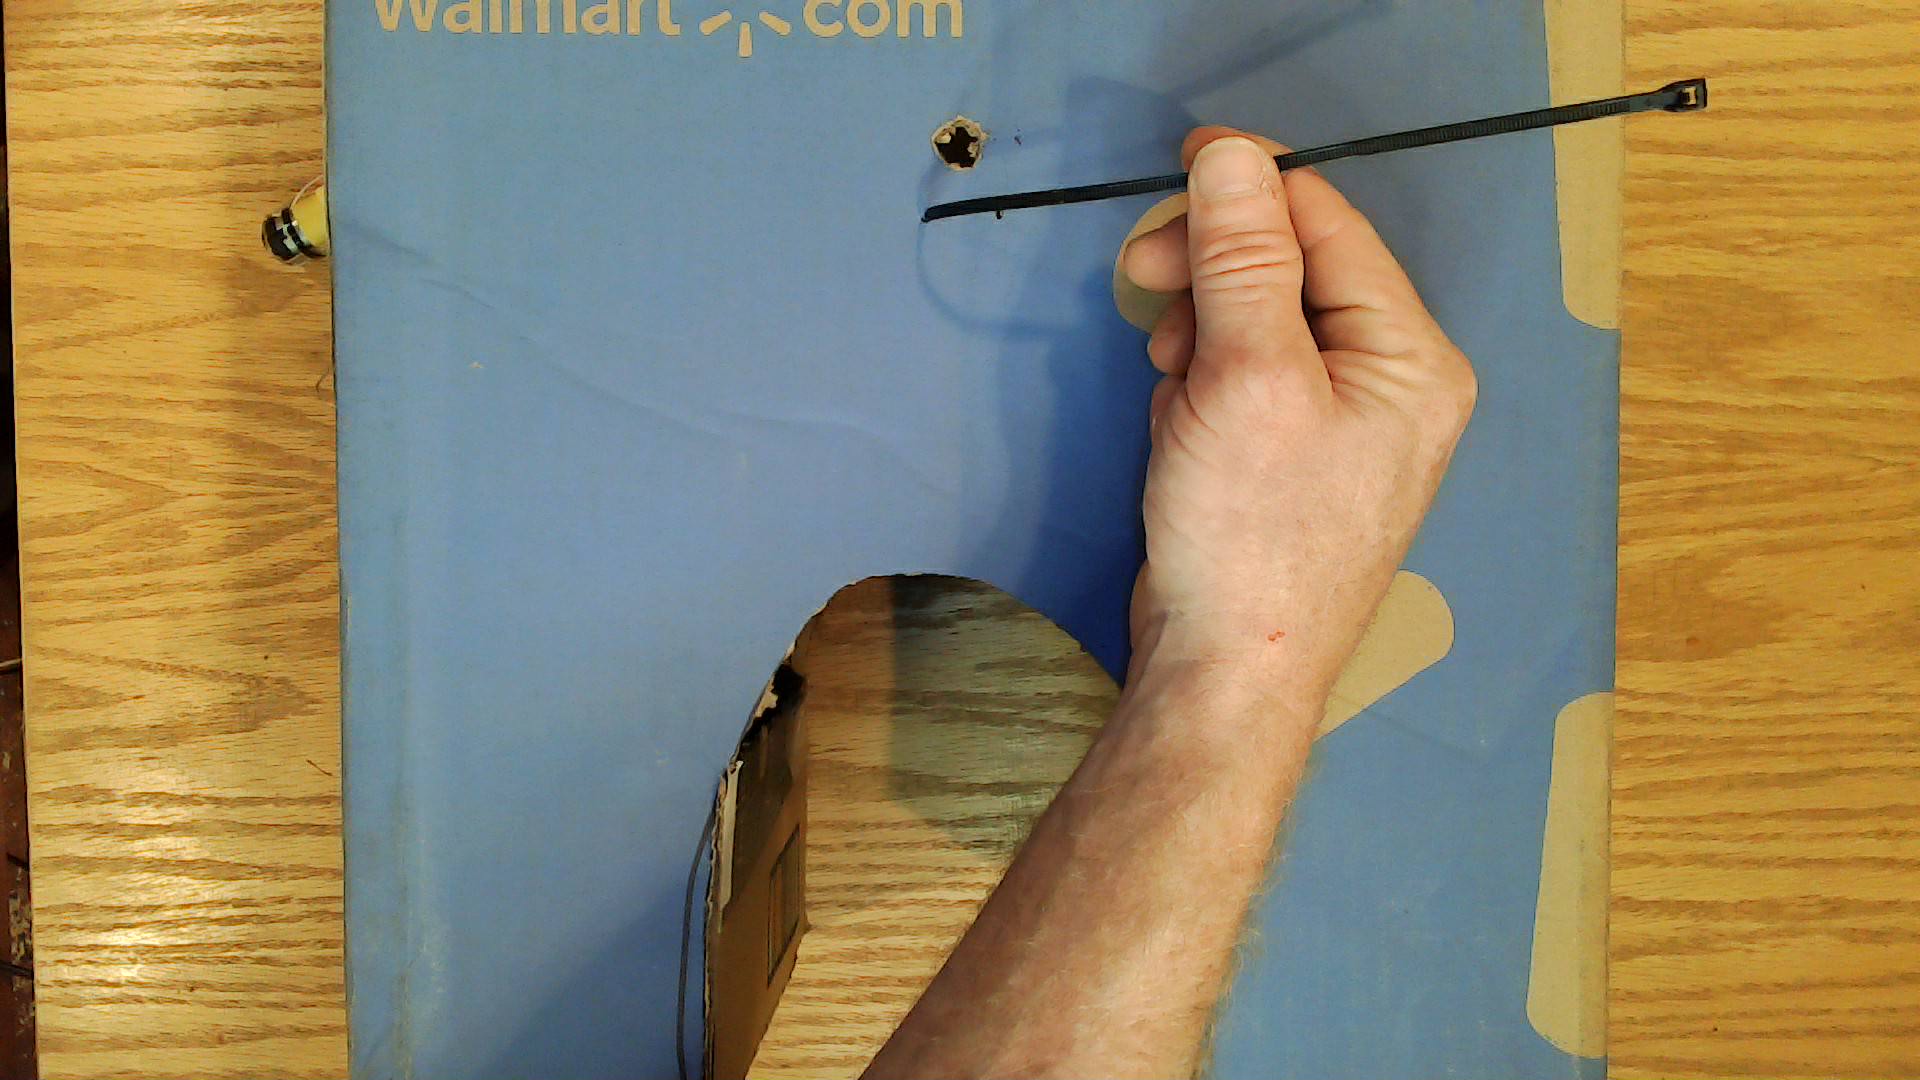
Poke through and enlarge the holes with a zip tie. Use a bigger zip tie if necessary.
Twist two wires to the wires on the tt motor. Insulate the wire twists with some tape.

Mount the motor to the windmill base by threading a zip tie though the hole in the motor and the hole you punched through the cardboard. Thread the zip tie back through the other hole and secure the zip tie from the inside.

Mount the fan blades on the base by pushing the 3d printed mount over the motor shaft and securing it with the screw.
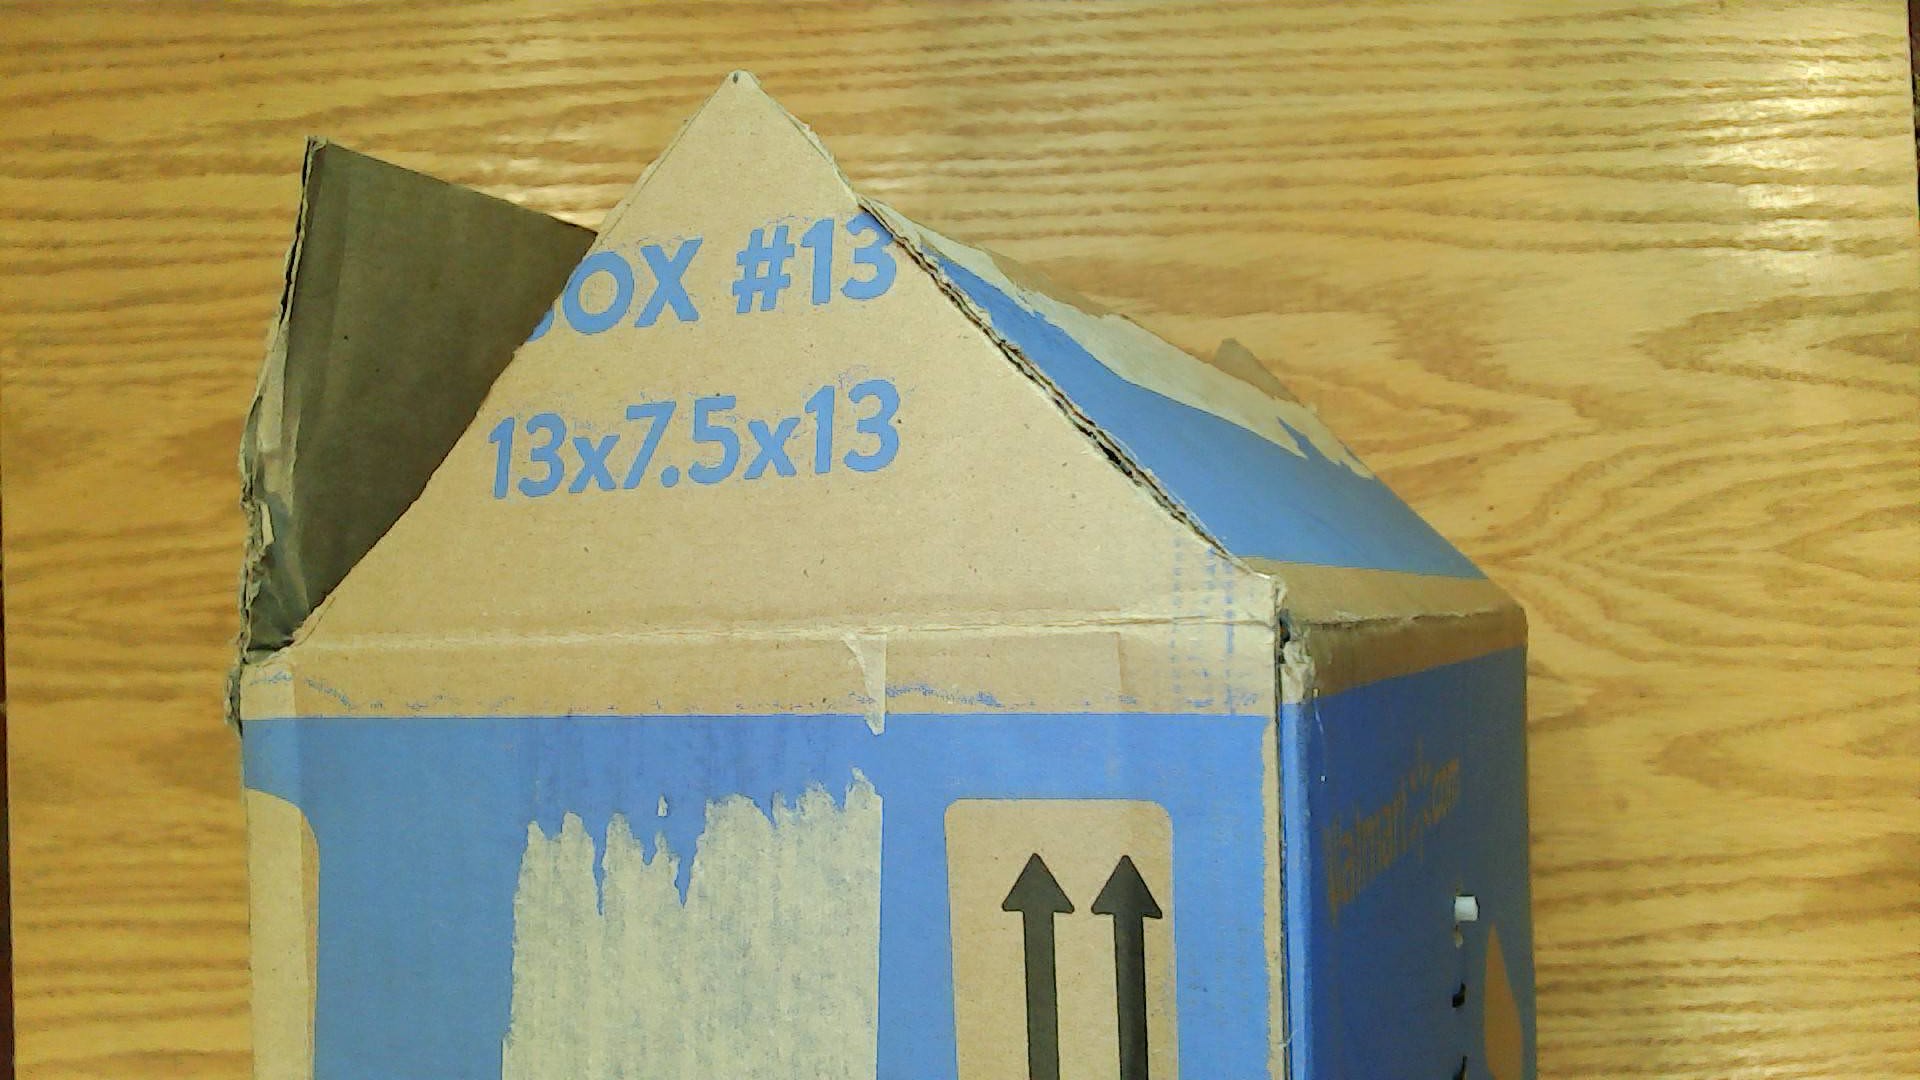
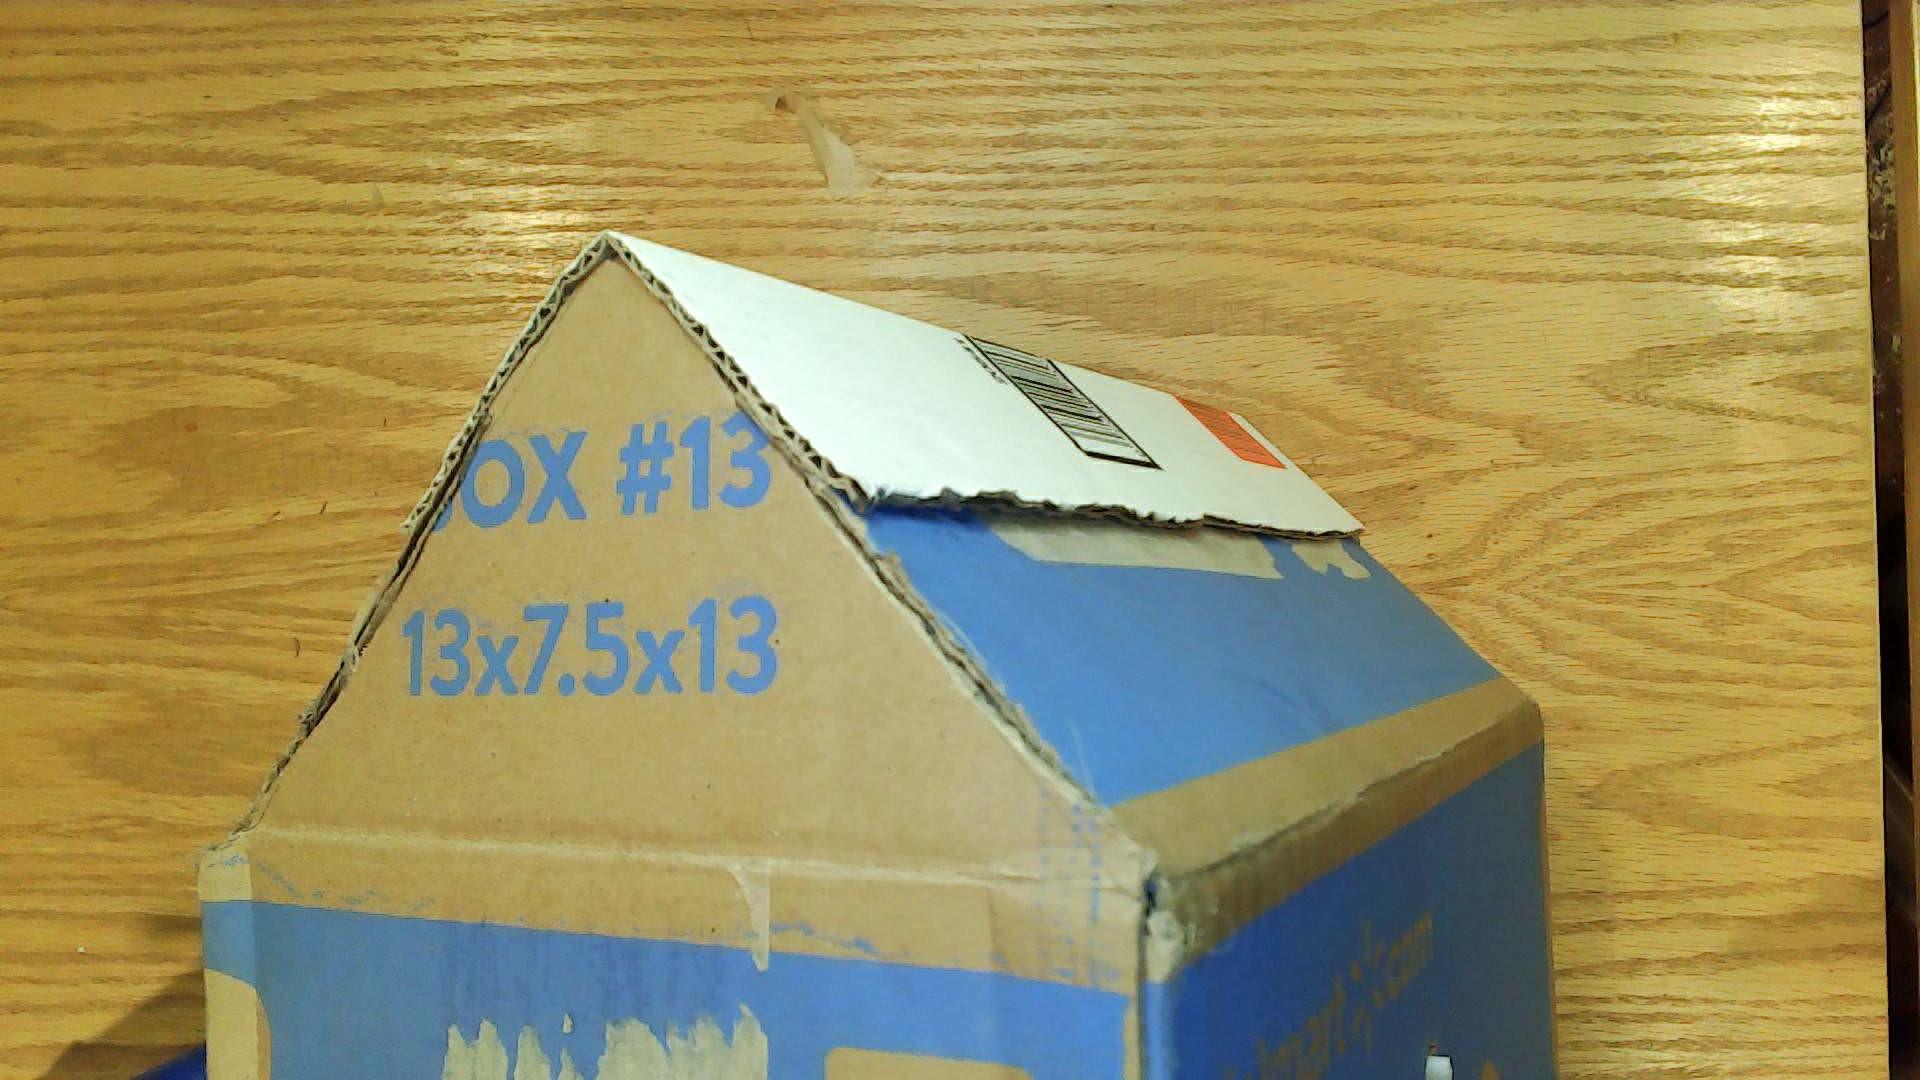
Let’s make the top into a roof. This should help it start to look like a house.
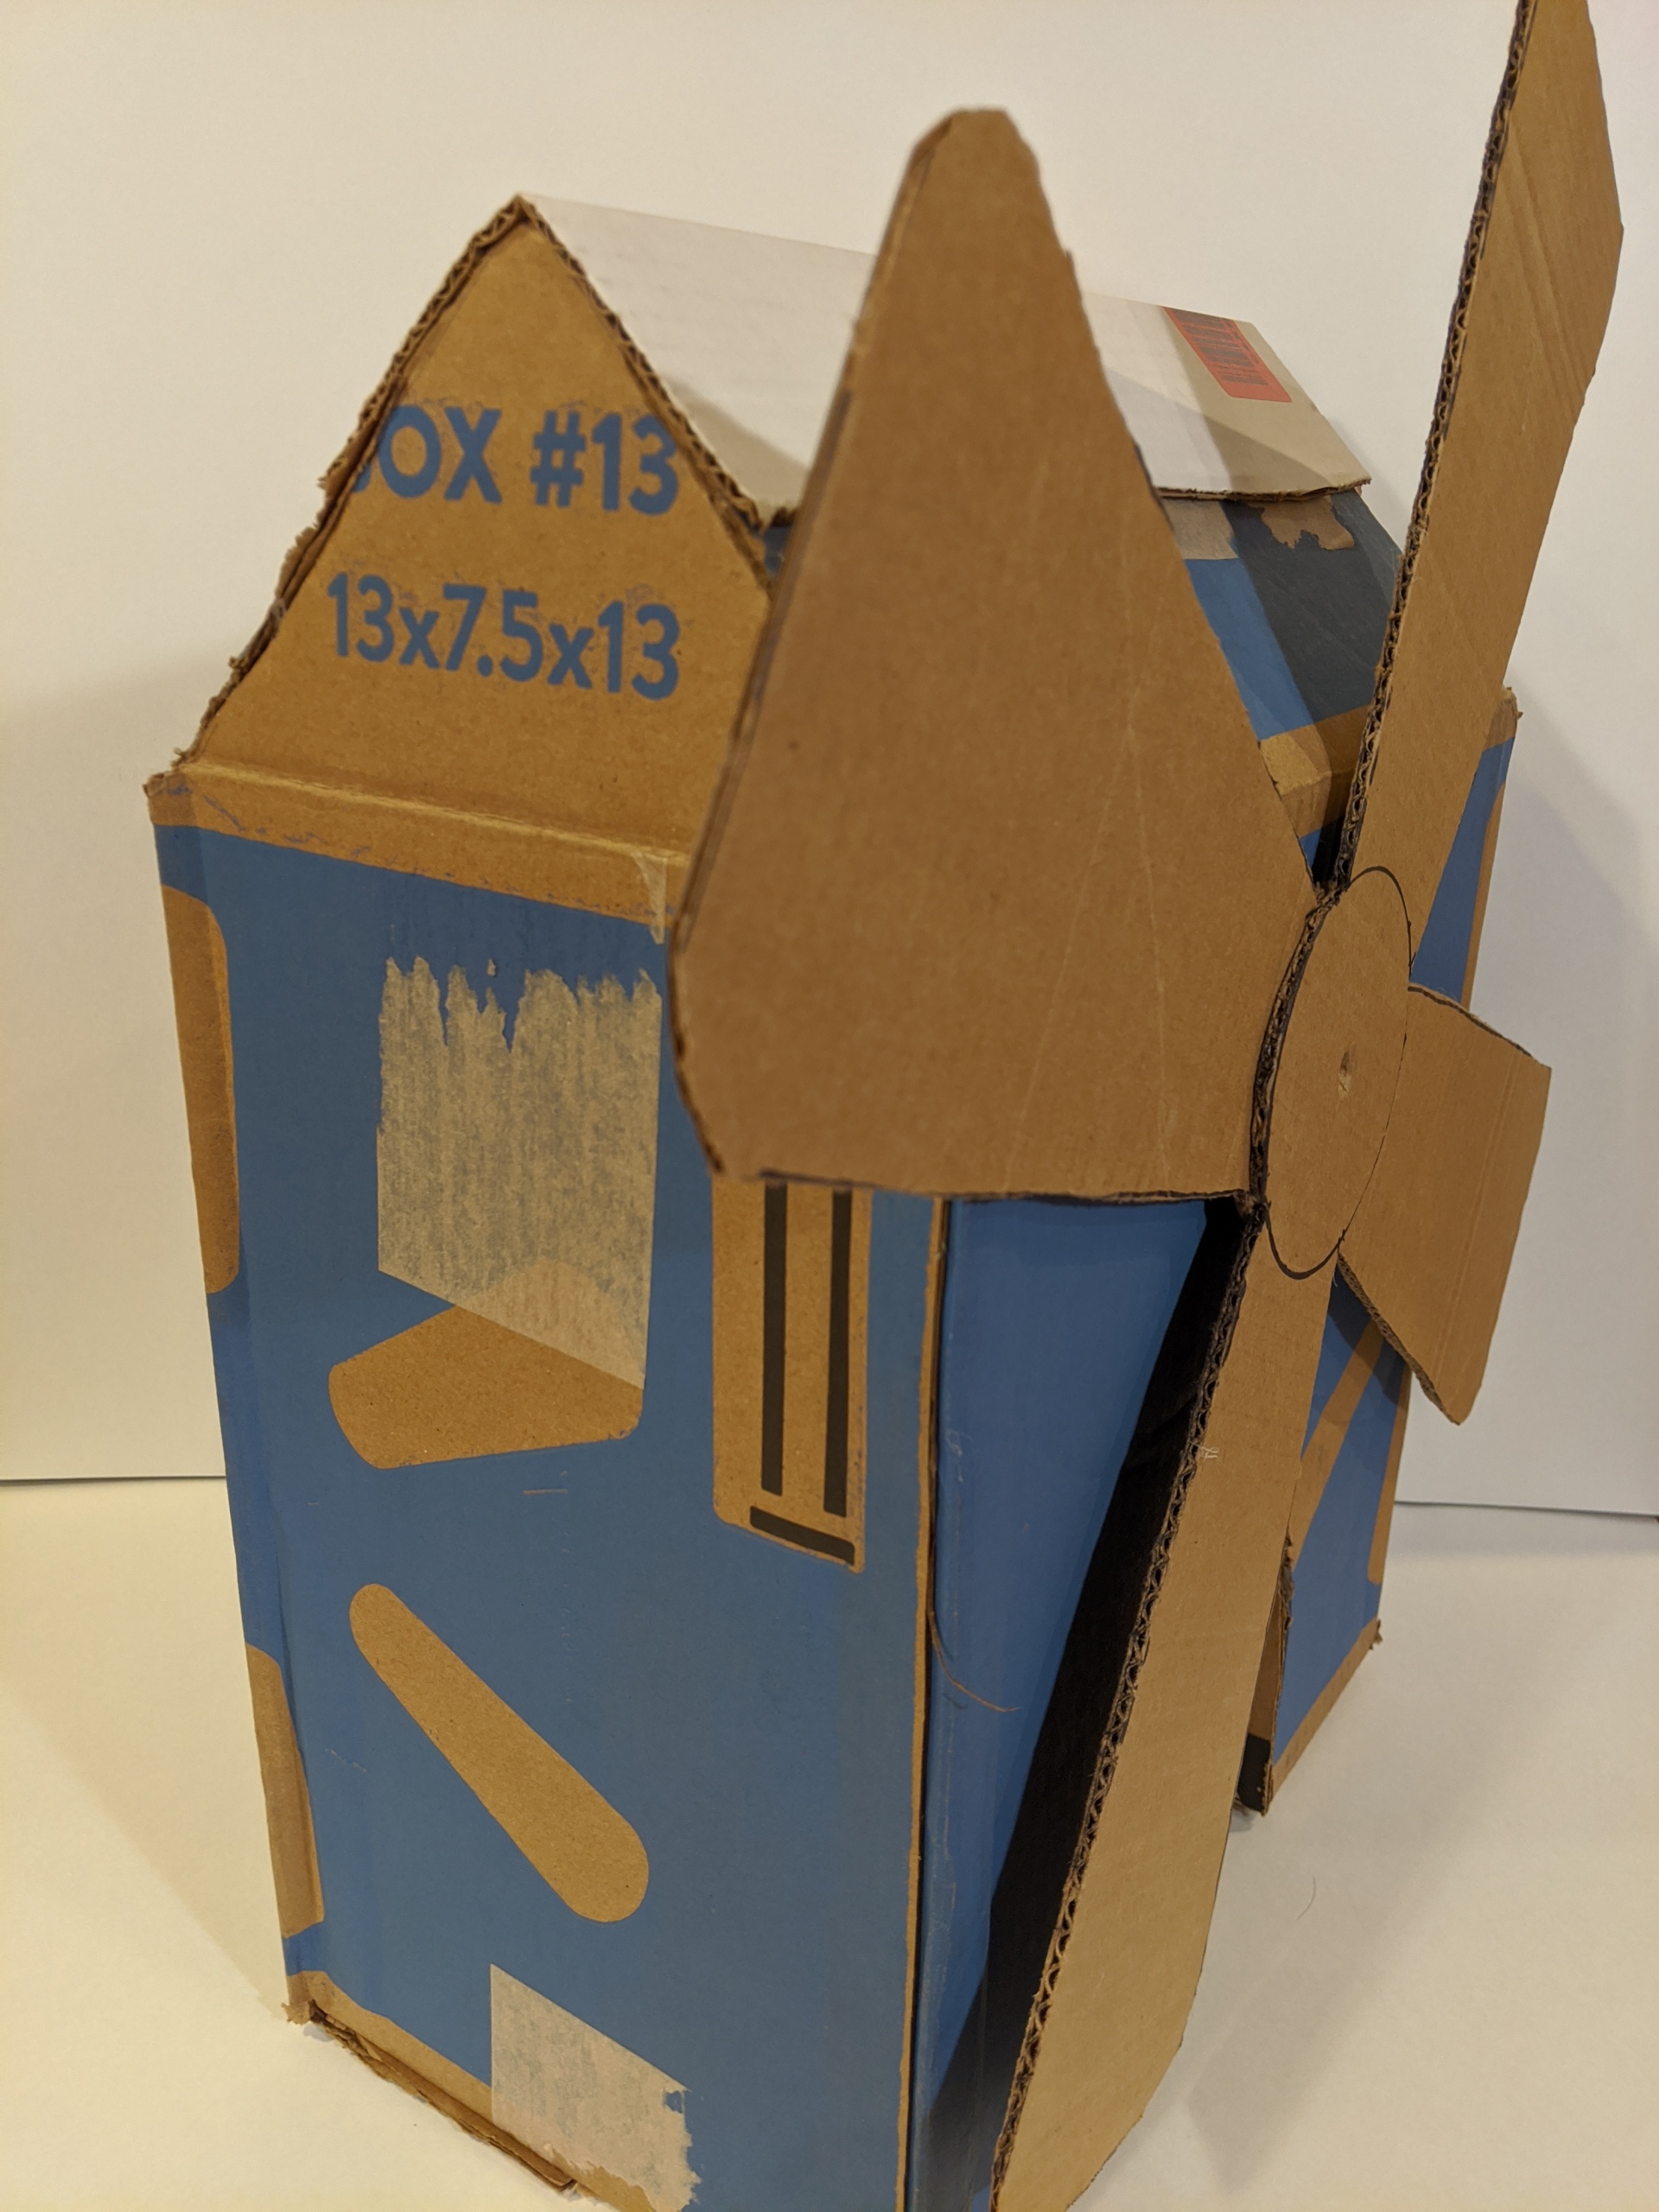
Congratulations! You have built the windmill. But wait! It still needs to be customized and coded to make it come to life.
Code: