
Adding LEDs to a Project

Adding LEDs to a project will grab people’s attention. Use them as to illuminate dark areas, as signage, or just for decoration.
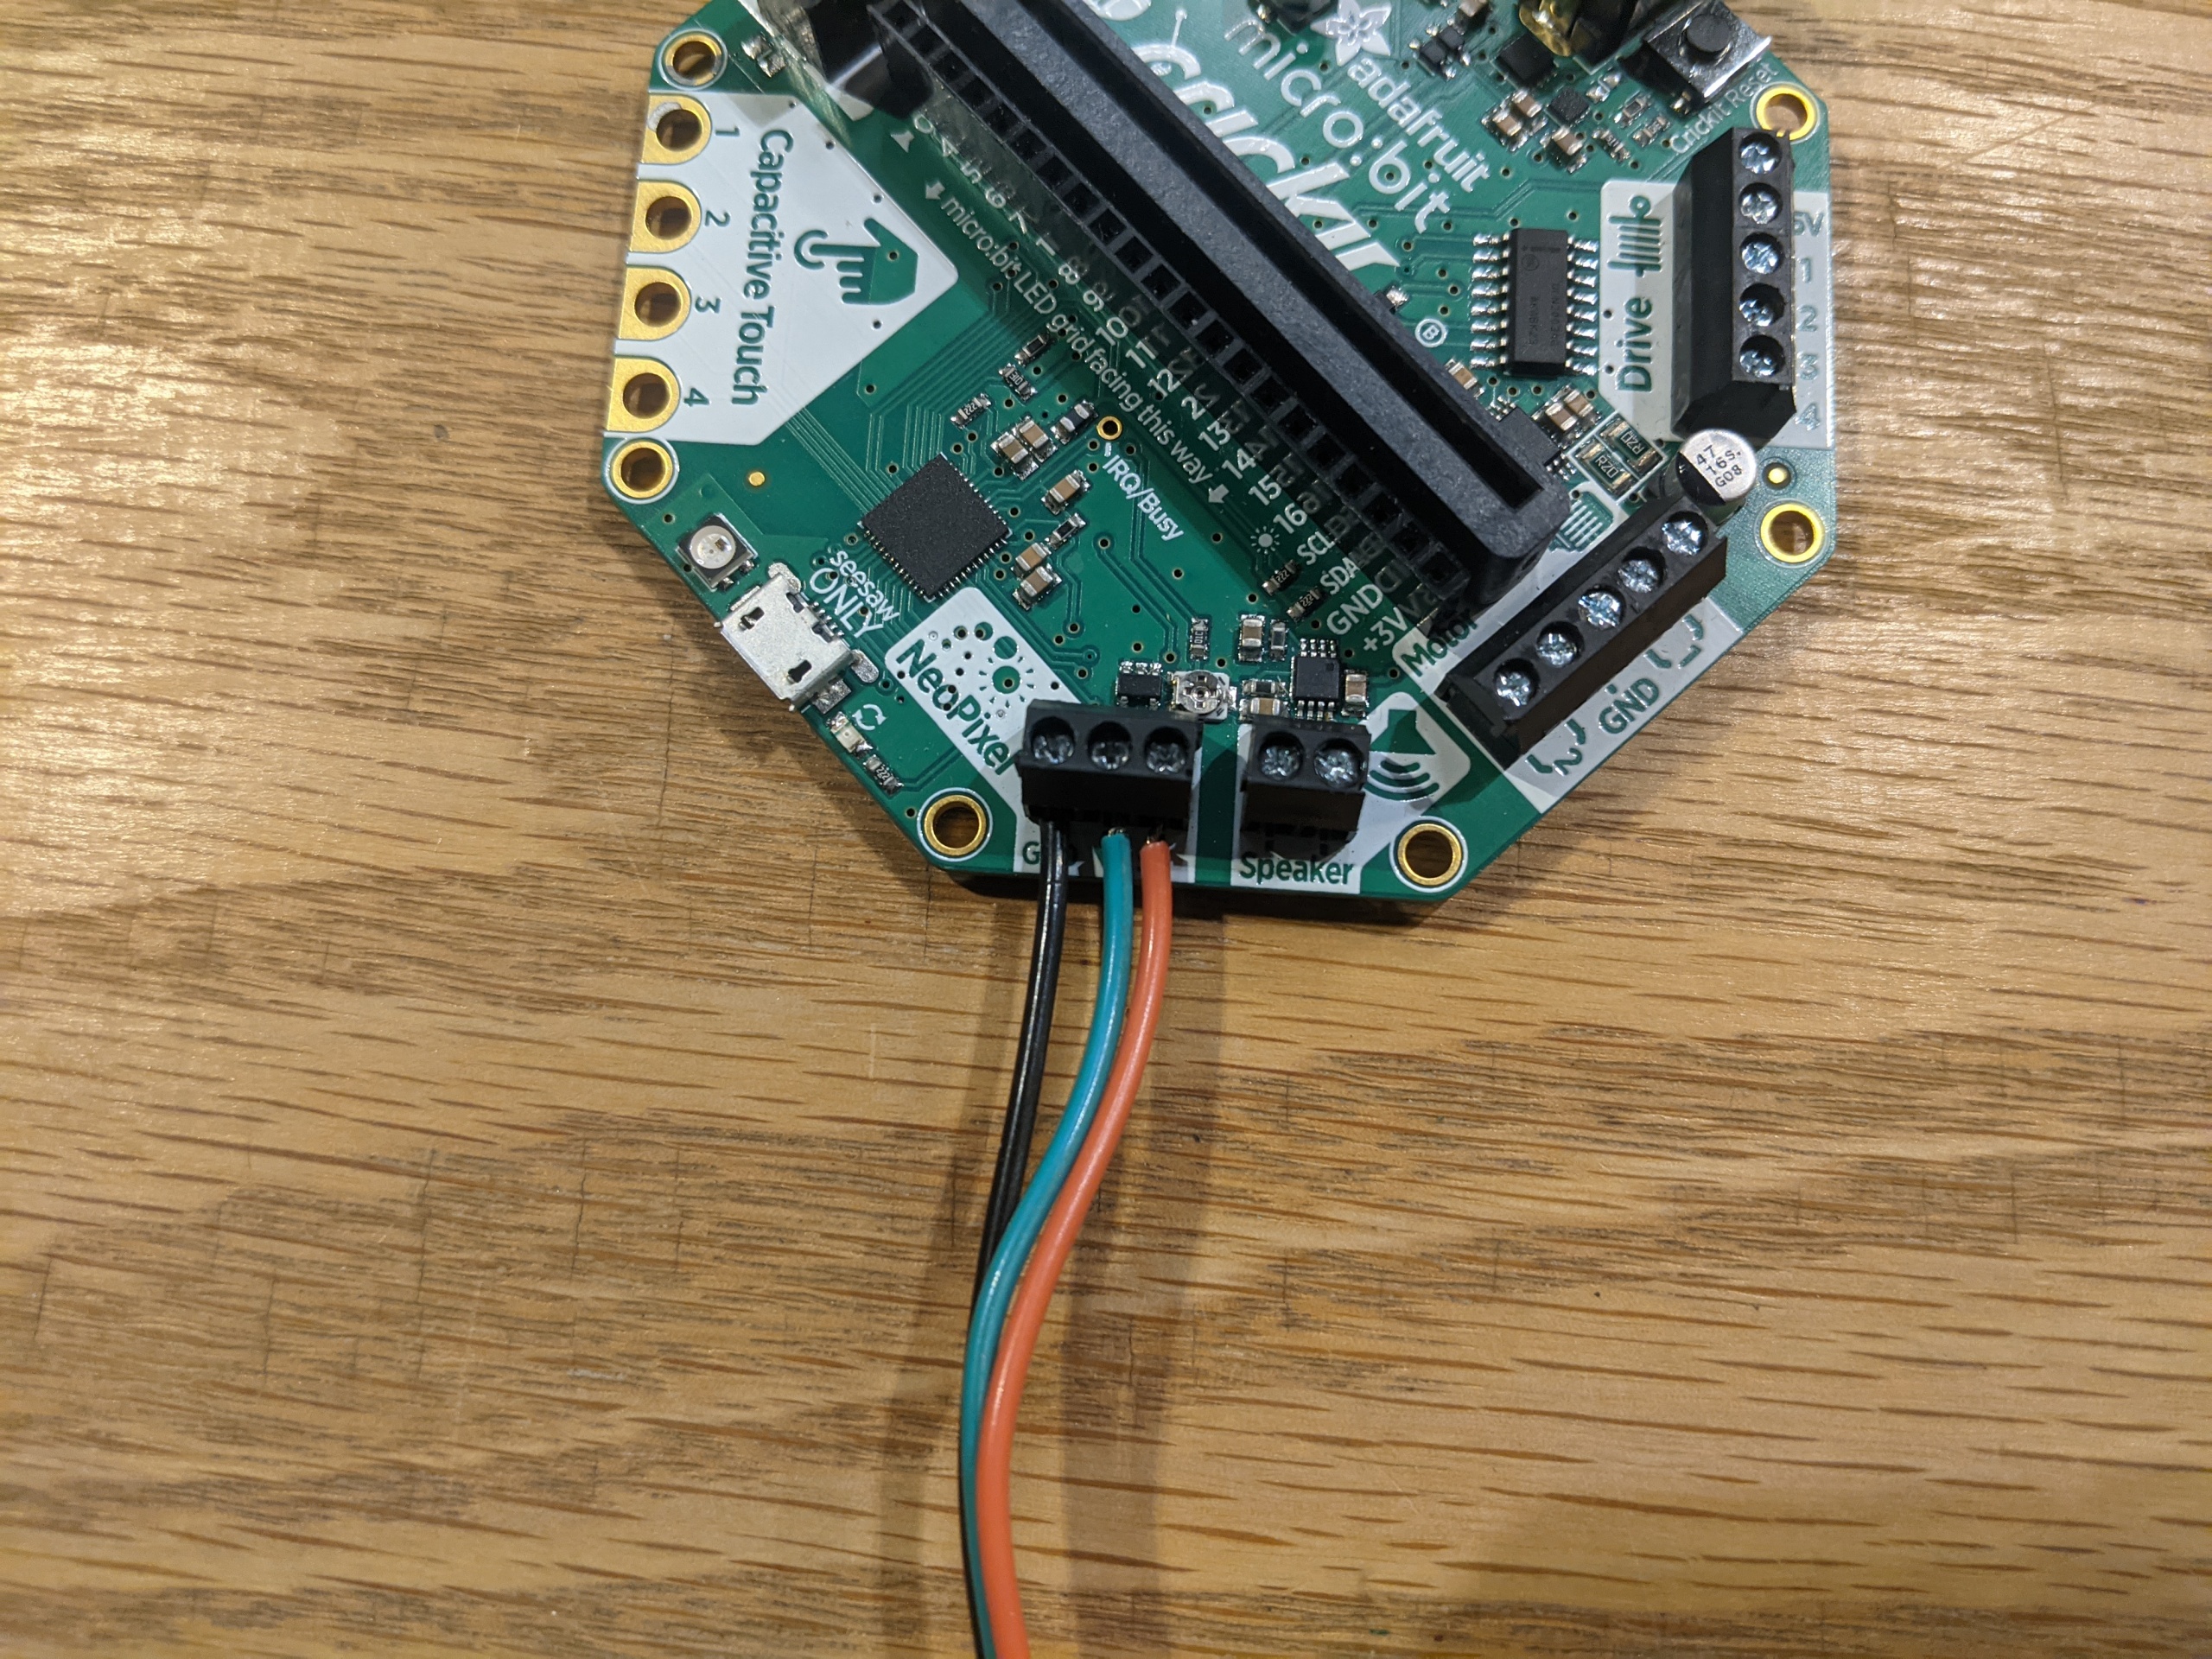
Connecting the LED strip
![]()
NeoPixels are connected on three terminals labeled “NeoPixel”. GND is connected to GND. +5V to 5V, and the arrow terminal to the Din pin on the NeoPixel. We are working with the Micro:bit version of the Crickit but the Circuit Playground Express version is similar.
Coding your LED strip
You will need to add the NeoPixels extension to MakeCode to control NeoPixels.
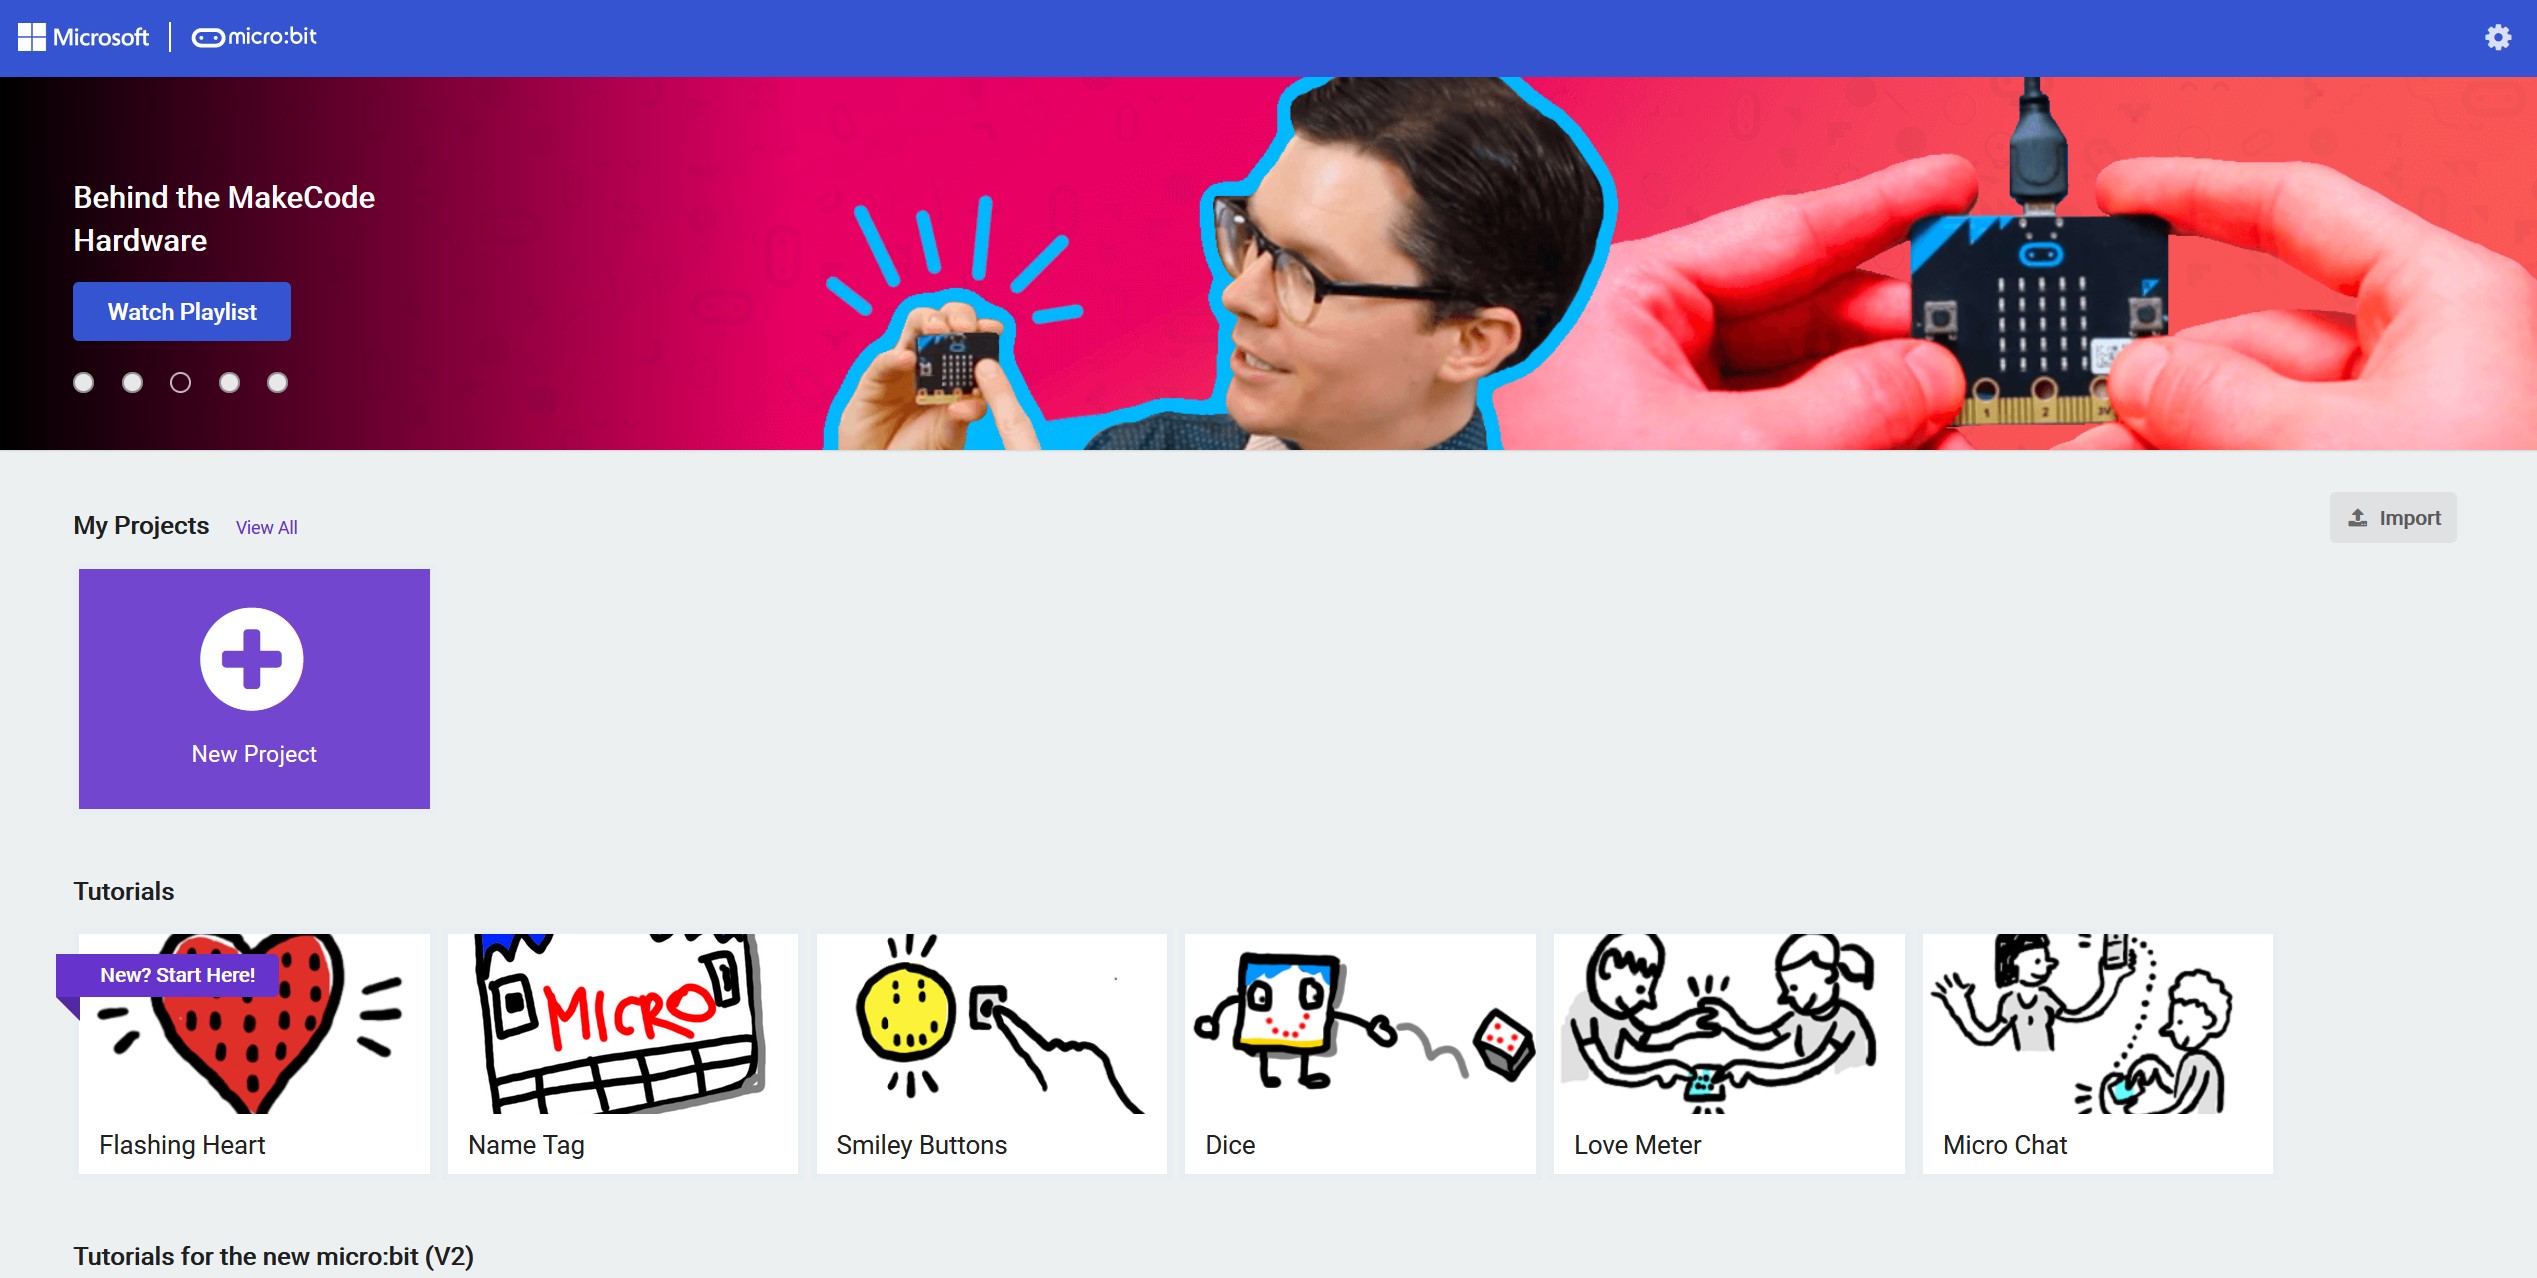
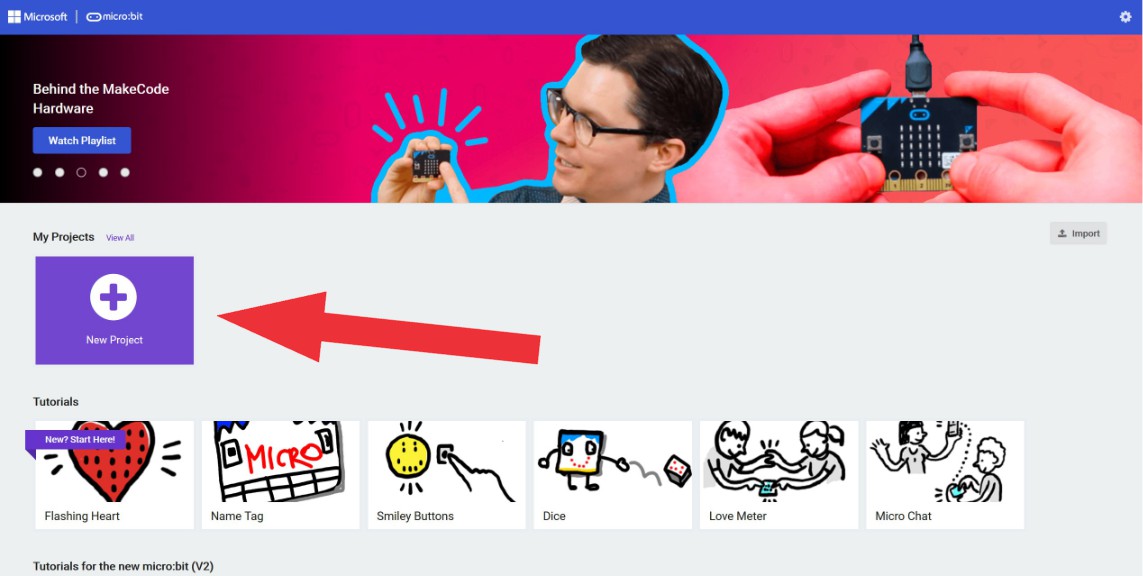
Start a “New Project” or open an existing project
Name the project whatever you want and click “create”
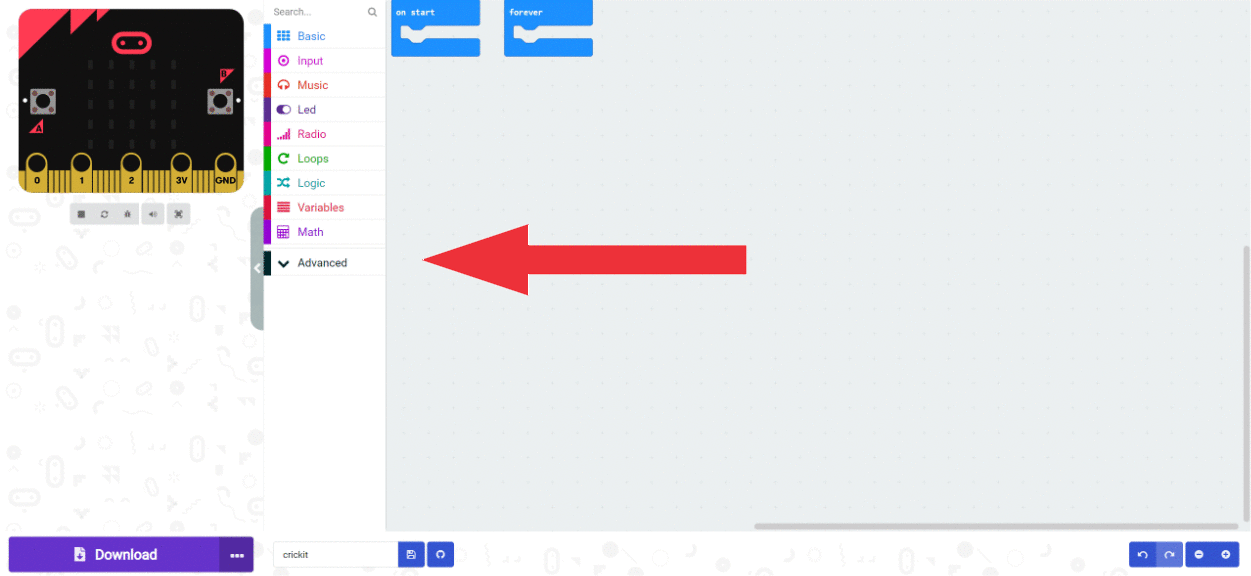
On the middle menu click Advanced and then Add Extension
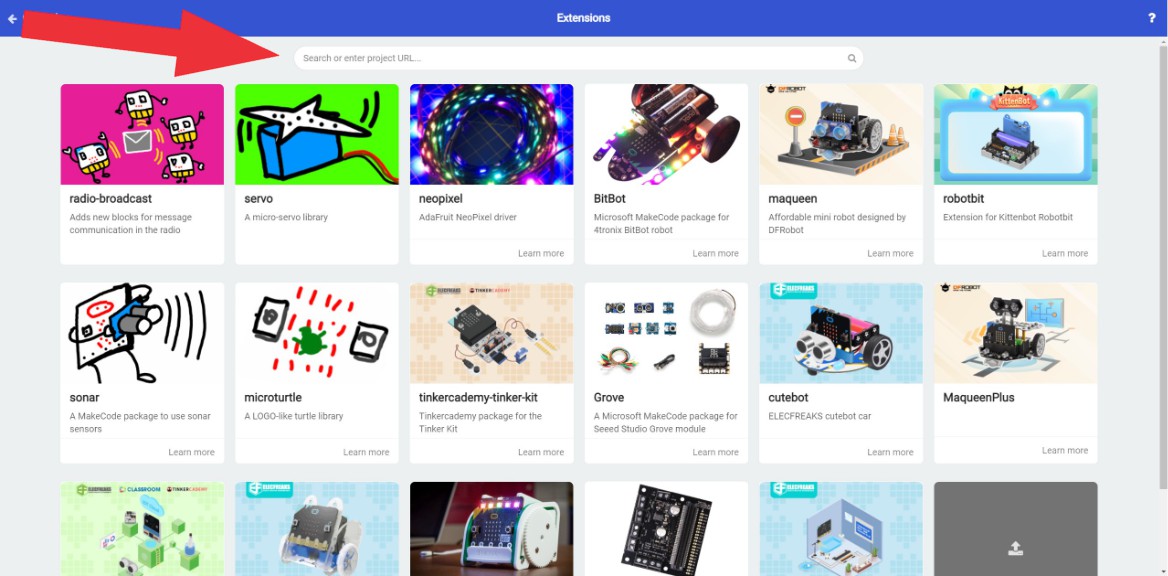
Type “neopixel” into the search box at the top of the extensions page.
![]()
Click on the Neopixel extension to add it.
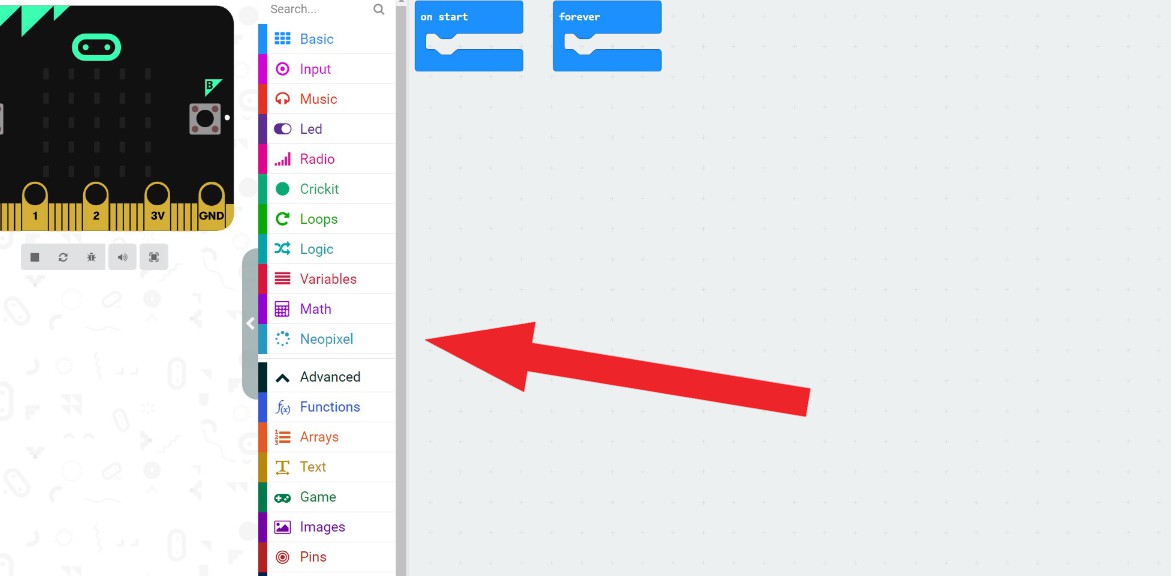
You should now have a block group added to the middle menu called Neopixel which will have the blocks you need for NeoPixel control.
Example Code
![]()
The Crickit connects the neopixel LED strip to pin 16 on the Micro:bit so in this example we are setting up the neoPixel strip to use pin 16. Note we are setting this strip for 24 LEDs, you will need to modify this value with the amount of LEDs your strip has.
The On Start start sets a variable named “strip” as 24 neopixels attached to pin 16 then it calls that “strip” to be rainbow patterned.
The Forever section then tells that strip, in order, to rotate the rainbow pattern through the 24 leds, show the change, pause for .25 seconds to slow it all down, and then repeat forever.