
Materials
cardboard
cup for hole
Difficulty
Mechanical: Easy
Coding and Electrical: None
Construction: Medium
The base is the playing surface of your mini-golf hole.
We used pizza boxes because it enables us to build in sections, modularly. Each person on a team can work on their own section of the hole using the same style pizza boxes and they will fit together perfectly for final assembly. You don’t have to use pizza boxes but they make it easy to match dimensions. This is just and example of some basic techniques. Once you are efficient with these building concepts you can attempt some of the more advanced techniques that can hide the support structures.
Your base should have these elements:
- Start of the hole
- Cup, hole, or obvious end of the course
- Walls to keep the ball on the course
Tips:
– You will need to raise the turf to the height of the cup you are using for the hole. Decide if you want the whole course at that level or a ramp built in somewhere. A yogurt cup is a perfect cup for your hole.
– Build in sections that can fit into a car or van. You will need to transport your project to the competition. Make sure it fits out the door and into a car
– Make it playable – it should be easy to figure out and maneuver.
– Hole in one should be possible and no more than 4 mandatory hits to finish.
– Don’t make your walls higher than necessary.
– More than one person can work on the base. One could build the beginning while another team member builds the end.
– Plan a spot for your microcontroller and a route for your wires.
Sections on the Ground & Walls
Every mini golf hole should have a starting spot. Depending on your design, your start could have your cardboard base on the ground or raised off the ground. We’ll start by going though on ground construction.
Ground construction is the least complicated, all you really need is to construct walls and brace them. In this example we are going to use the existing sides of the pizza box as our walls. We will need to place the braces outside of the wall so they don’t obstruct the ball movement.
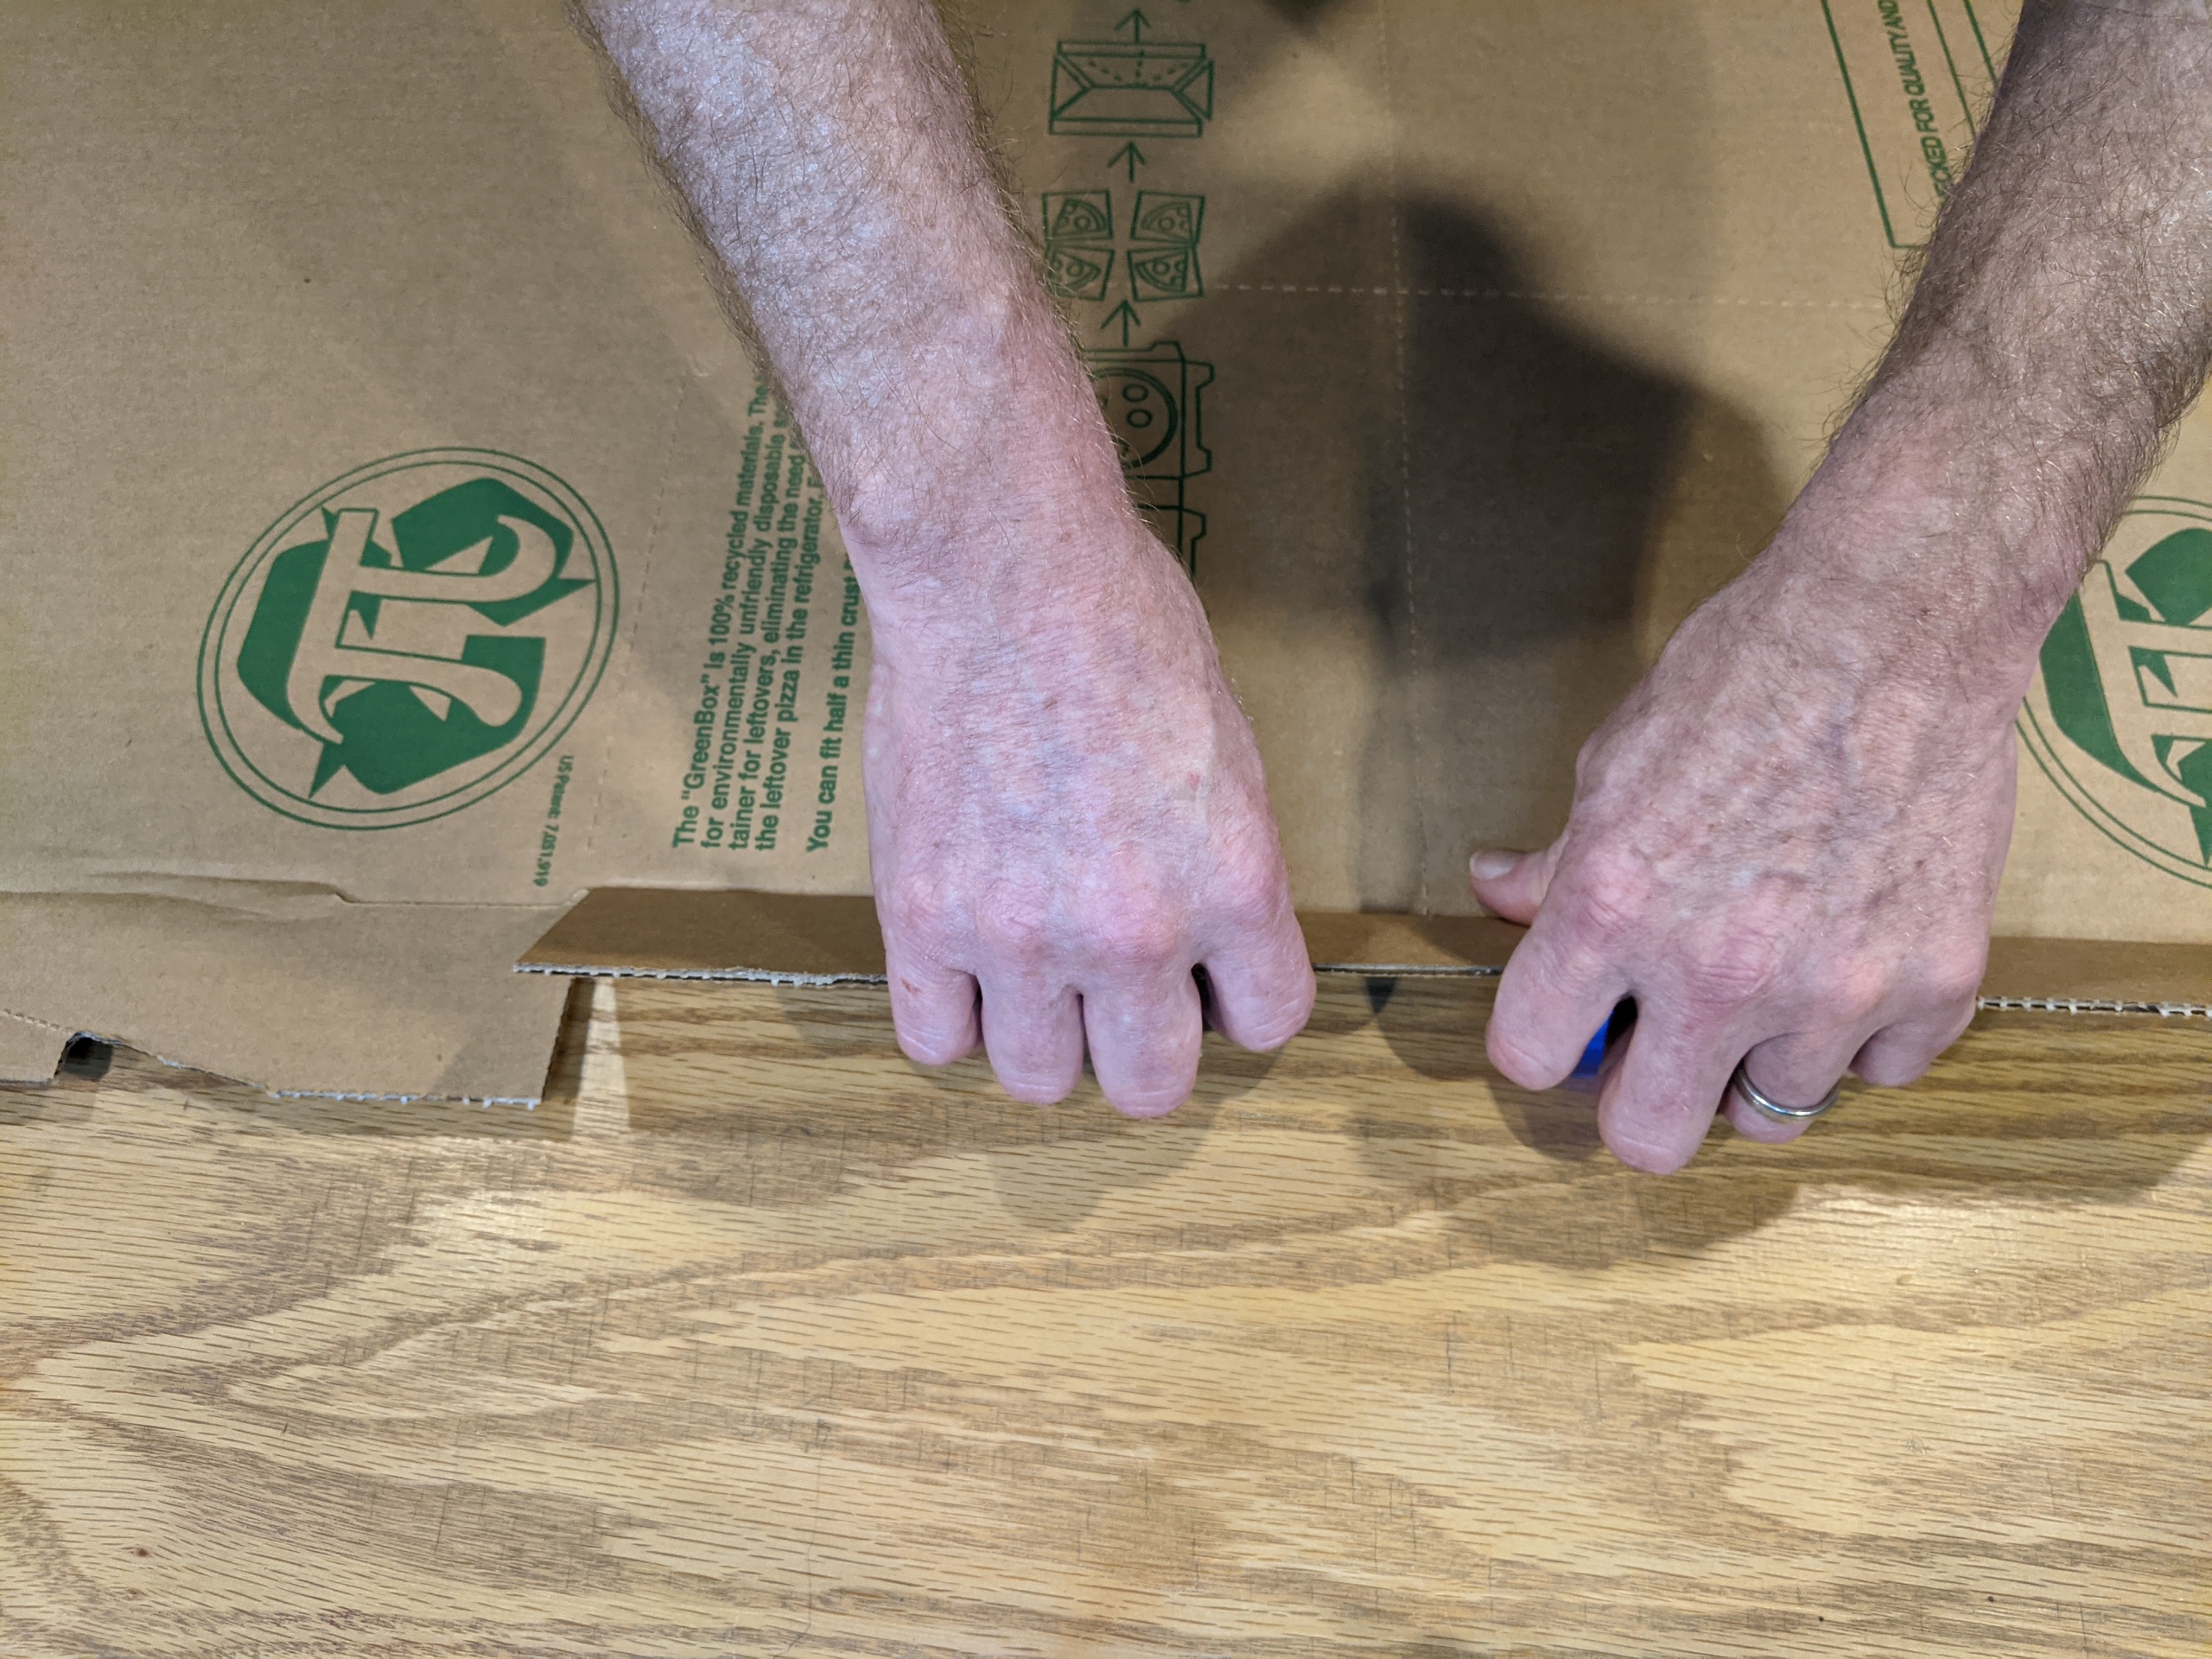
Start by folding the pizza box walls up using the preexisting folds.

We’re going to need some platform extensions to fasten your braces onto. Glue some 2 x 4 inch pieces of cardboard to the bottom sticking out halfway. The part that sticks out will be the platform for the brace. You only need two of these sticking out per wall section.
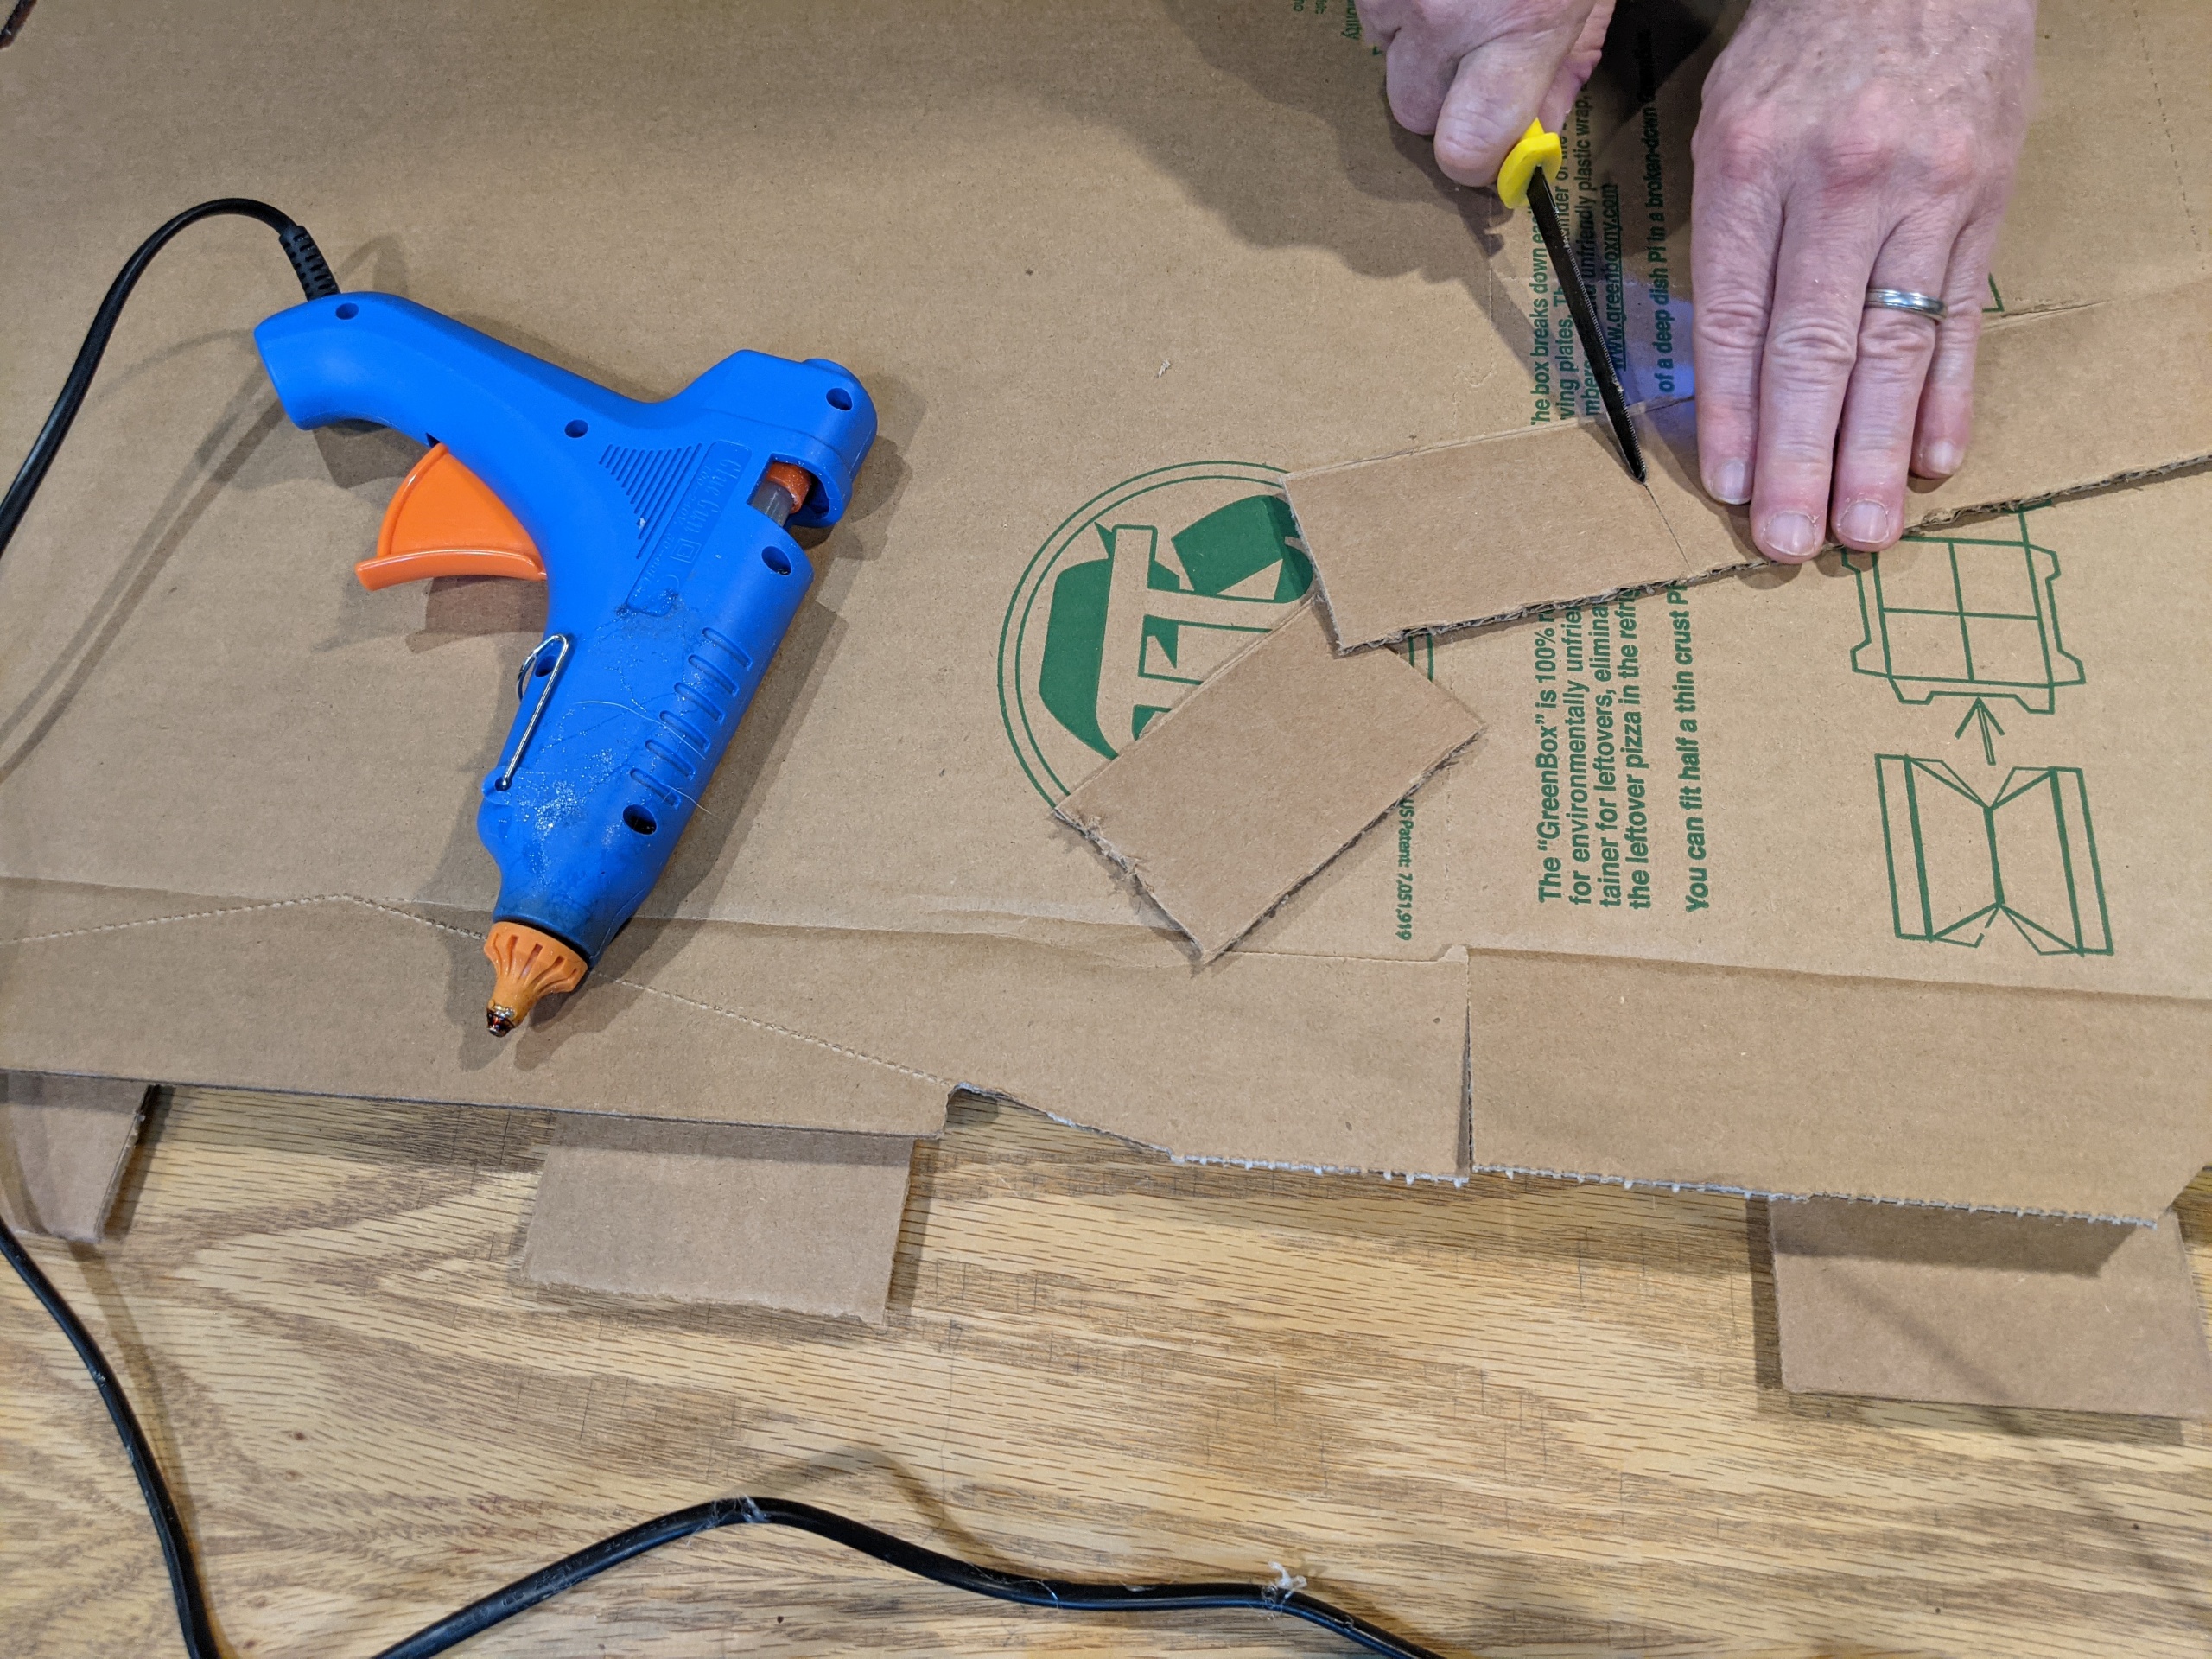
To make the braces cut additional 2 x 3 inch pieces of carboard. Make sure they are cut with the carboard folds running the short, 2 in side as shown.
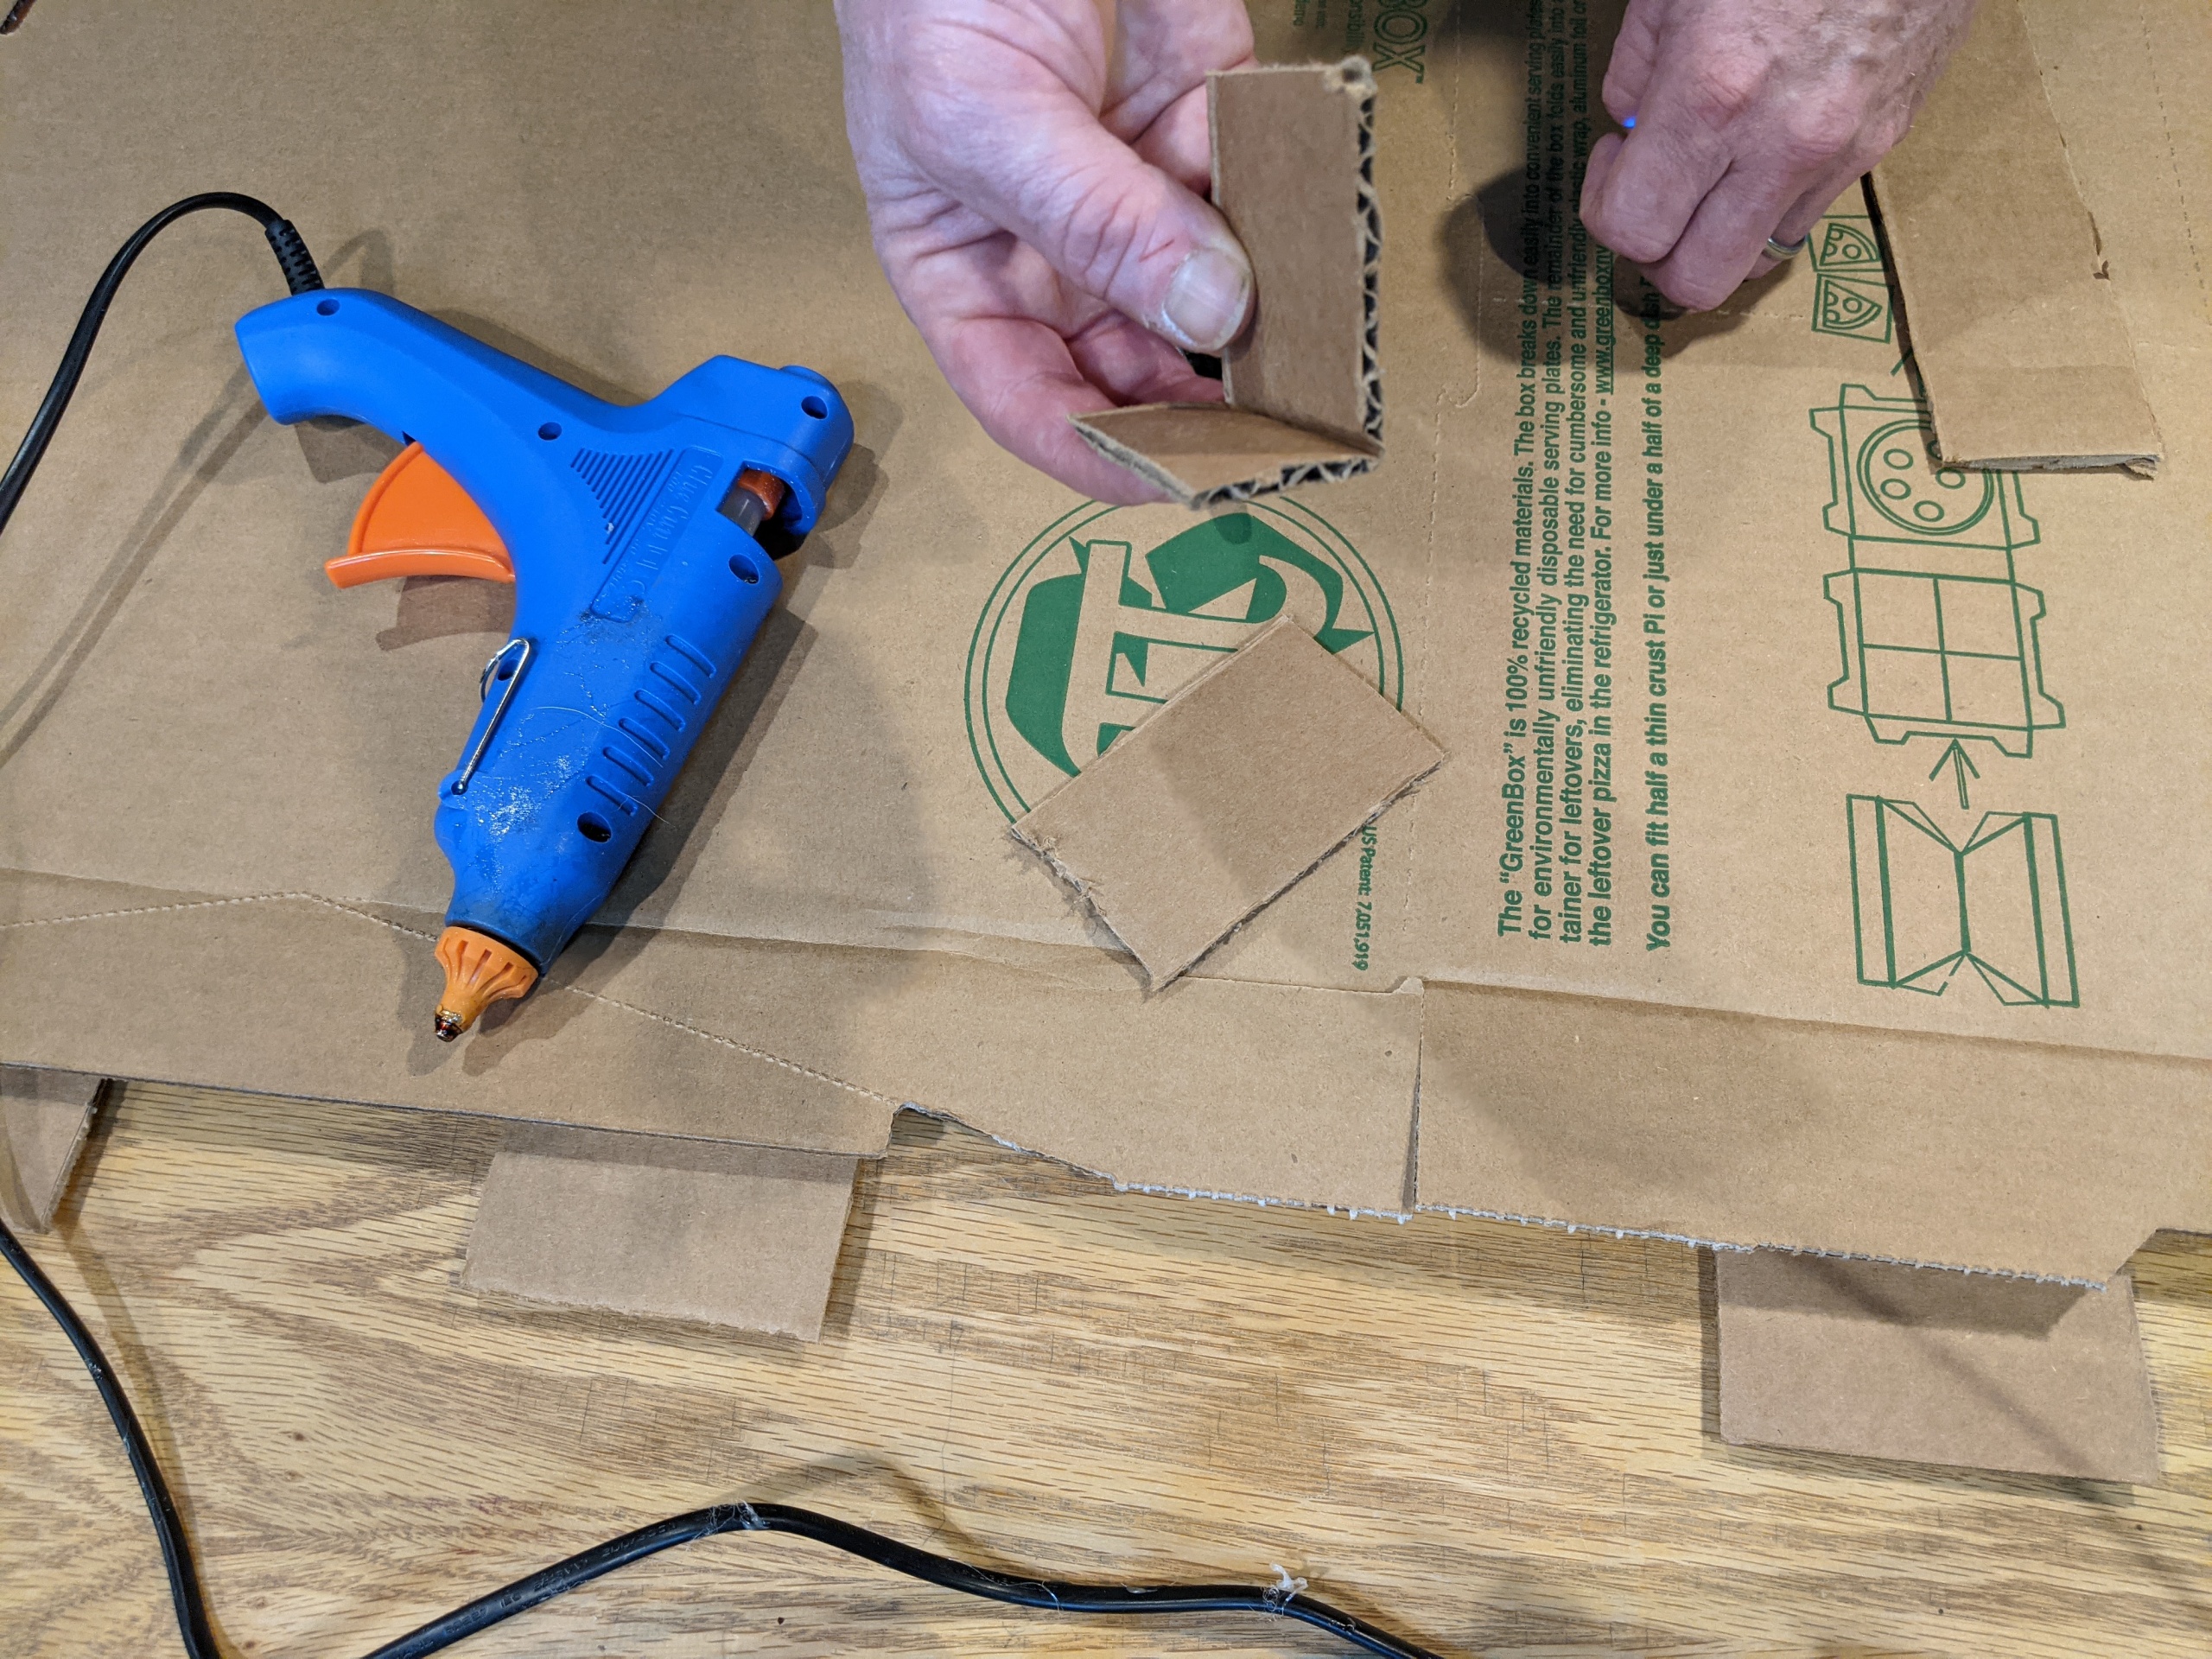
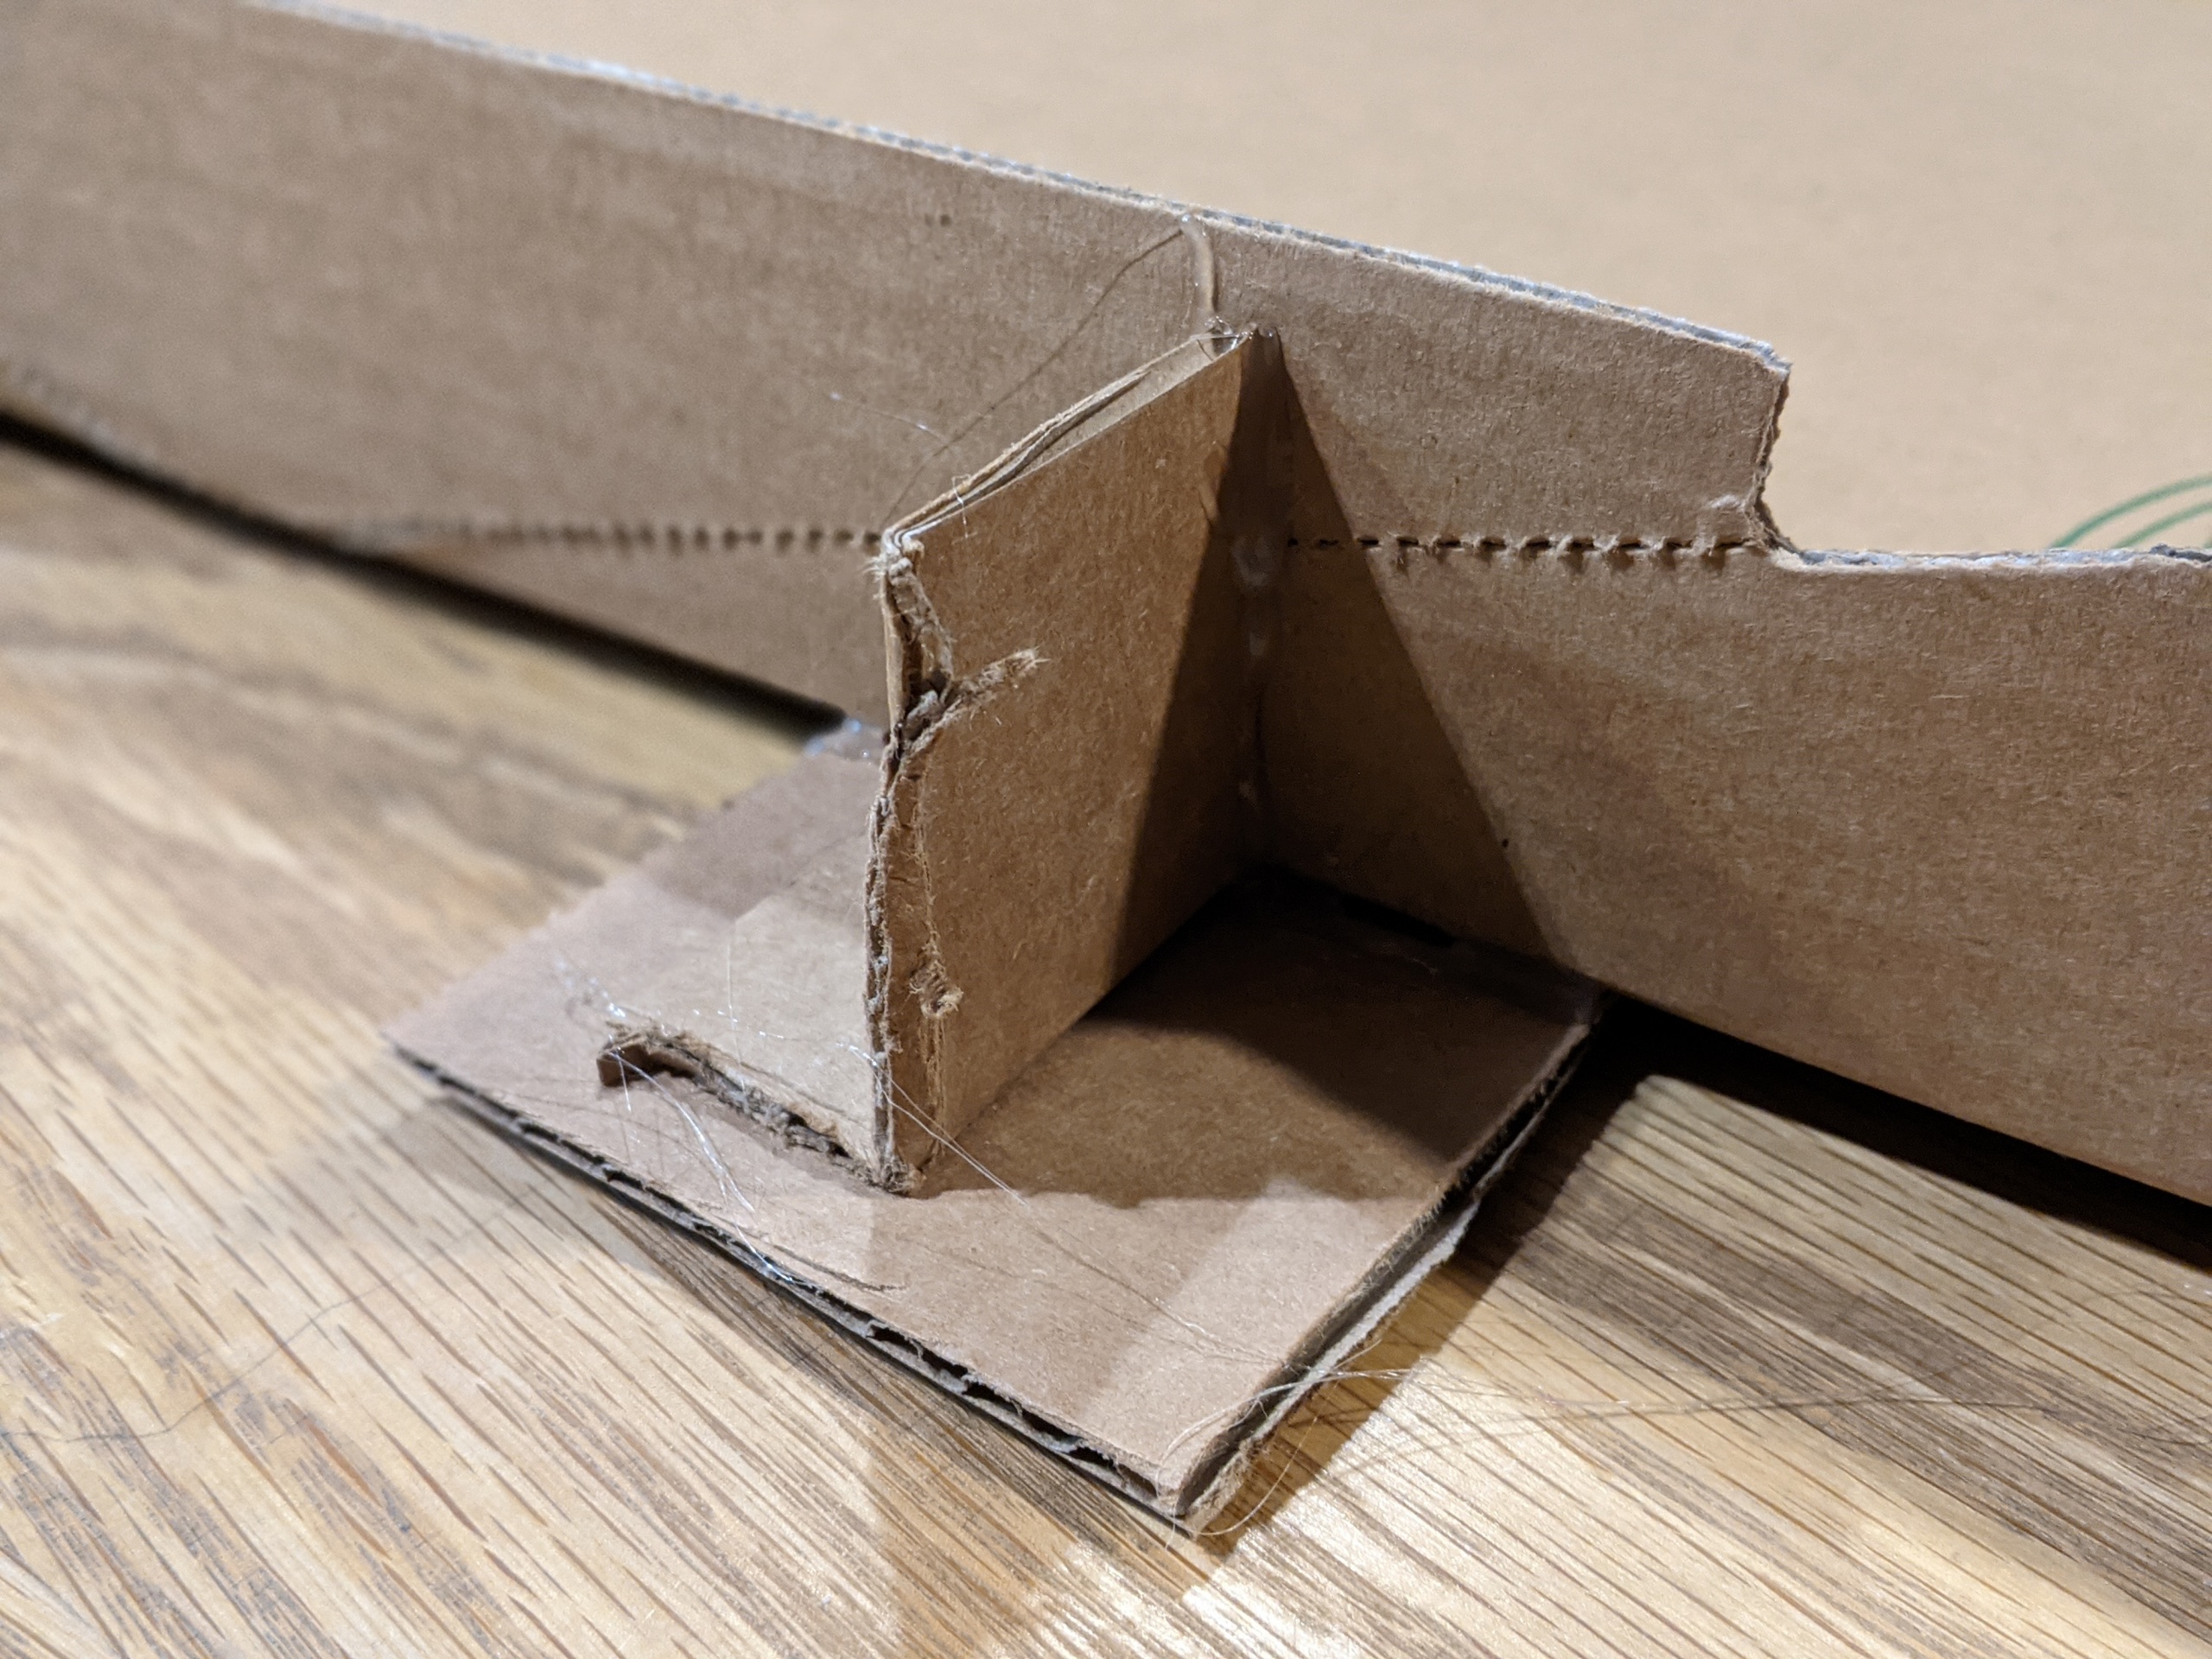
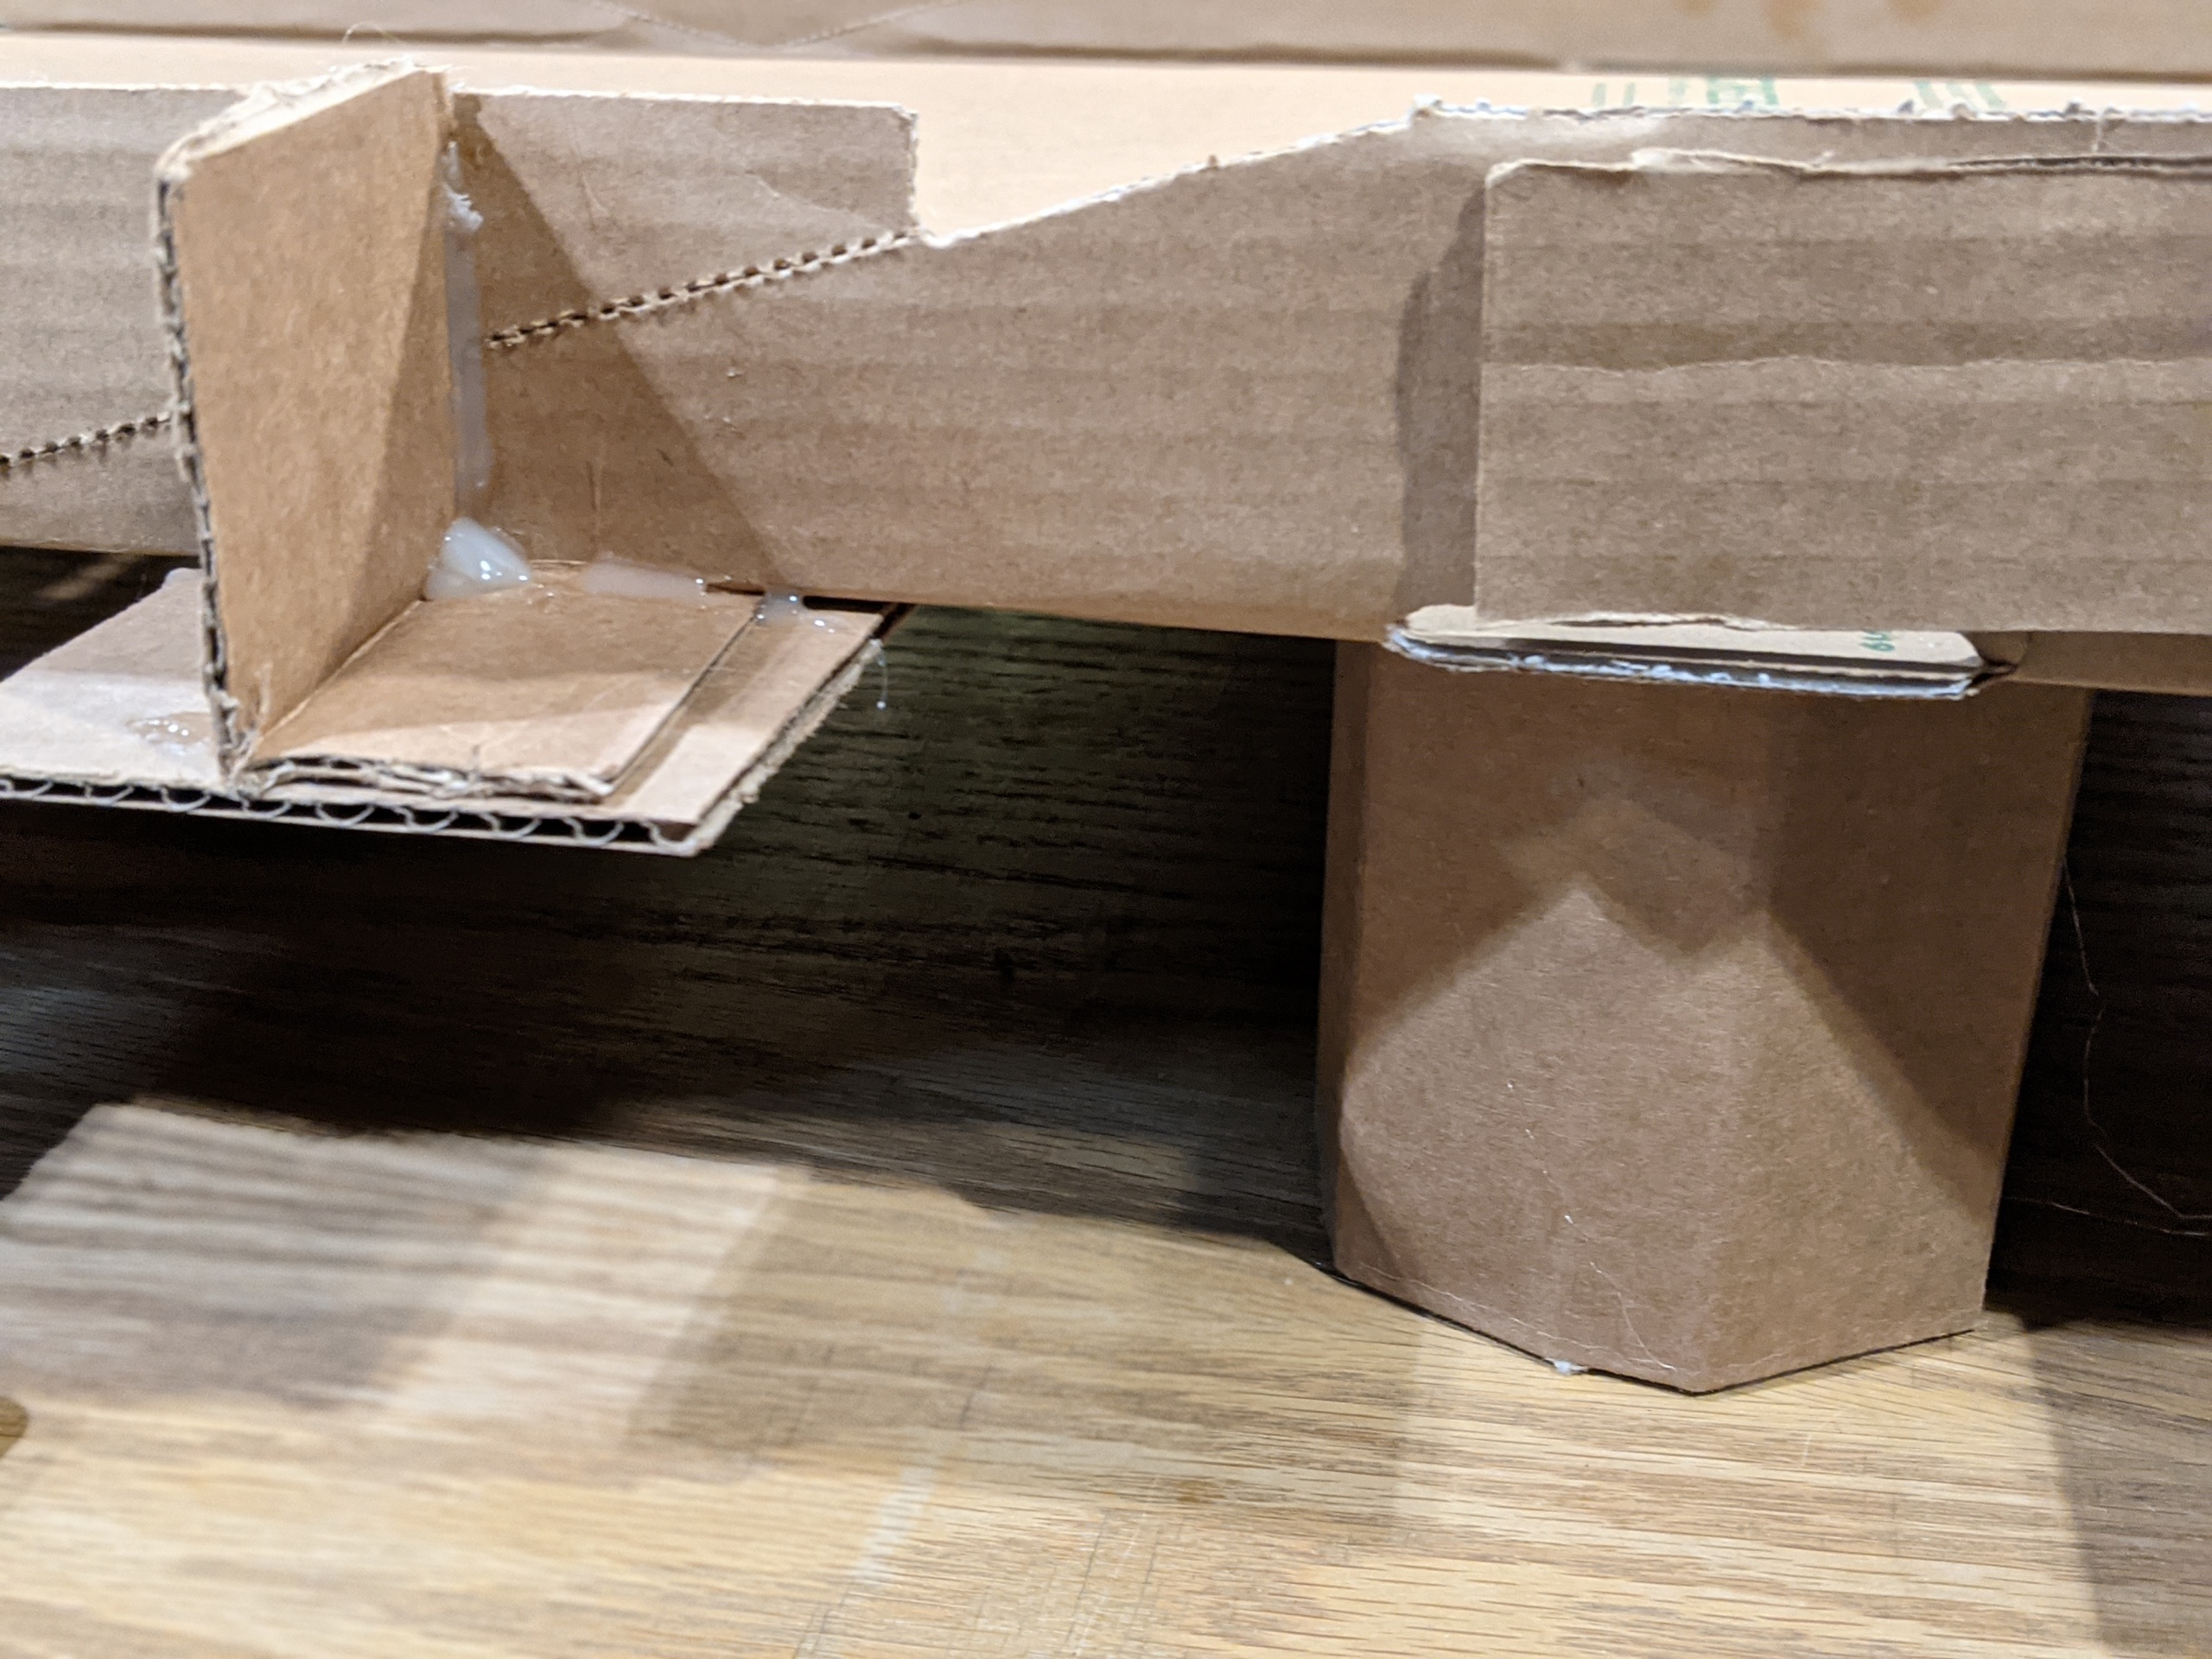
Fold the cardboard at a right (90 degree) angle using the folds to help you crease it.
Hot glue that piece as shown between the platform extension and folded pizza box wall.
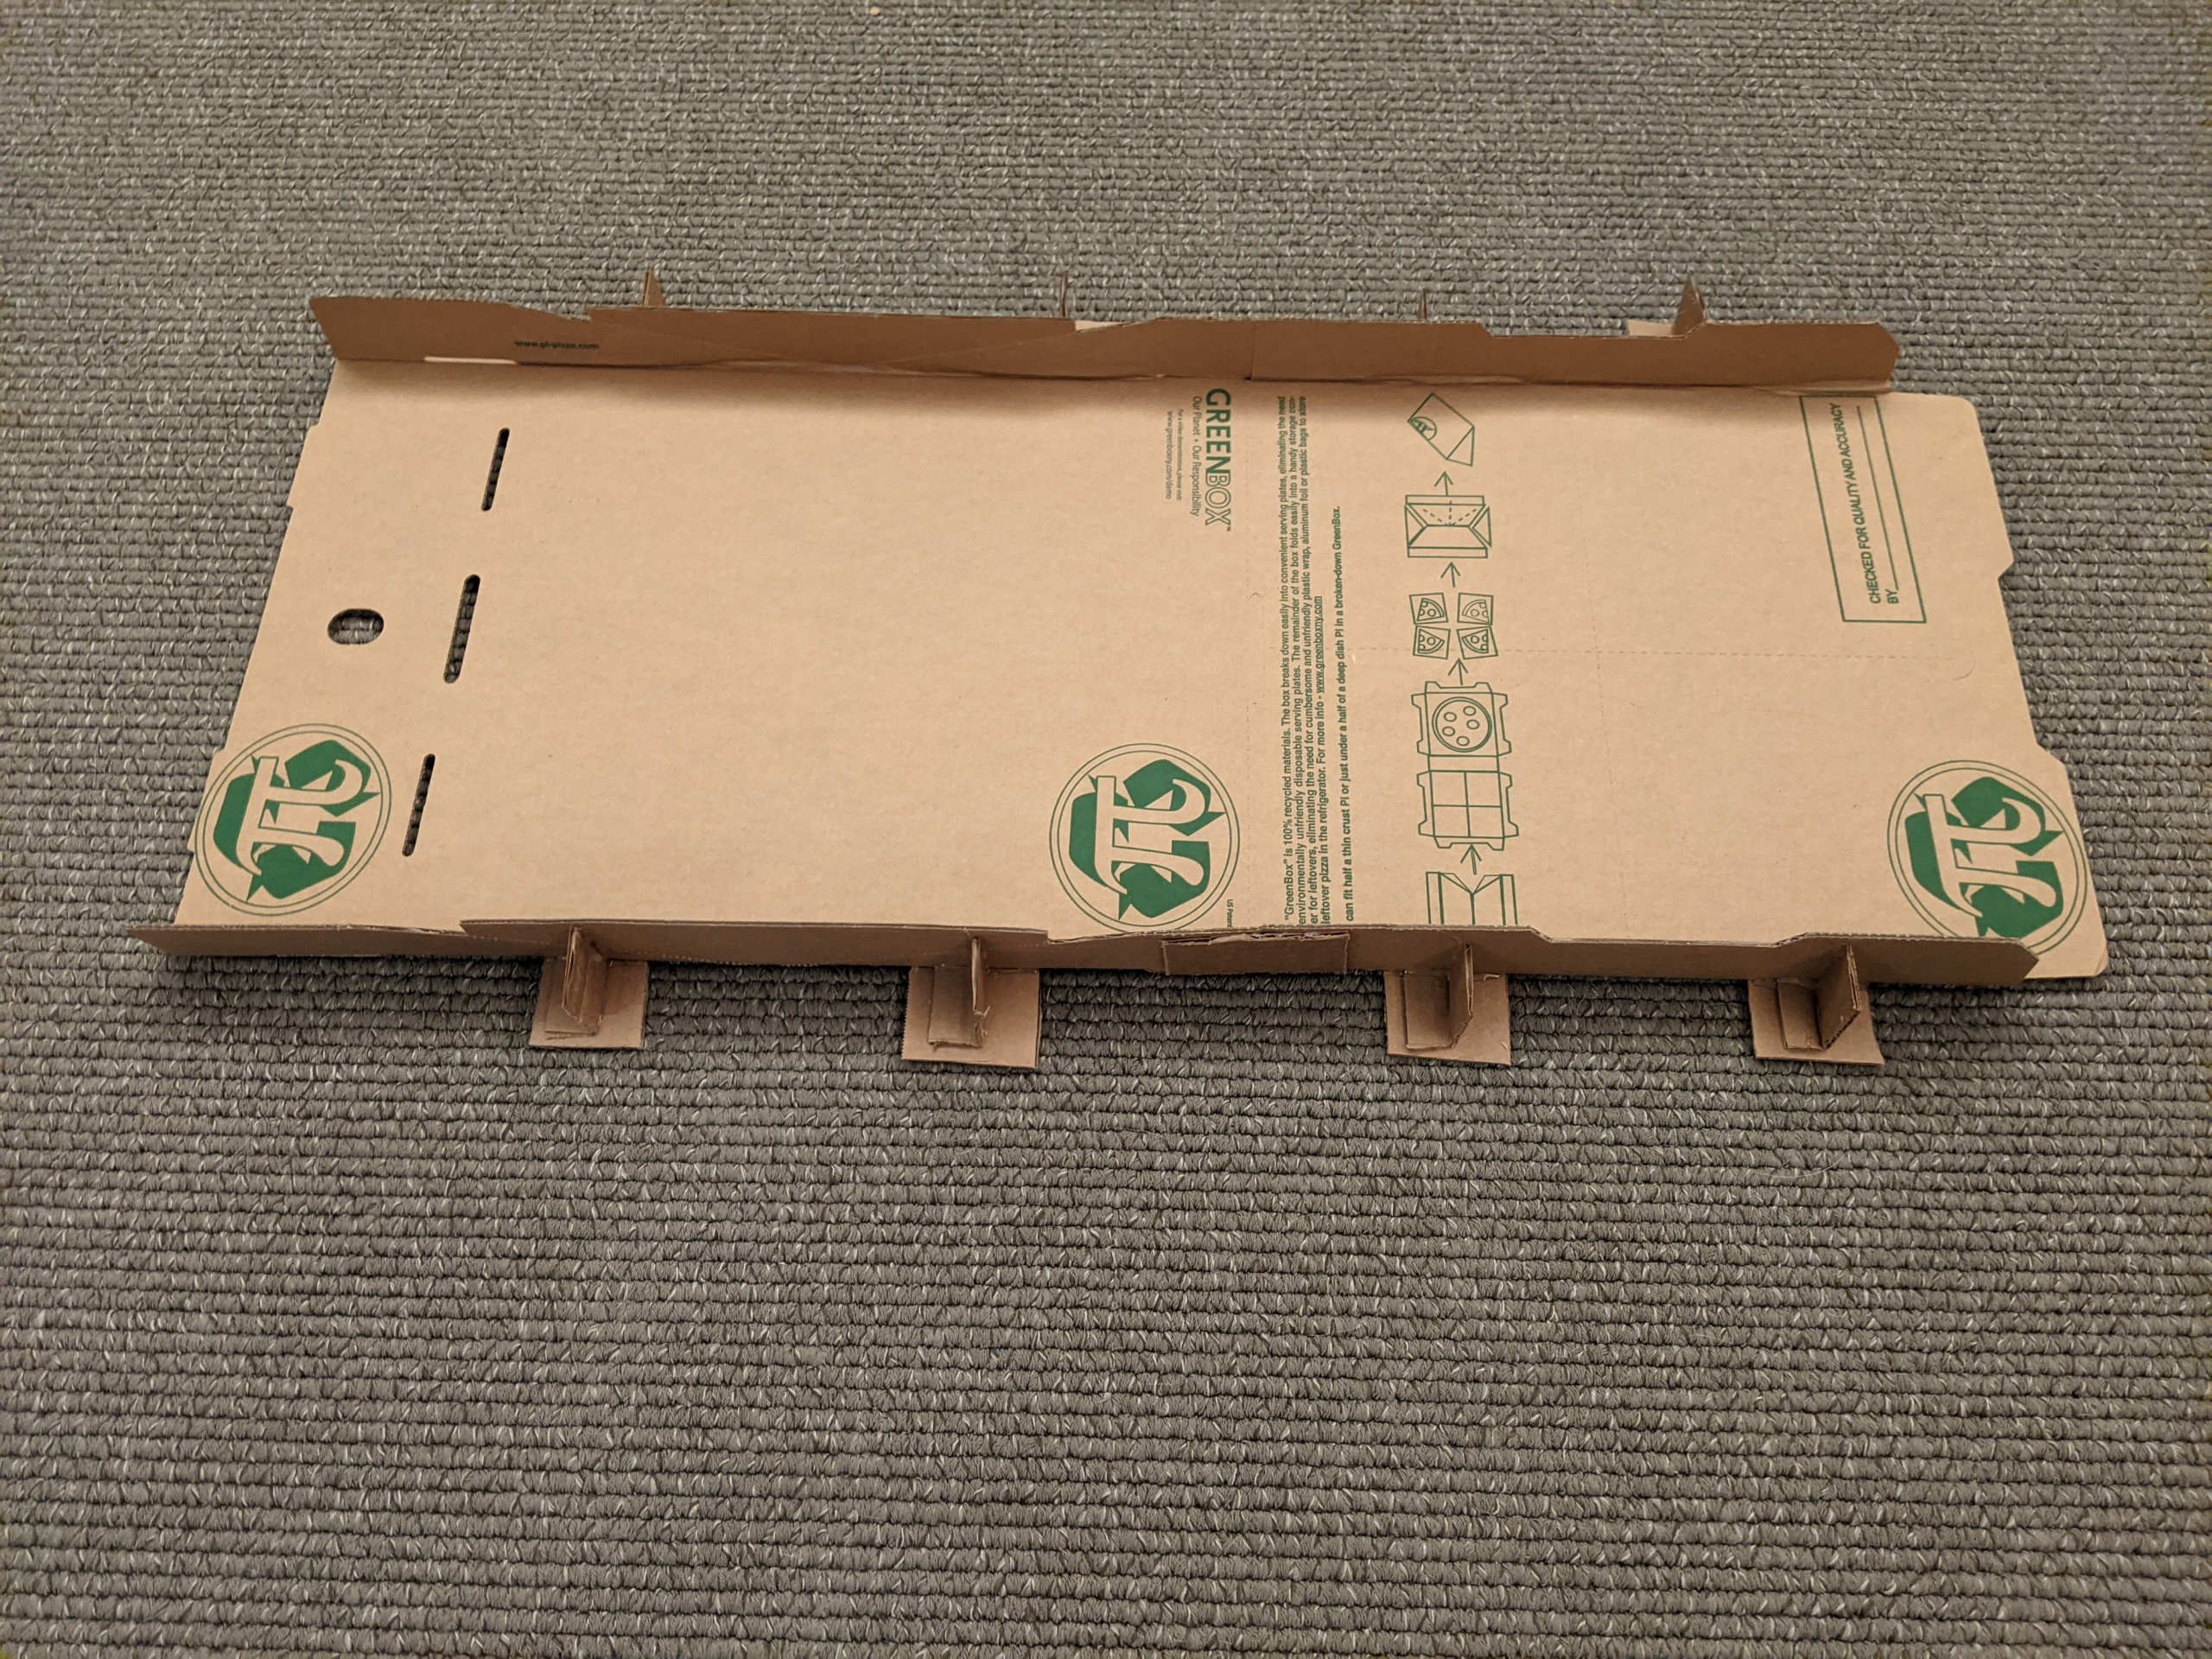
Repeat for all the walls in your design
Raised Sections and Hole
Every hole needs an end. If you’re going to use a cup for the hole you will have to raise the elevation of the base to the height of the cup. You can construct your whole hole at this elevation or have the ball go up to that elevation at some point before the end.
Elevated construction is more complicated. You’ll need to legs for your base to sit on in addition to your walls. You can hide your braces underneath when elevated. There is no right way to do this, this is just one of the less complicated methods. The more advanced methods can hide your supports.
Make your walls. The easiest way is to use extensions and braces as described above.
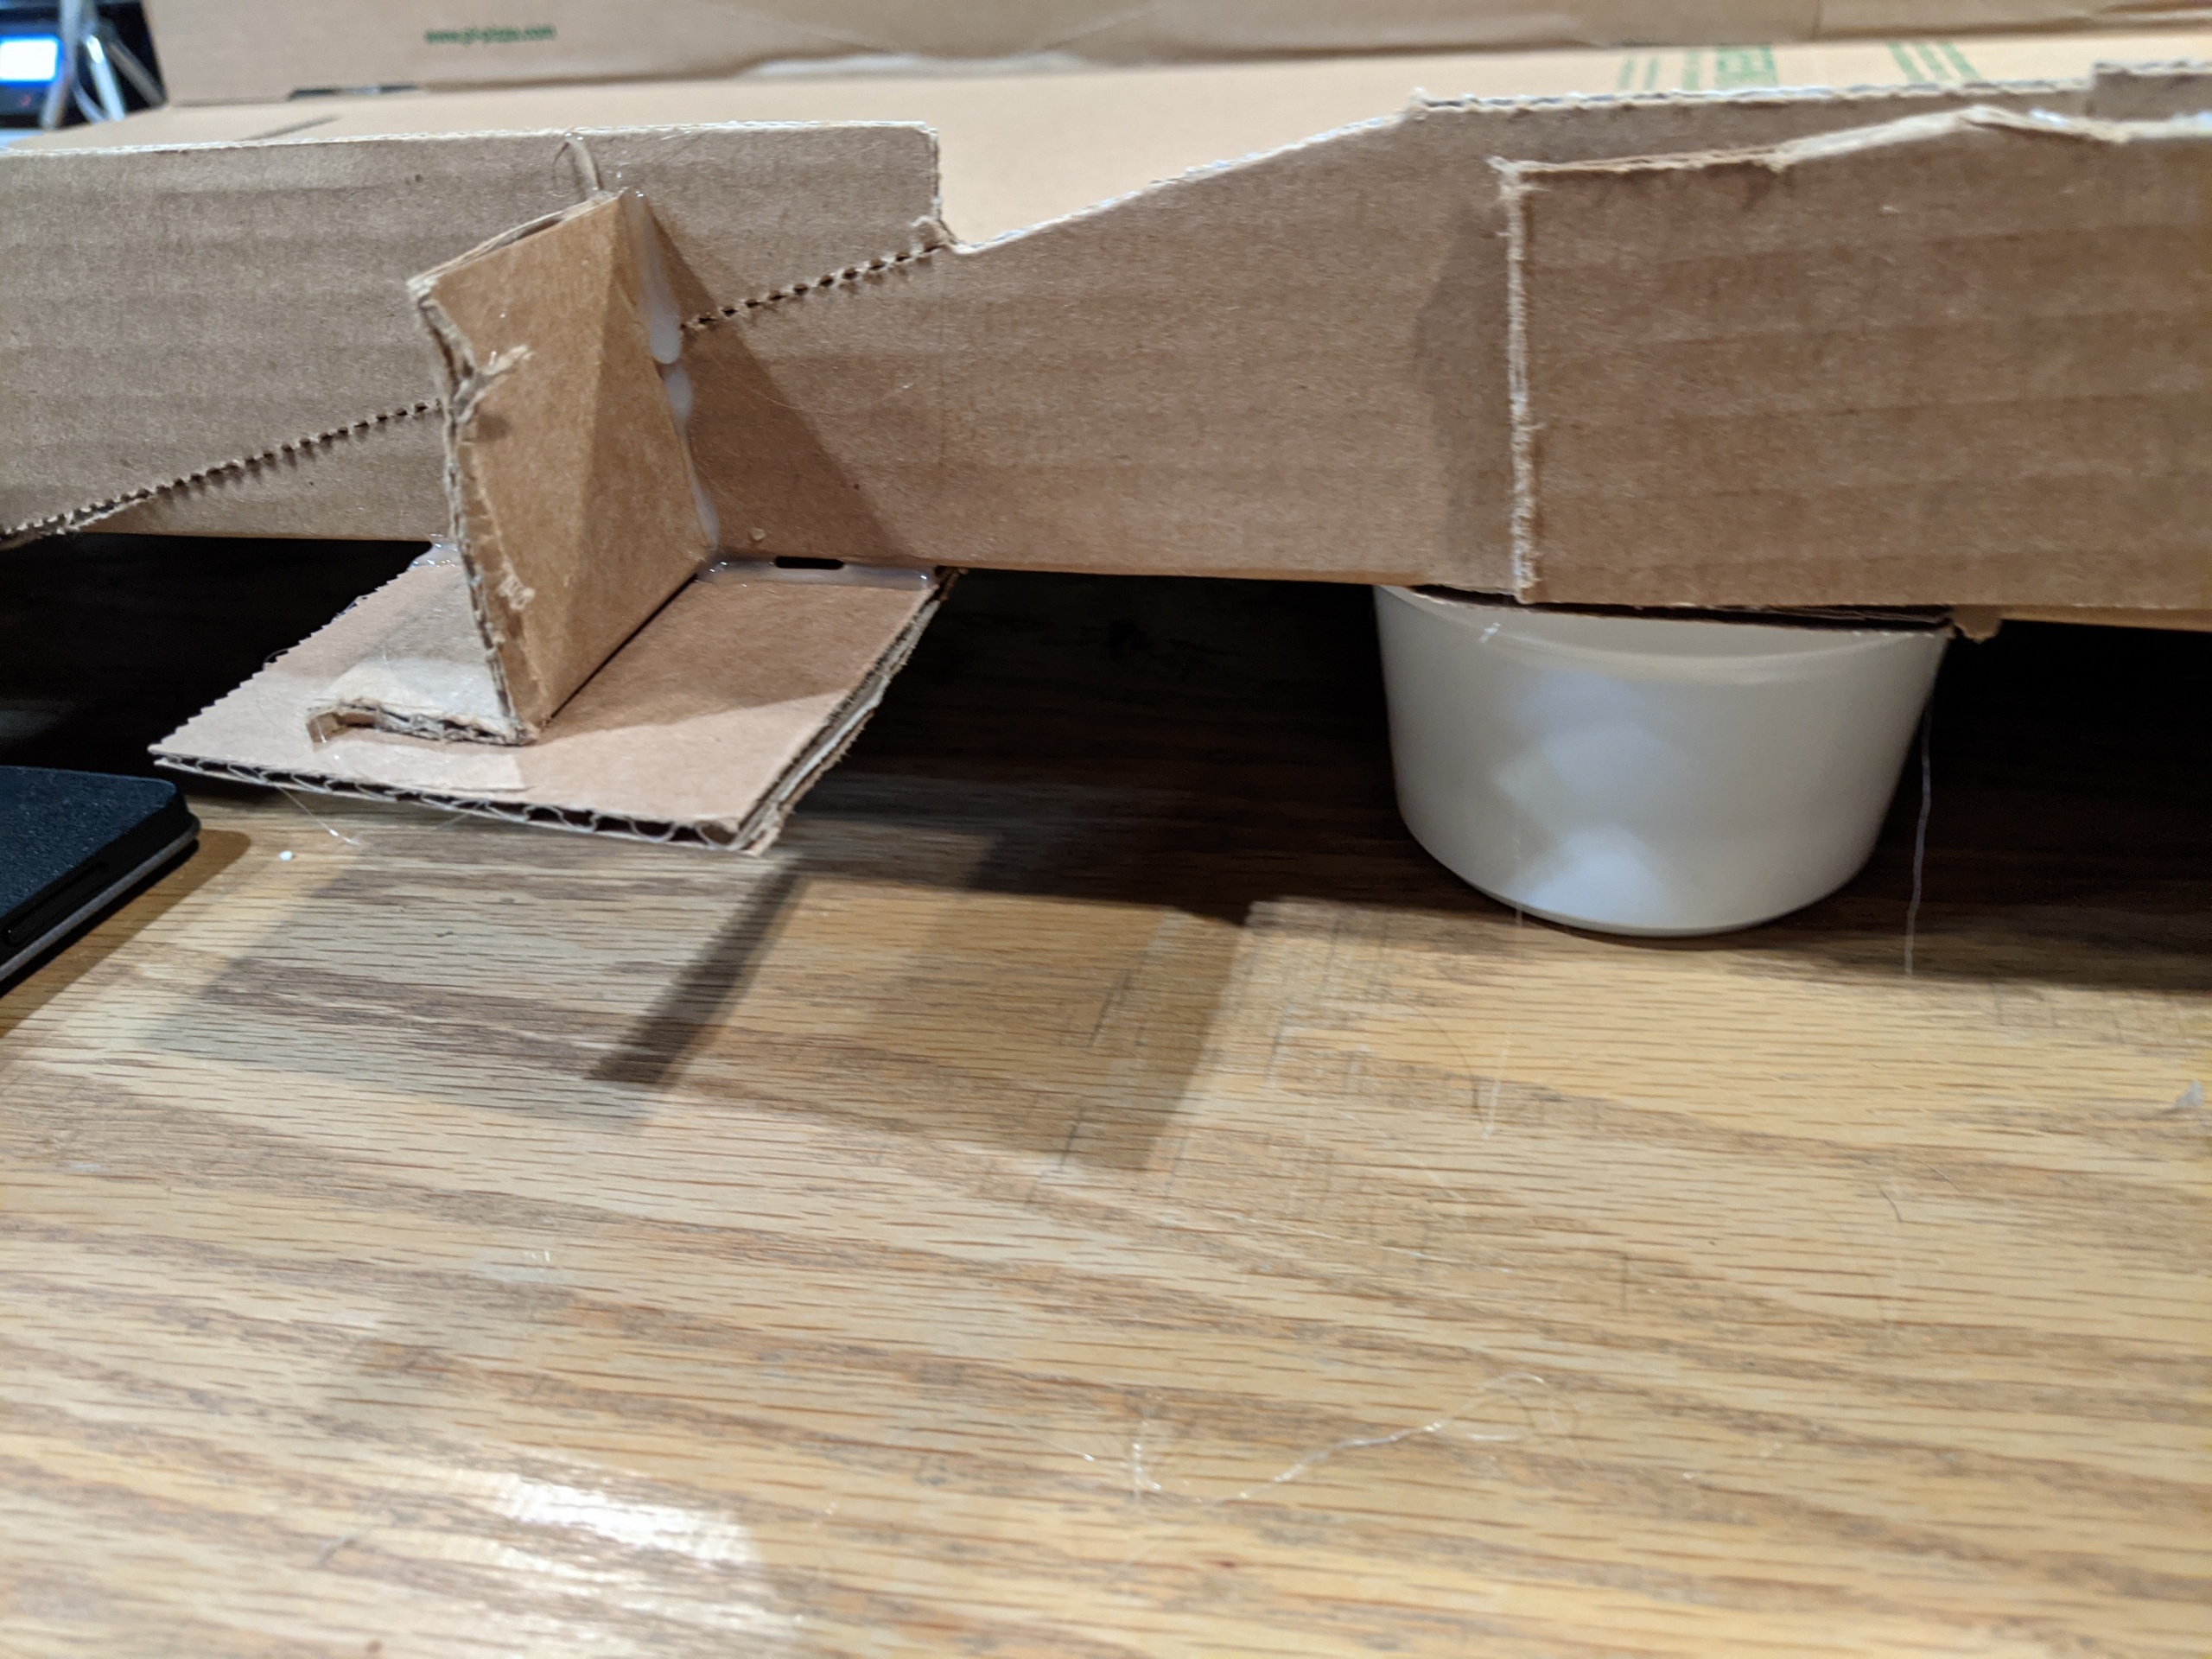
Elevate the base using feet. You can use containers the same size if you have enough of them. Here yogurt containers are used as feet
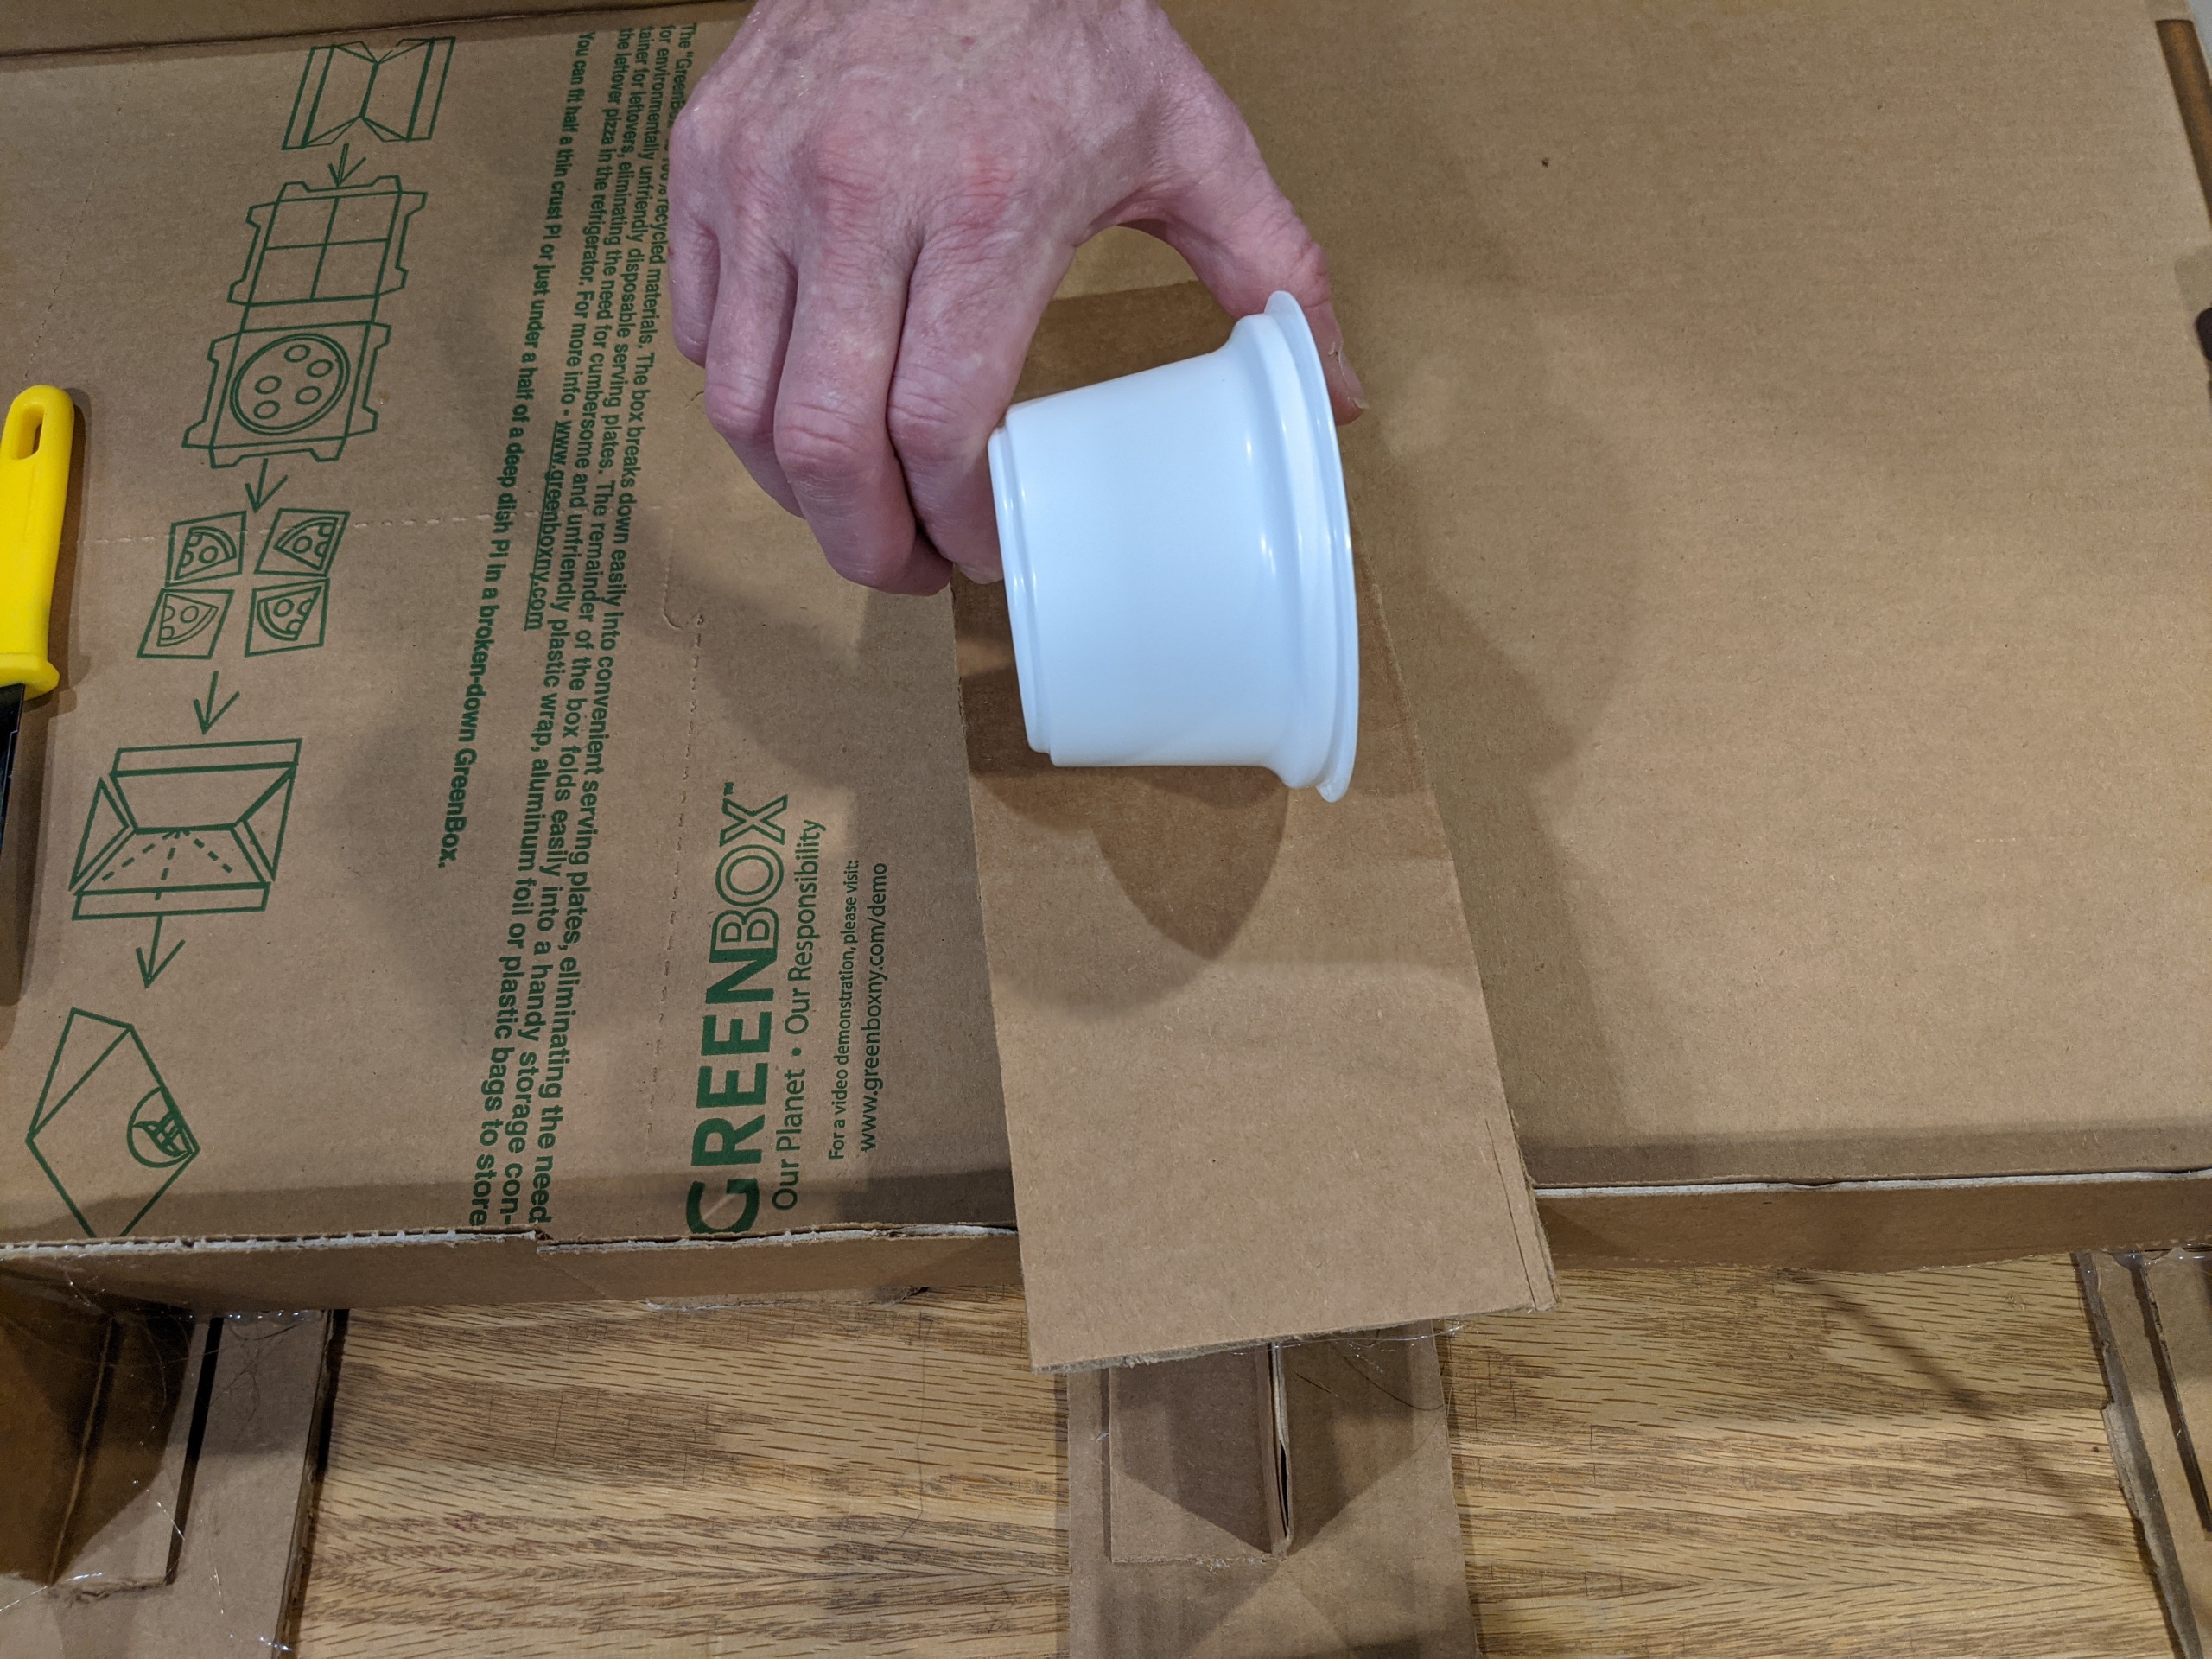
We are going to make cardboard feet. Start by cutting strips of cardboard the same width. Make the width bigger than the height of the cup.
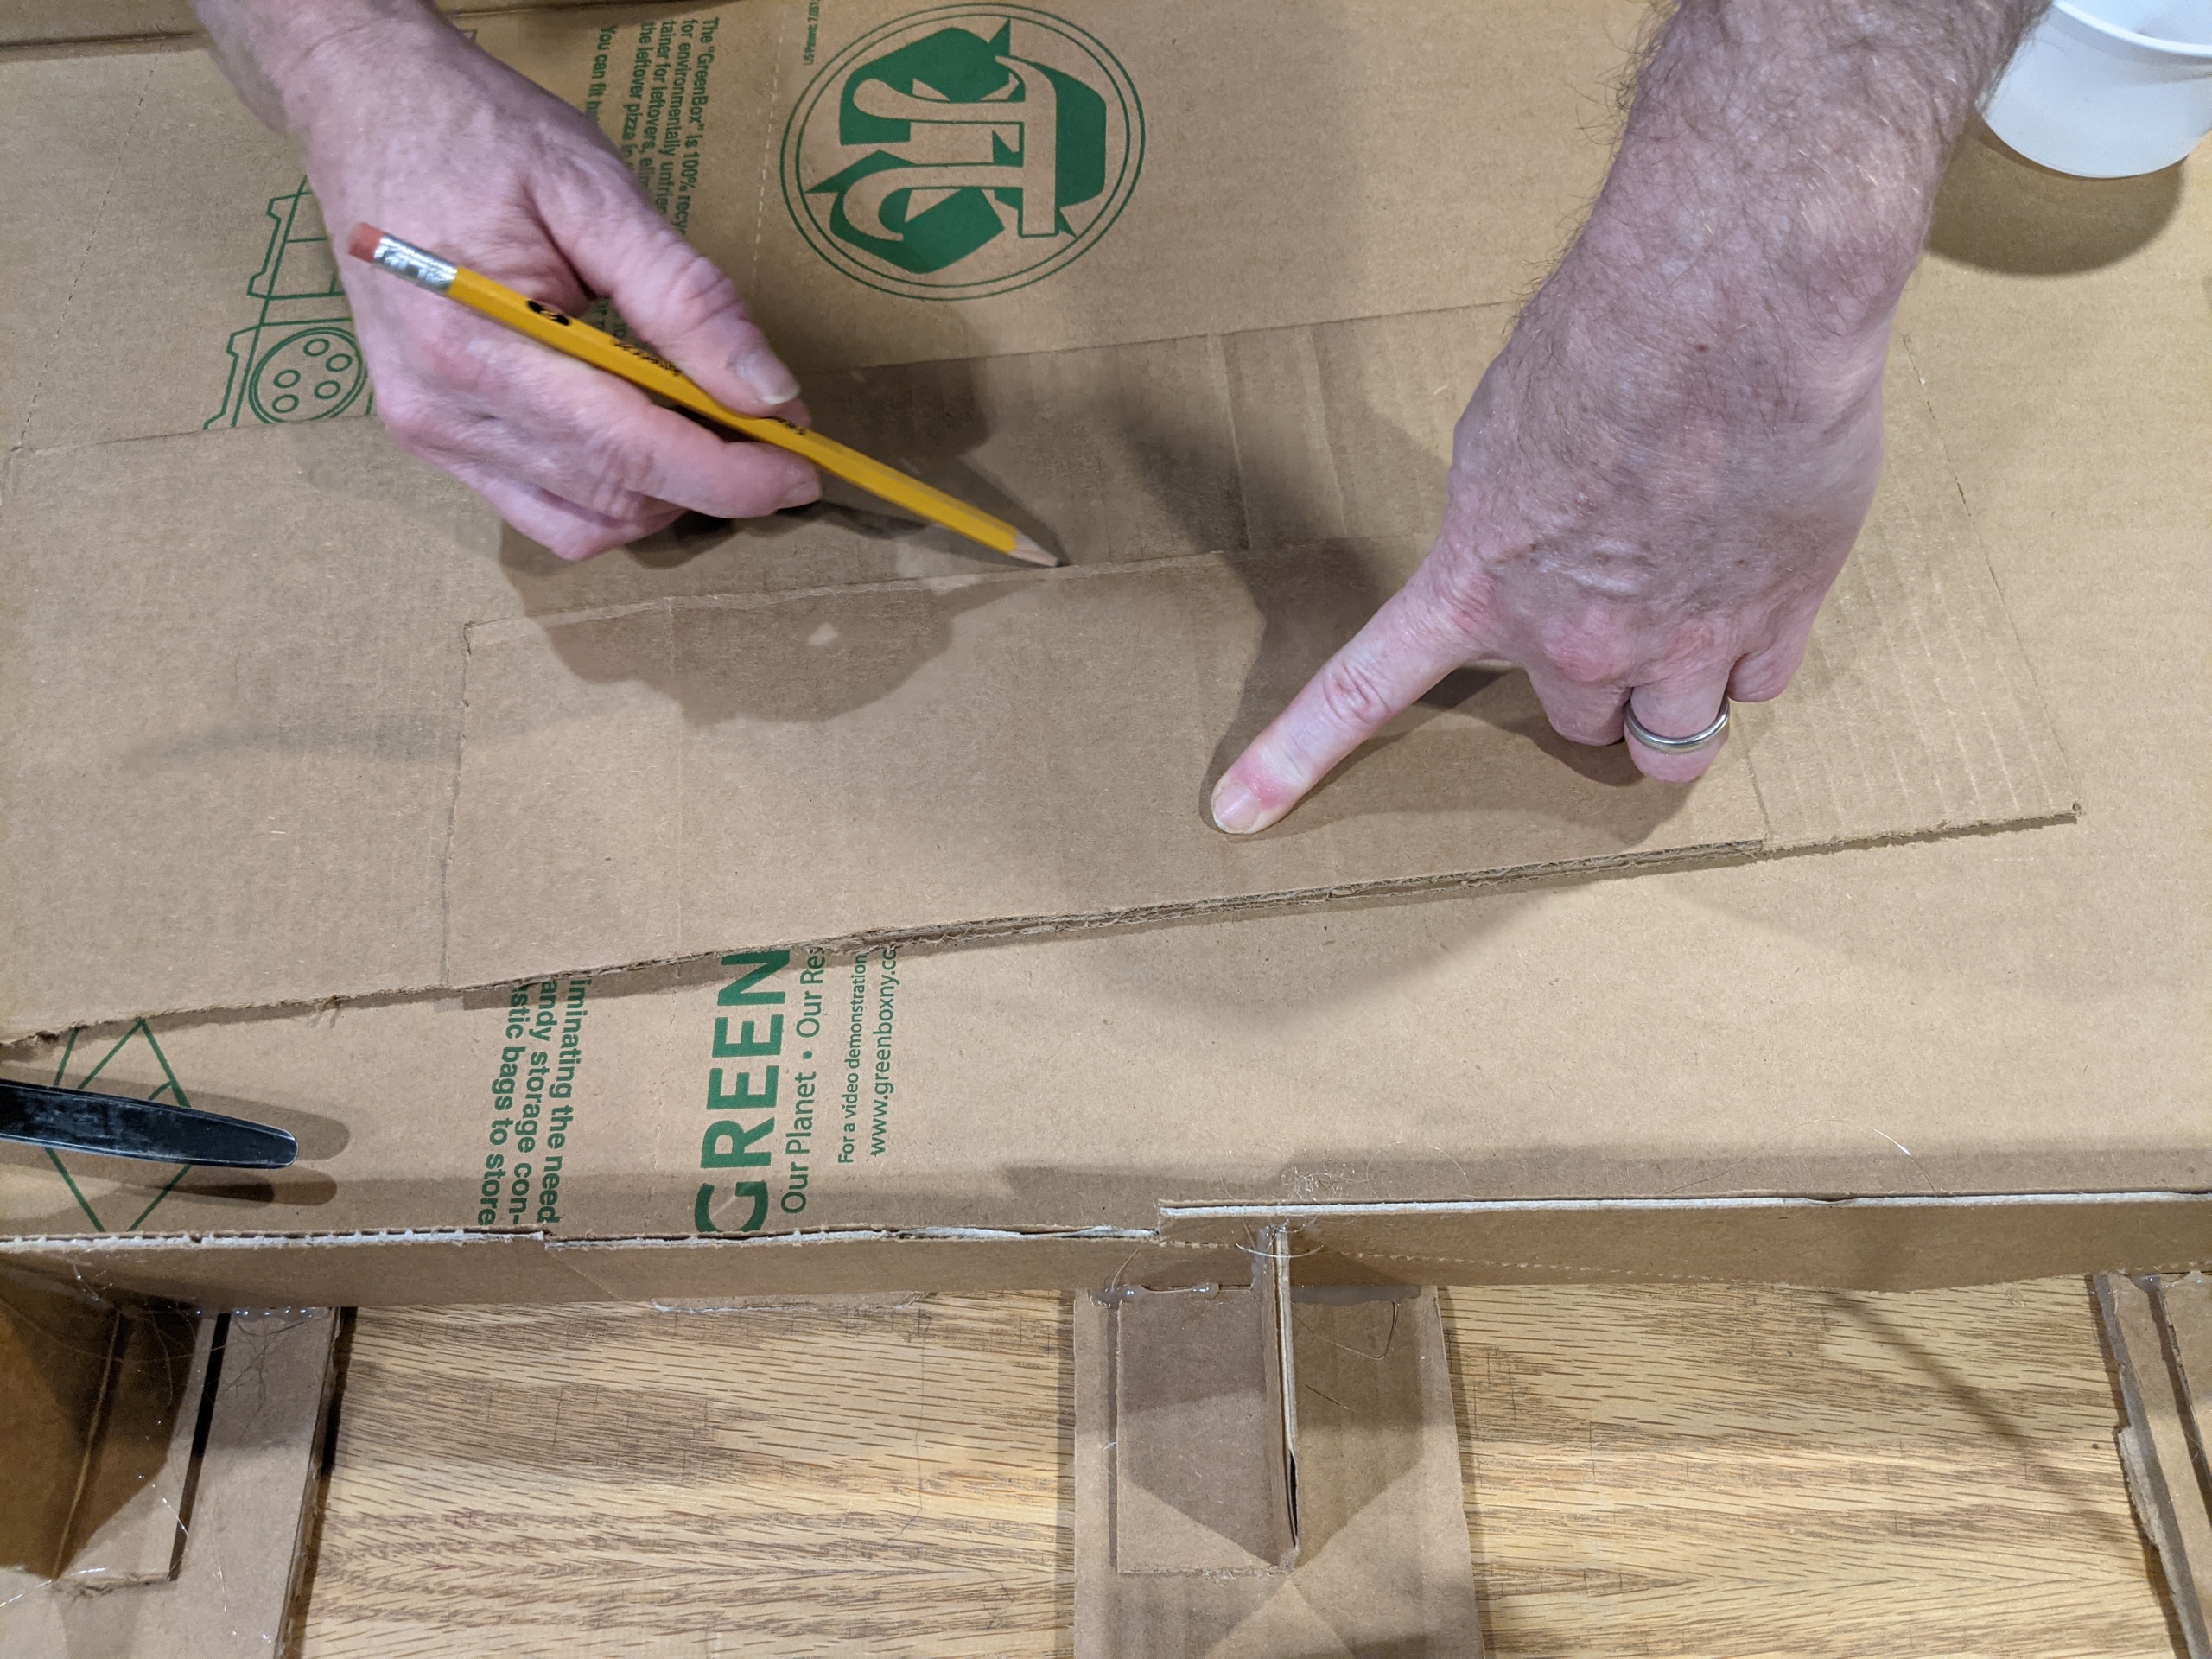
Cut one strip first and use it as a template to make all the strips the same width.

Score your lines to make it easier to cut straight
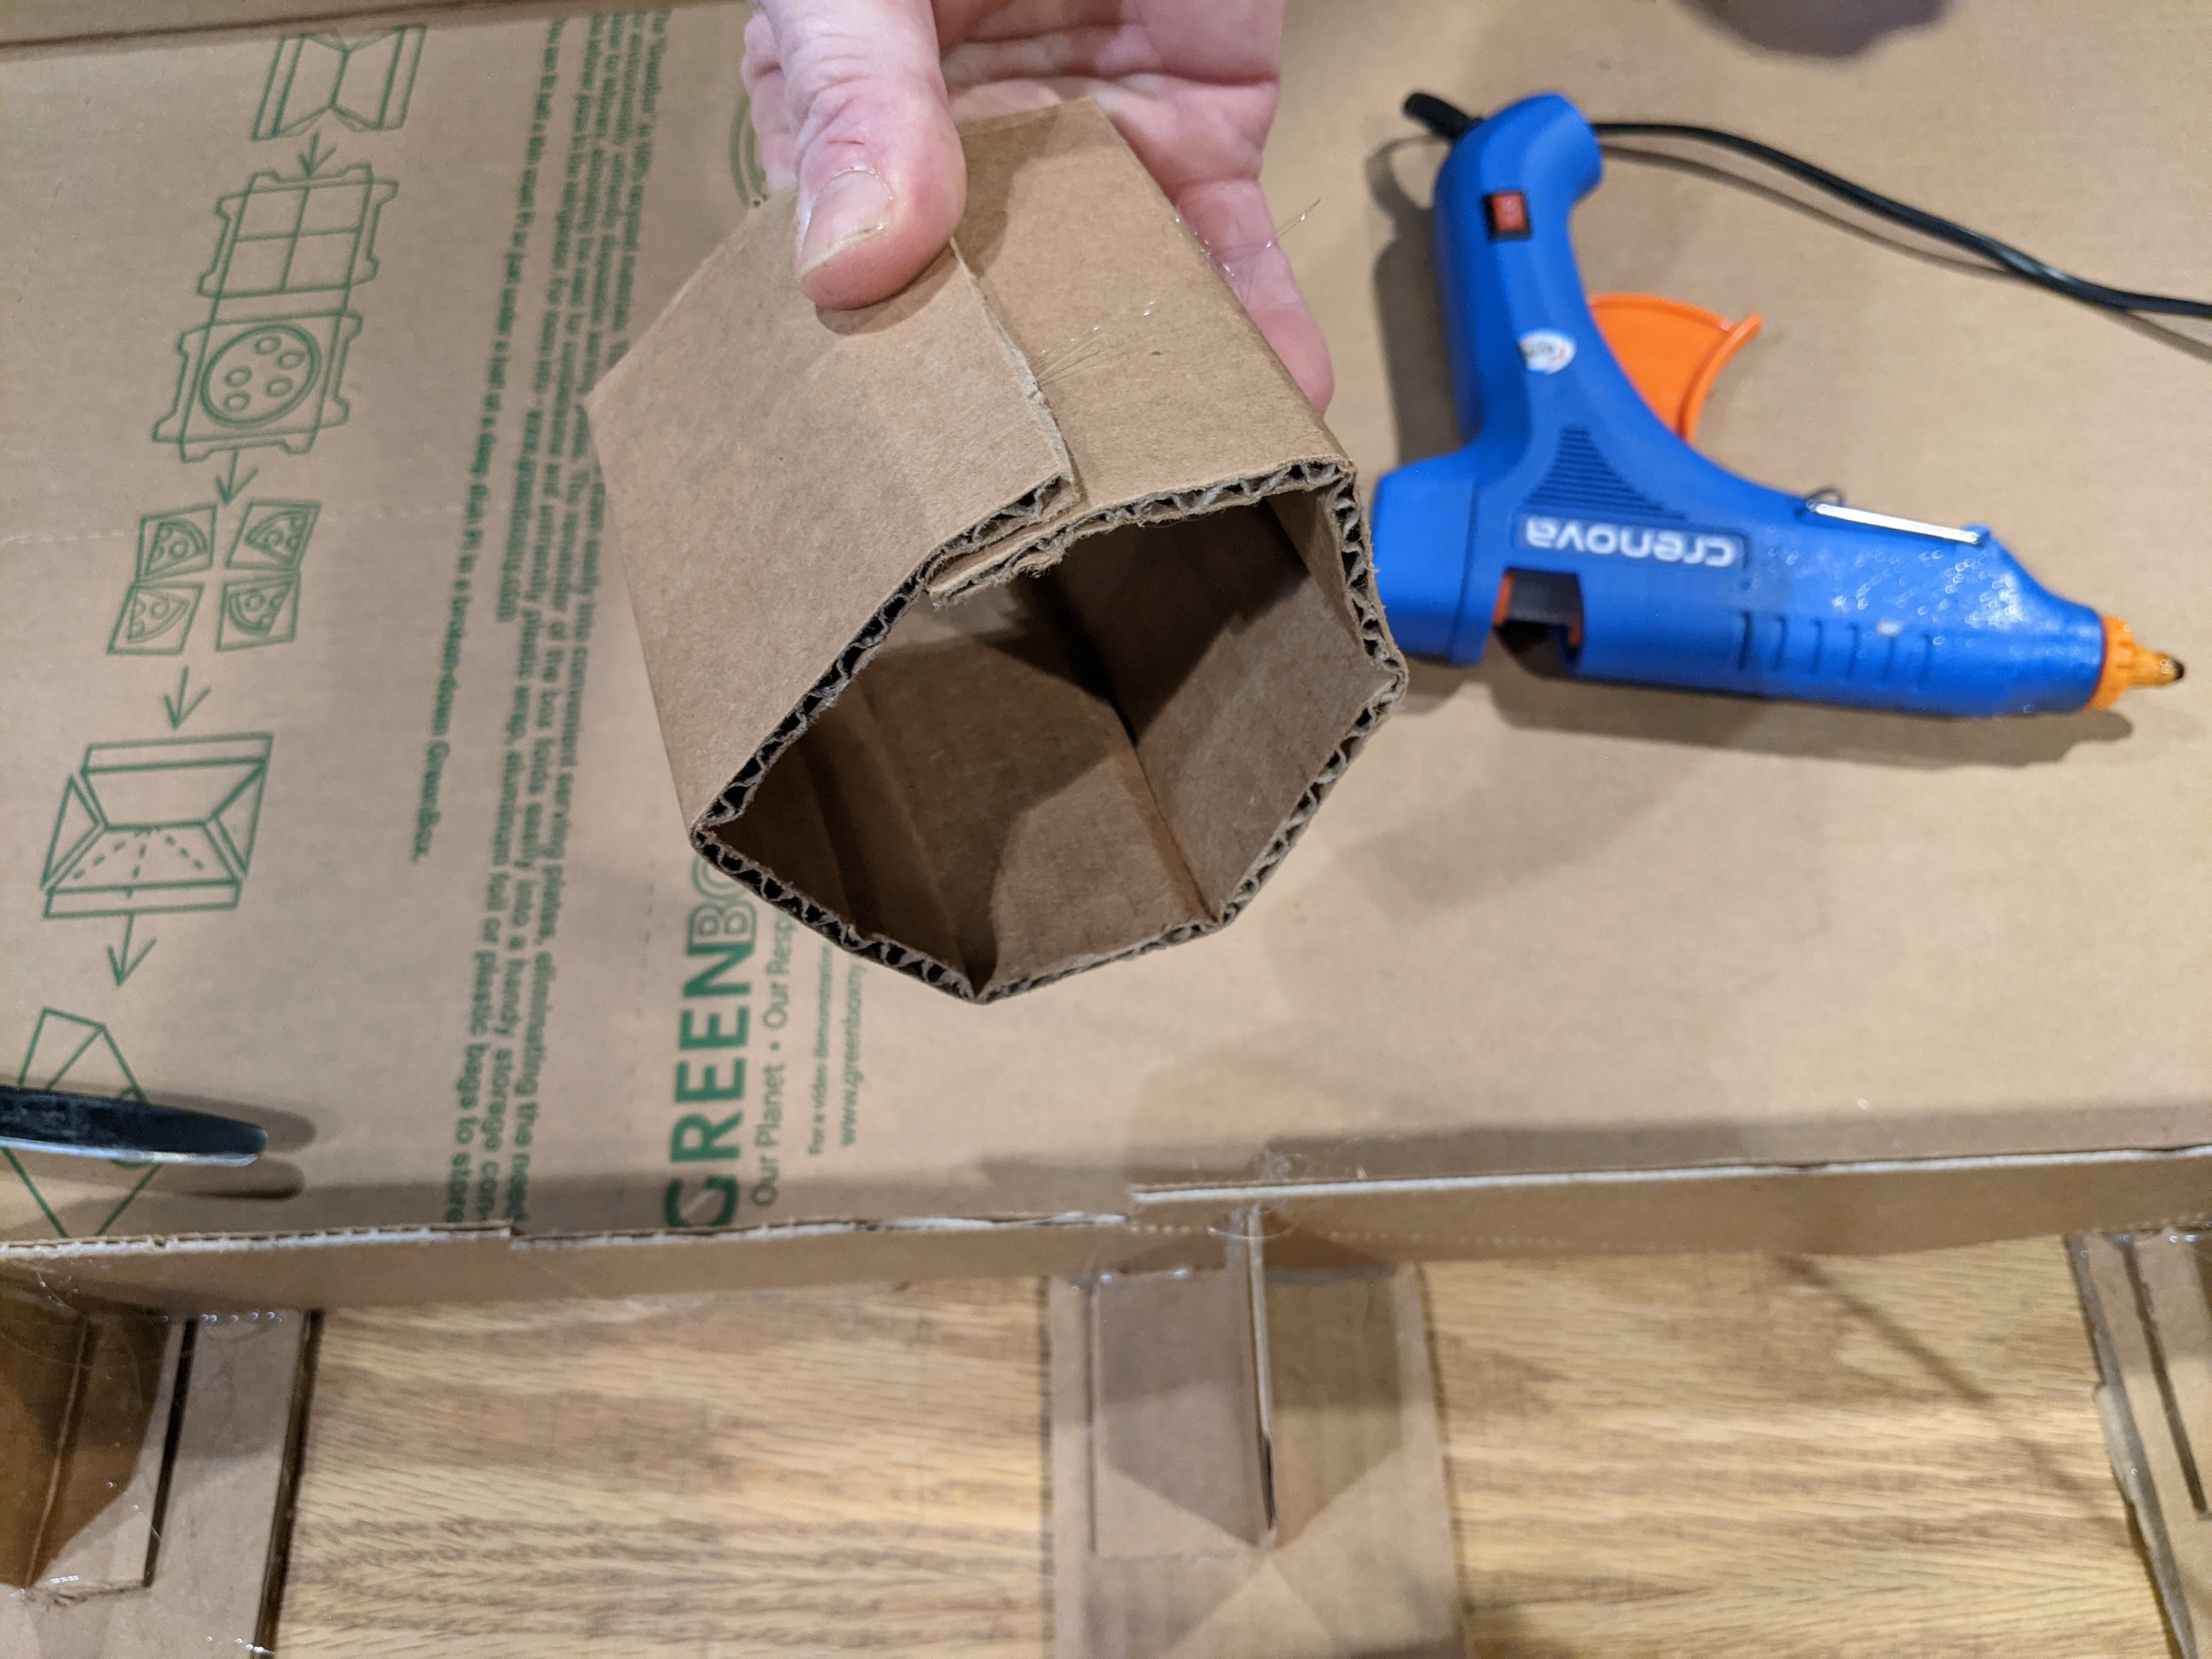
Roll & glue your feet into cylinders.
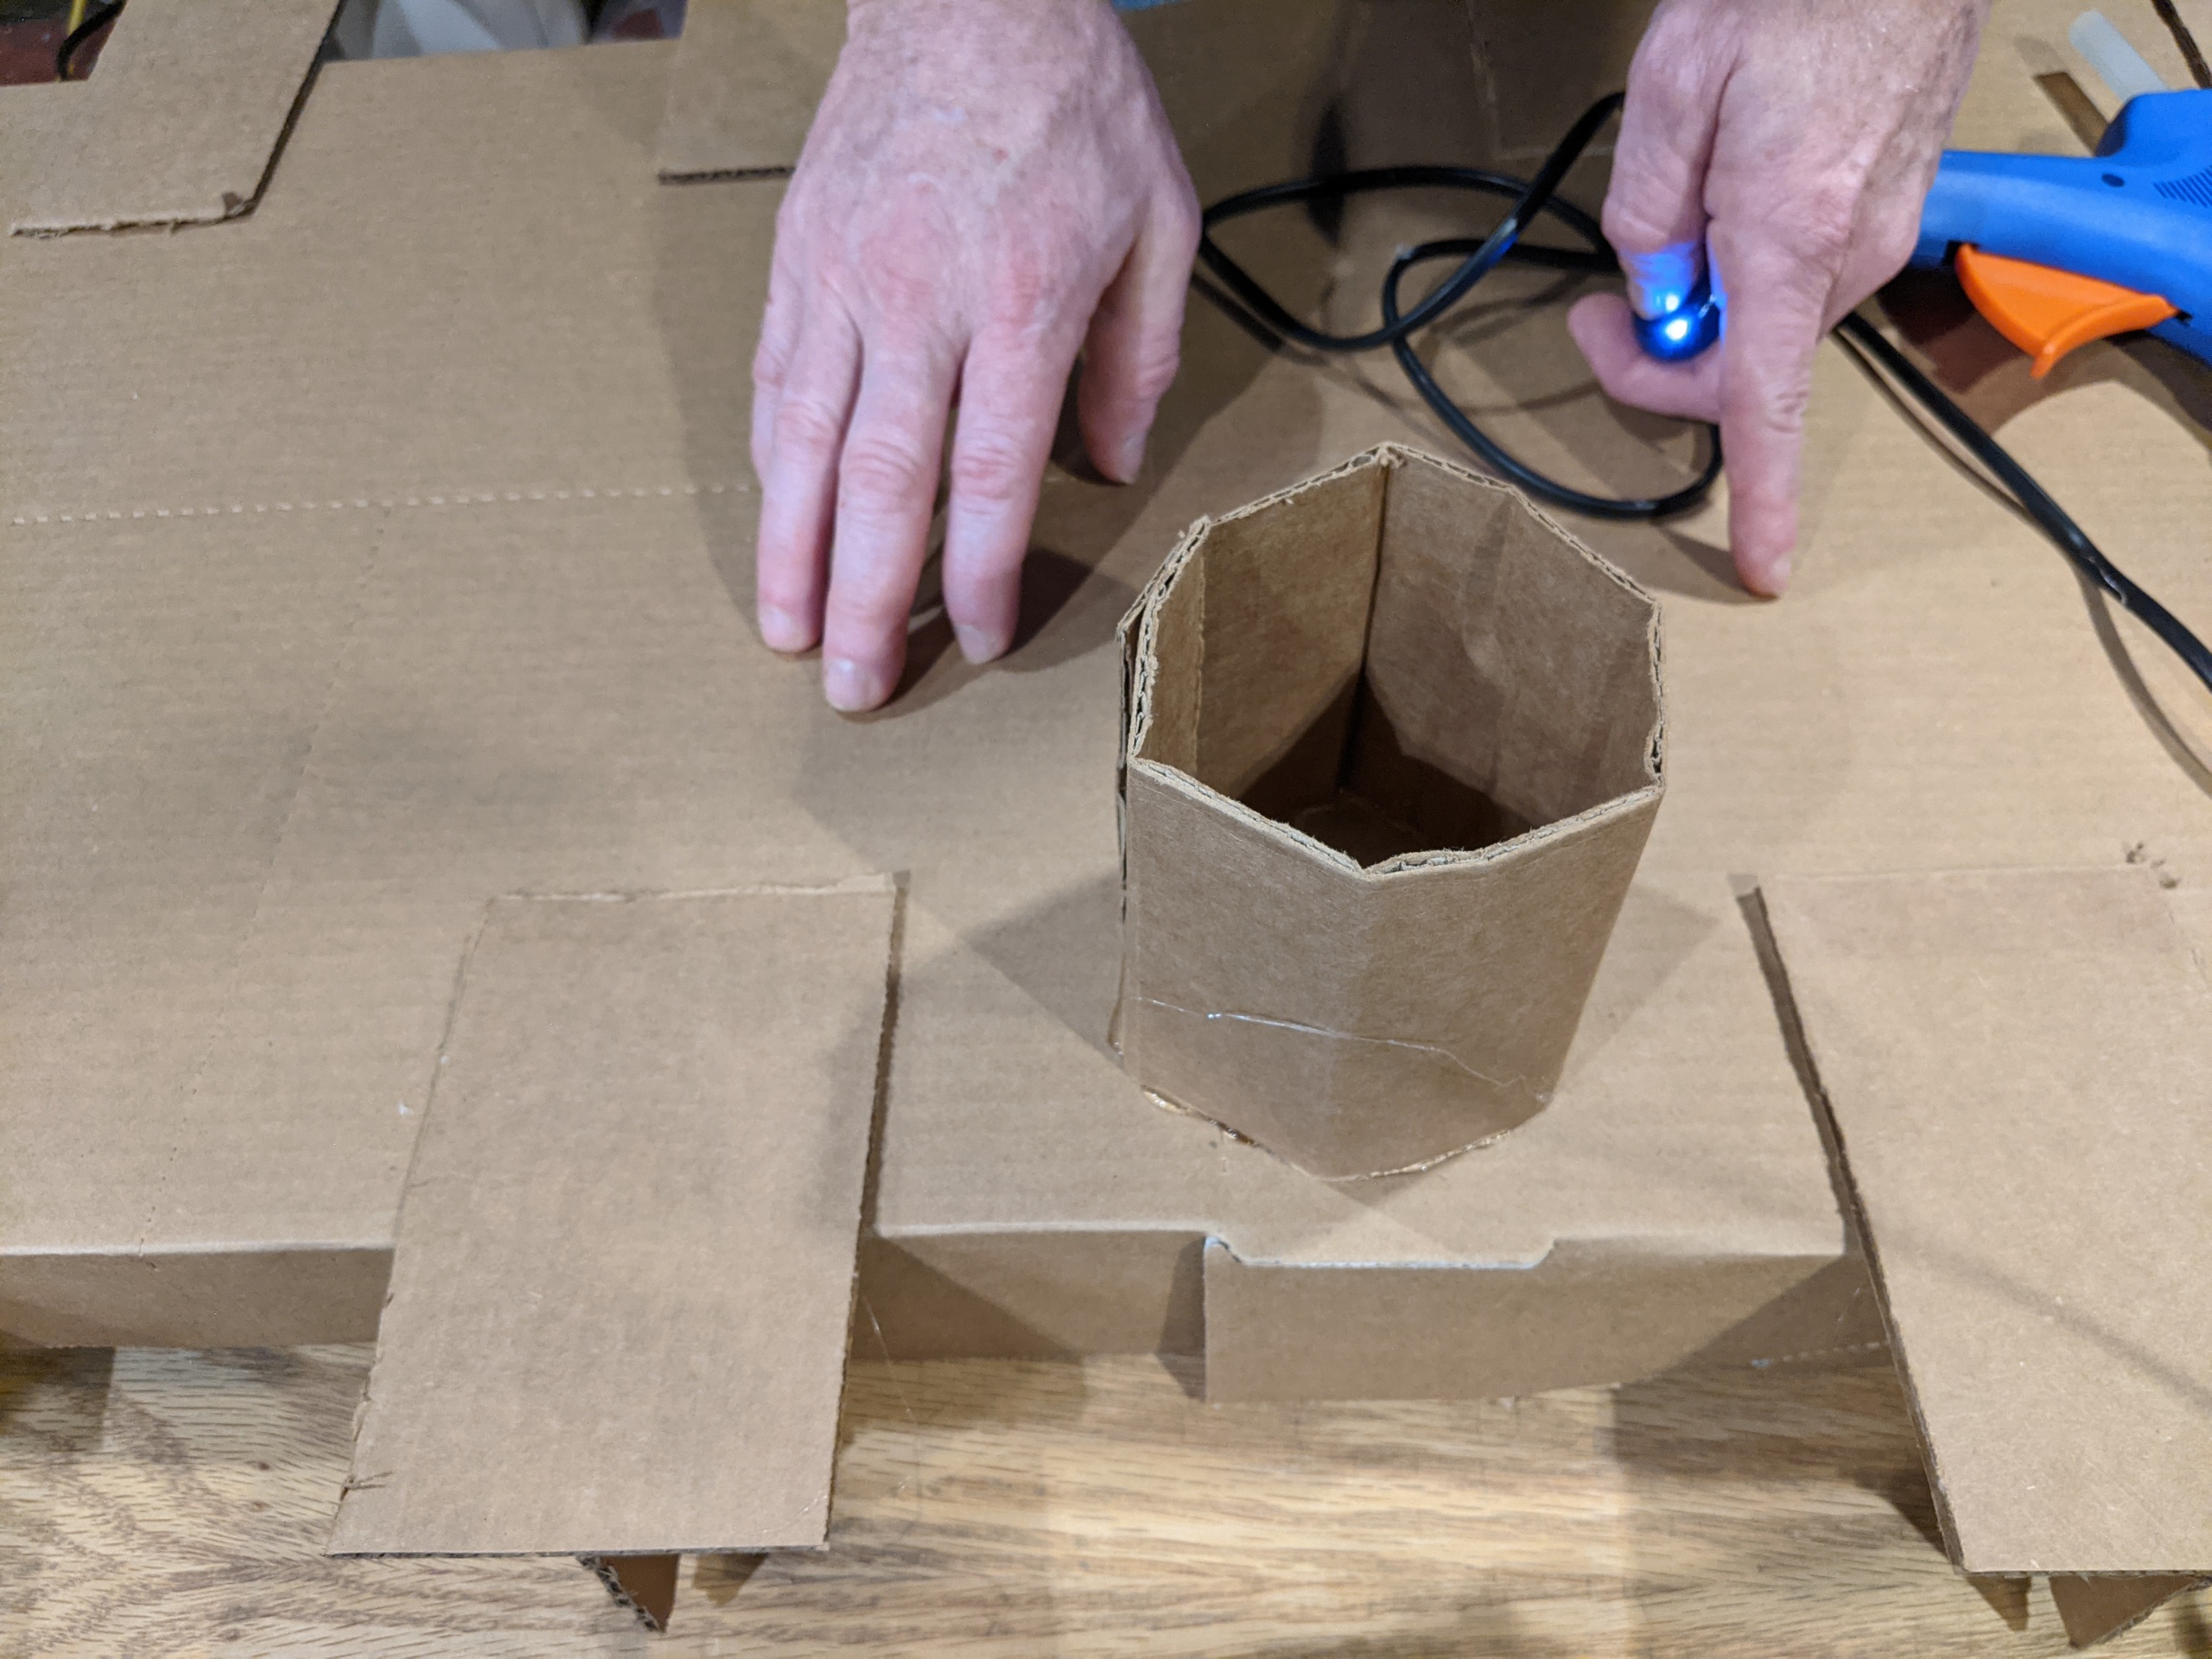
Hot glue them to the bottom of your base.
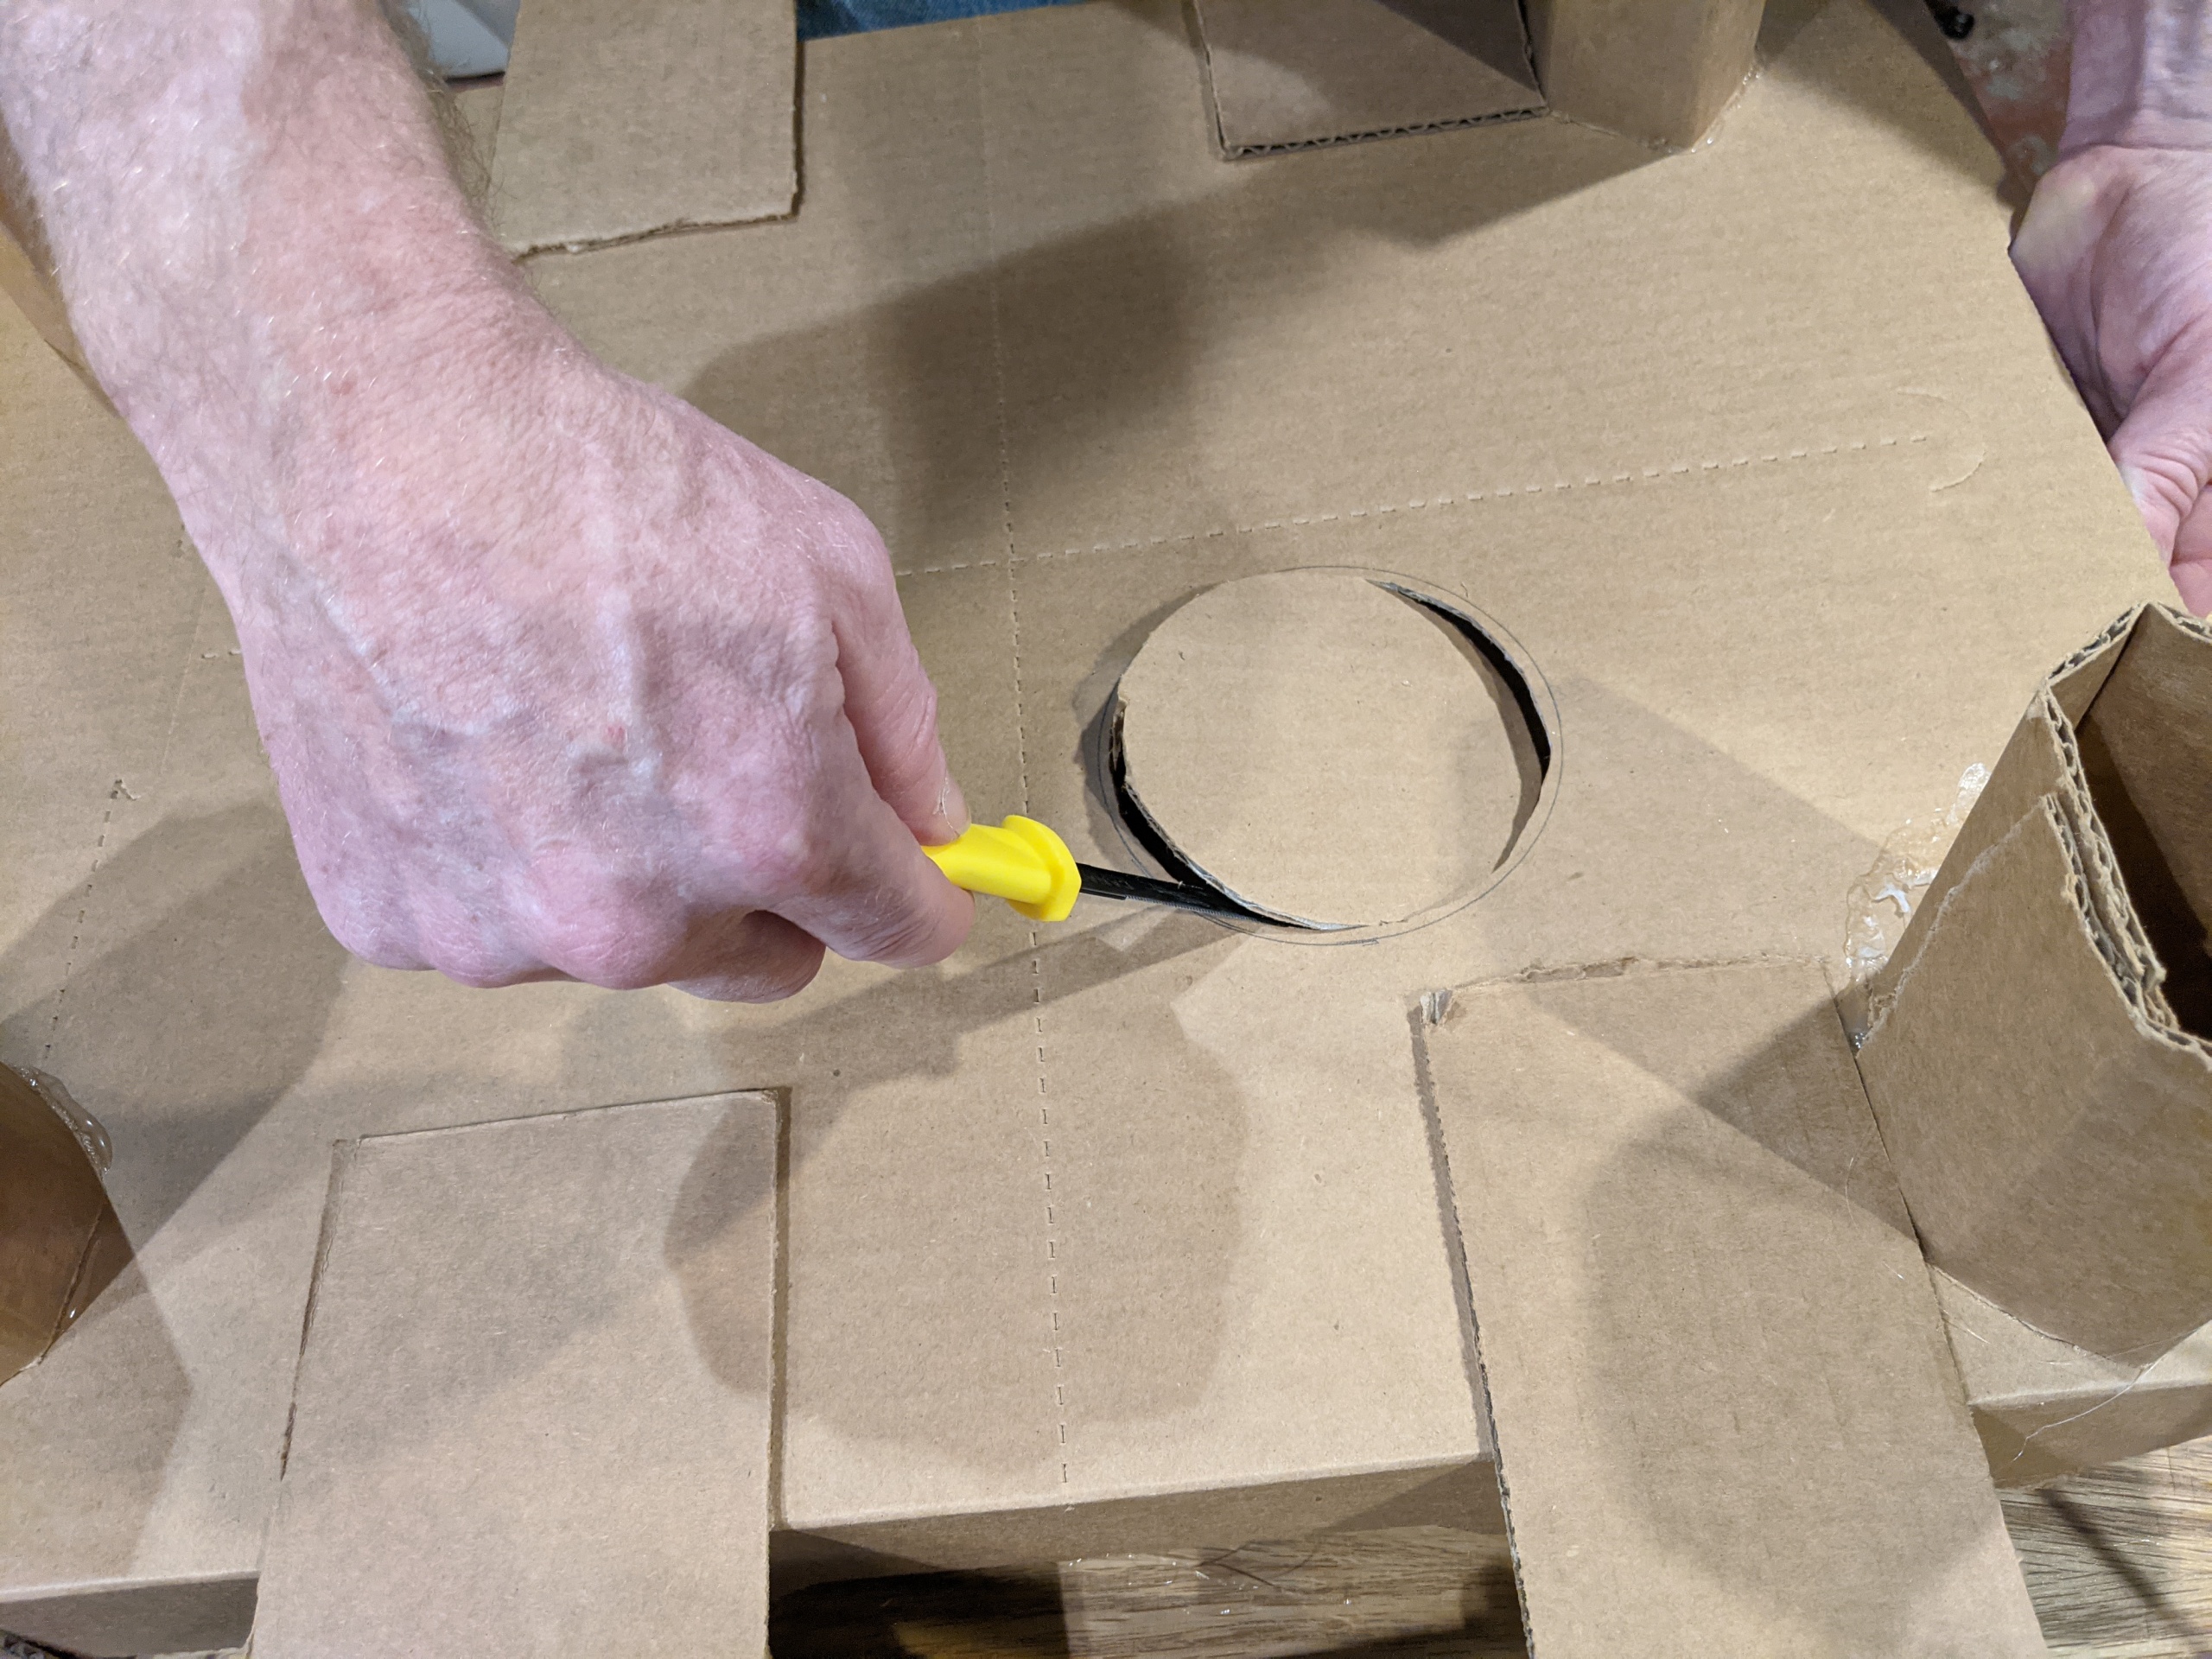
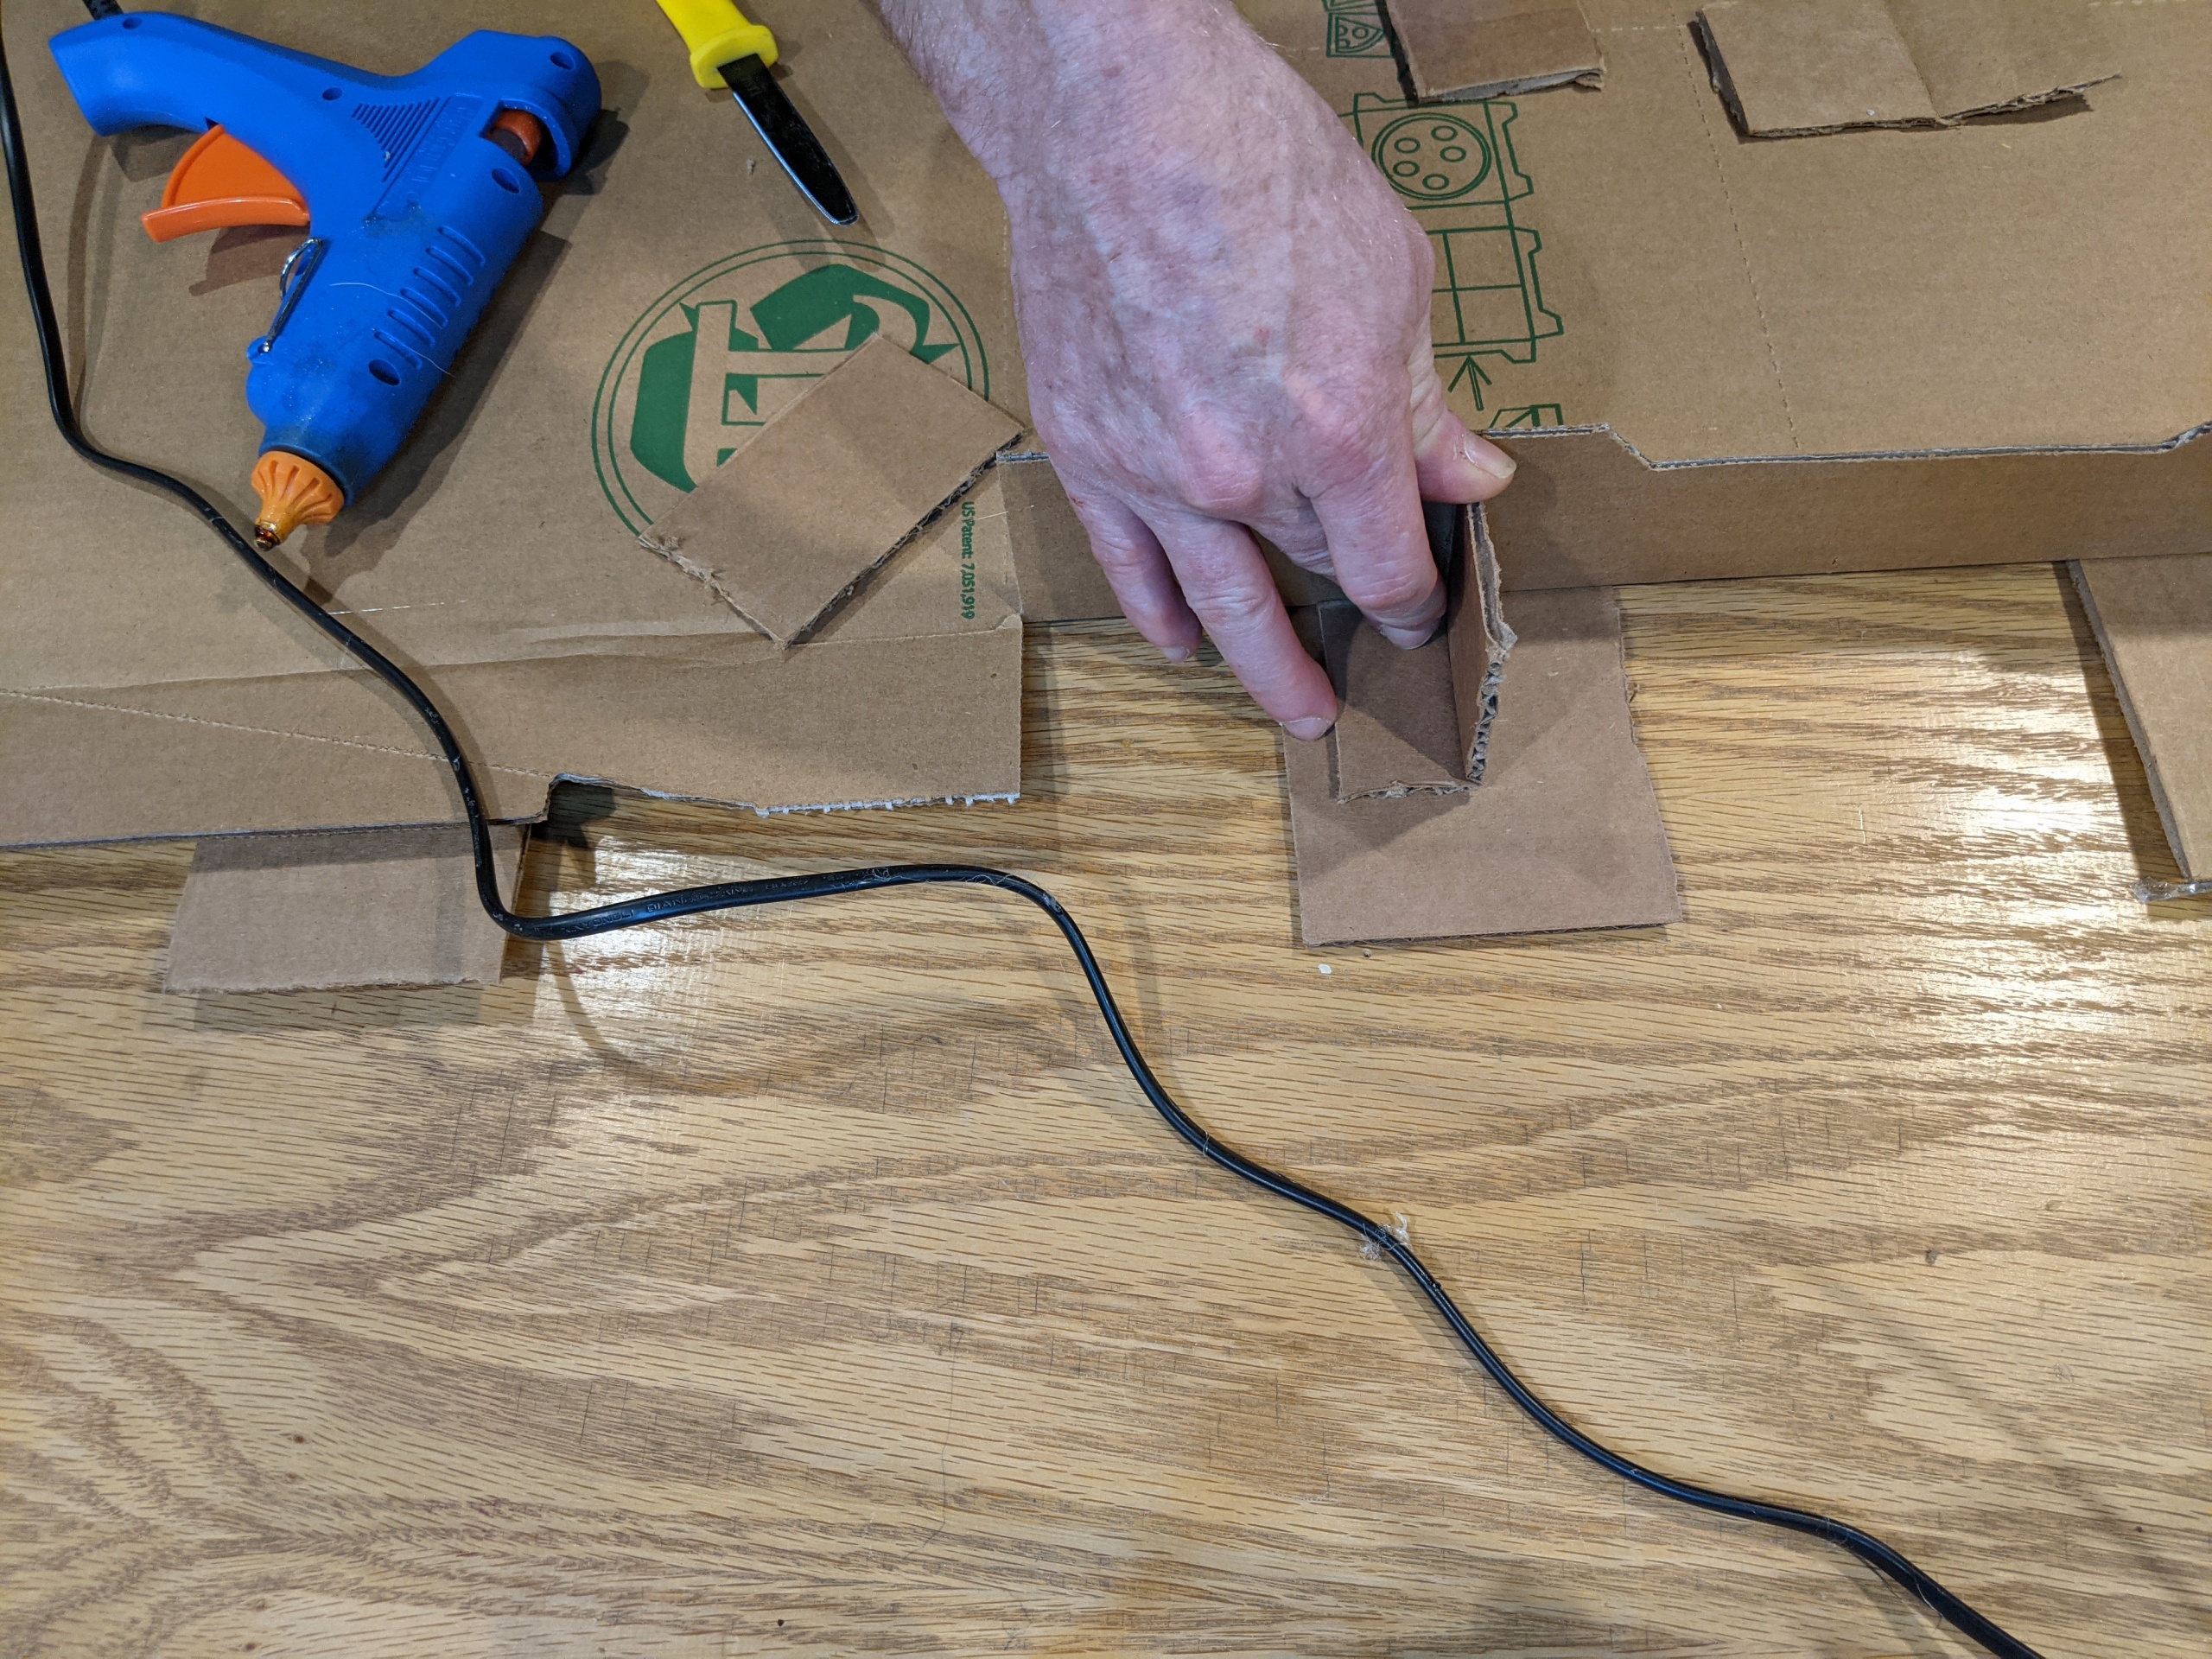
To set the hole trace a circle using your cup. Cut just inside your trace lines so the cup has a lip to fasten to.
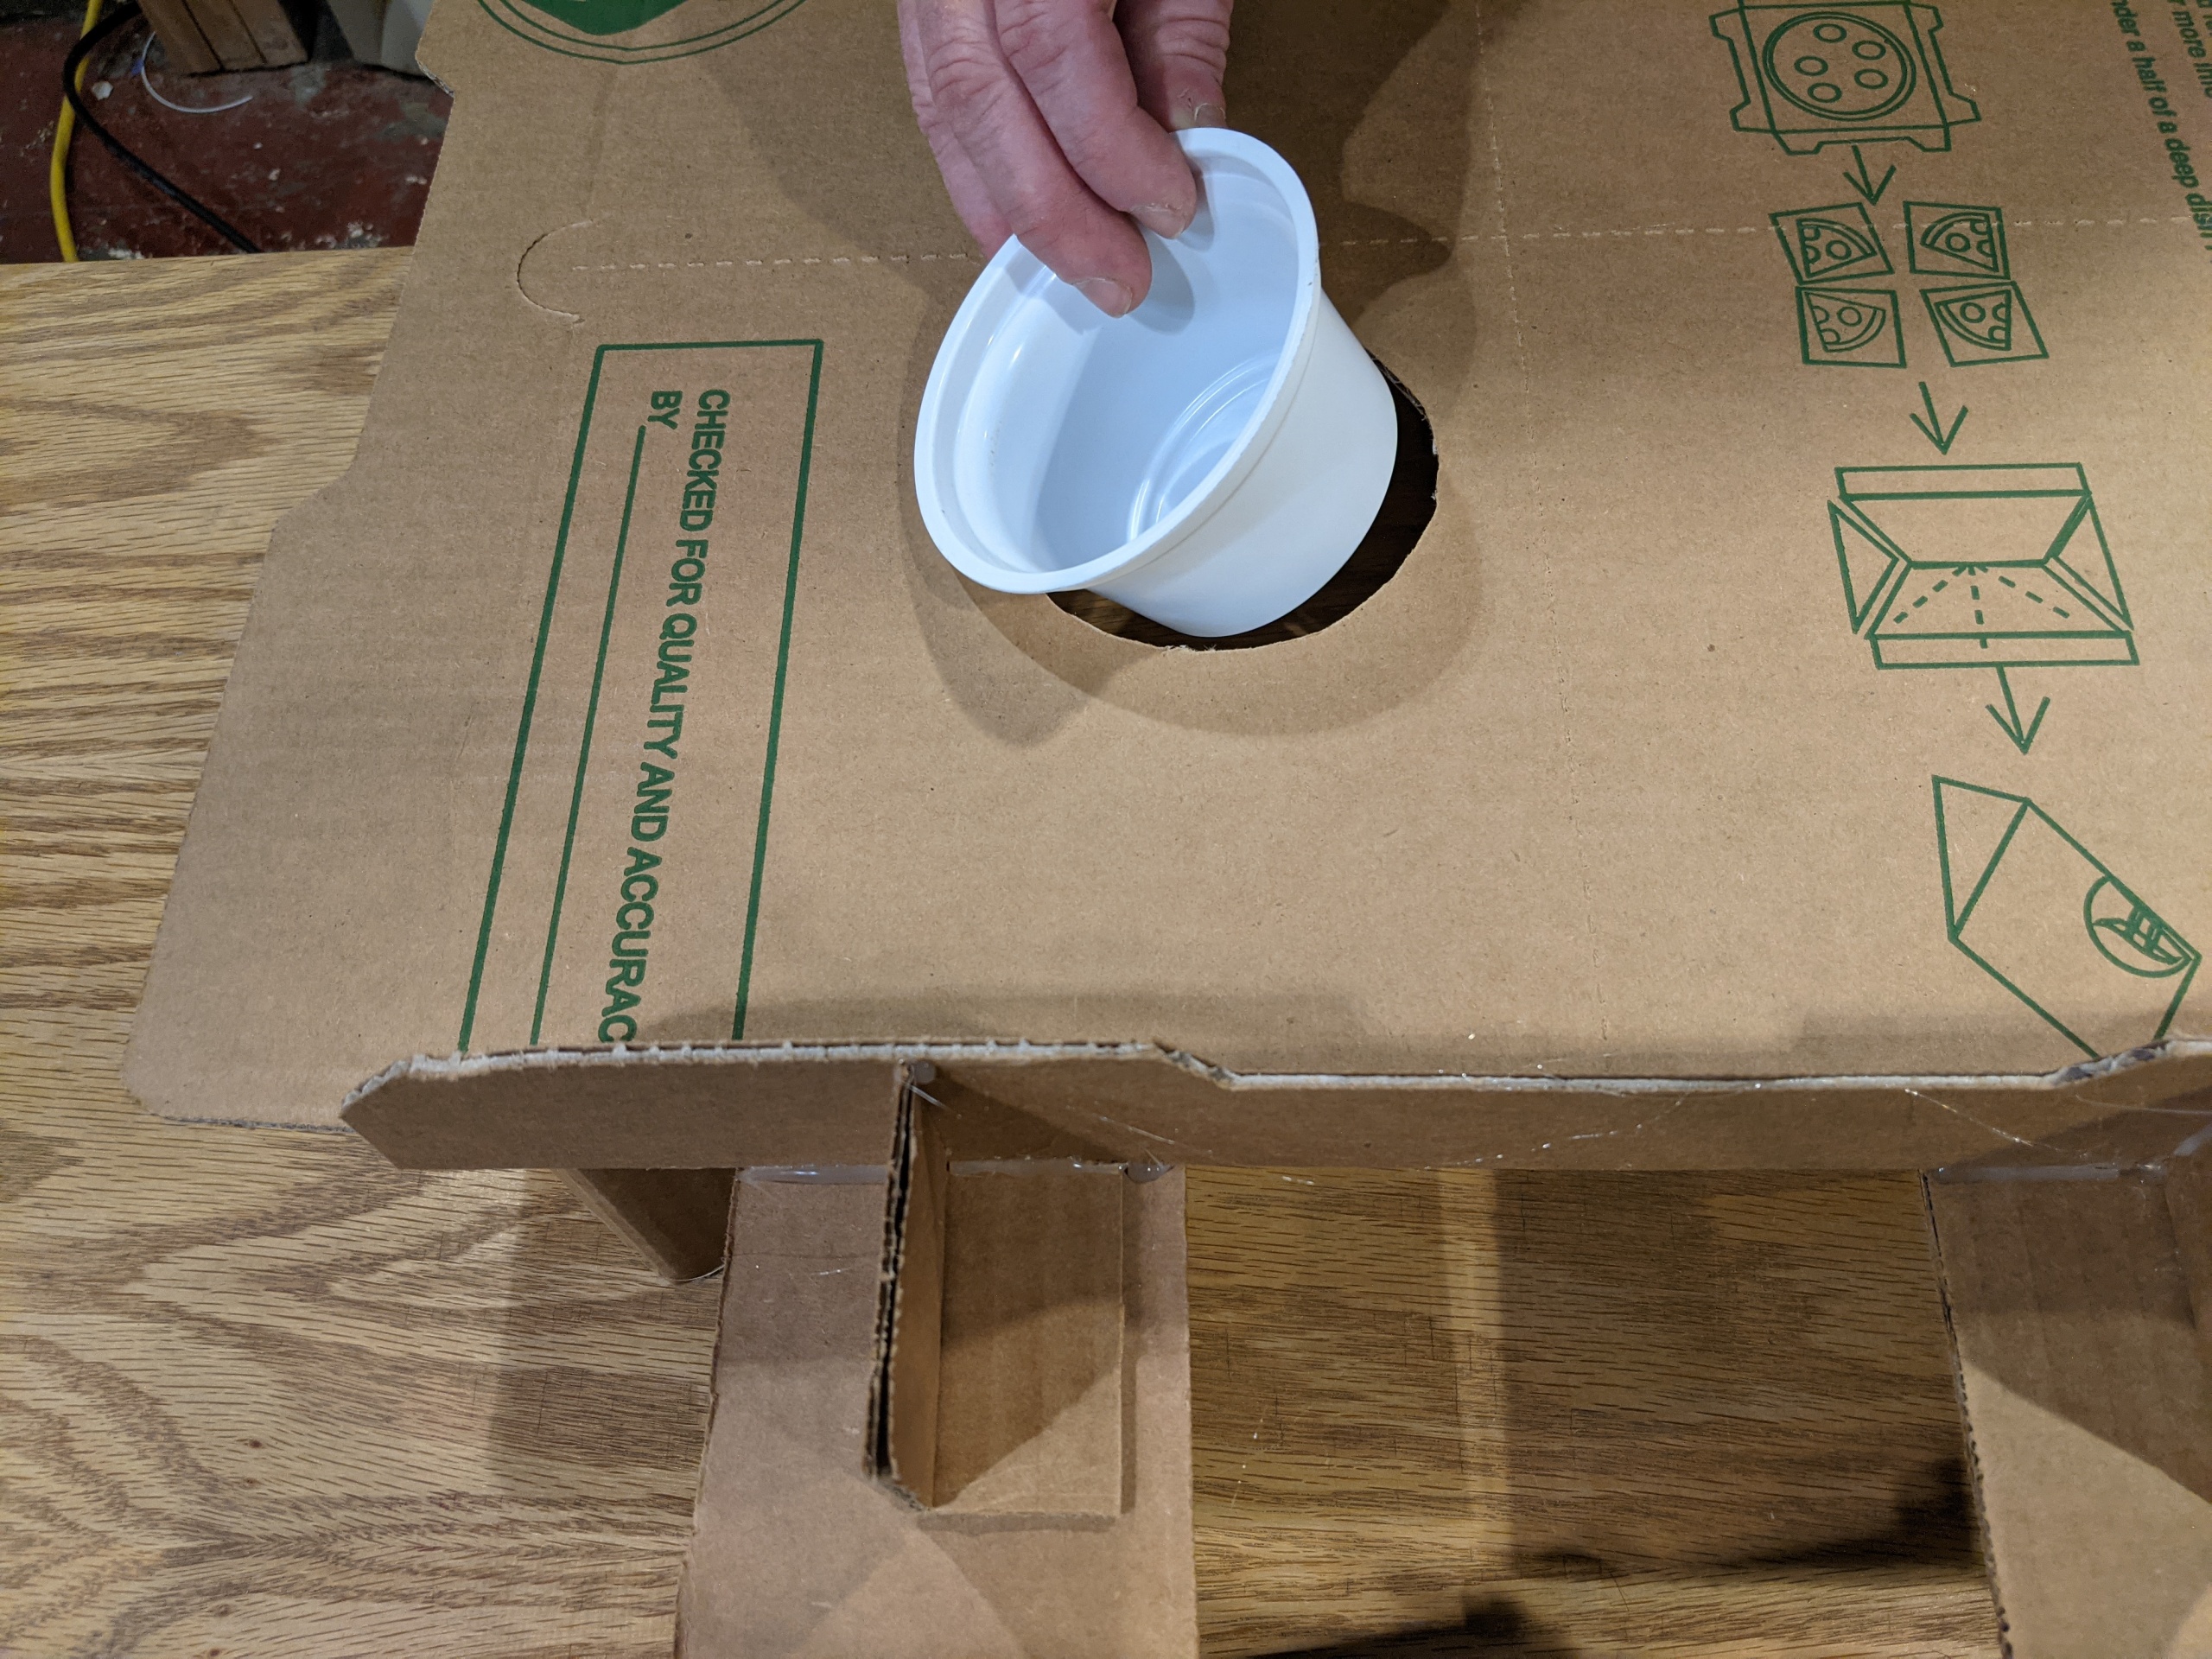
Set your cup in the hole and glue it. You can glue the cup to the underside of your base, if you like.
Assembly
Because you built everything with the same sized pizza boxes, the width is is the same and everything should fit together. You might need a ramp to get the ball from low sections to the raised sections. Final assembly should be done on site, after most of the decorating and artwork has been applied to the individua sections. Make sure your sections can fit into a car or van for transportation. DO NOT FINAL CONNECT YOUR SECTIONS BEFORE THE COMPETITION.
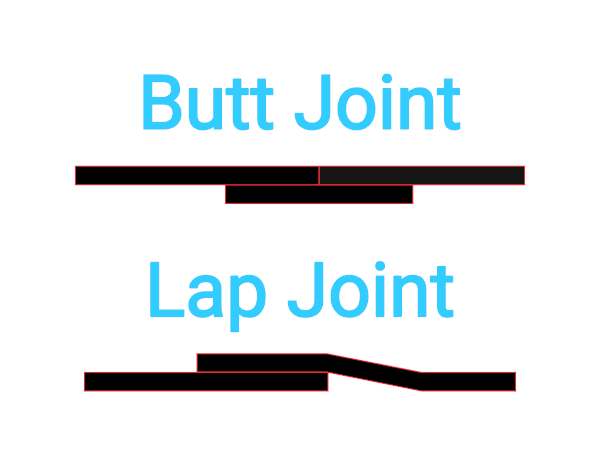
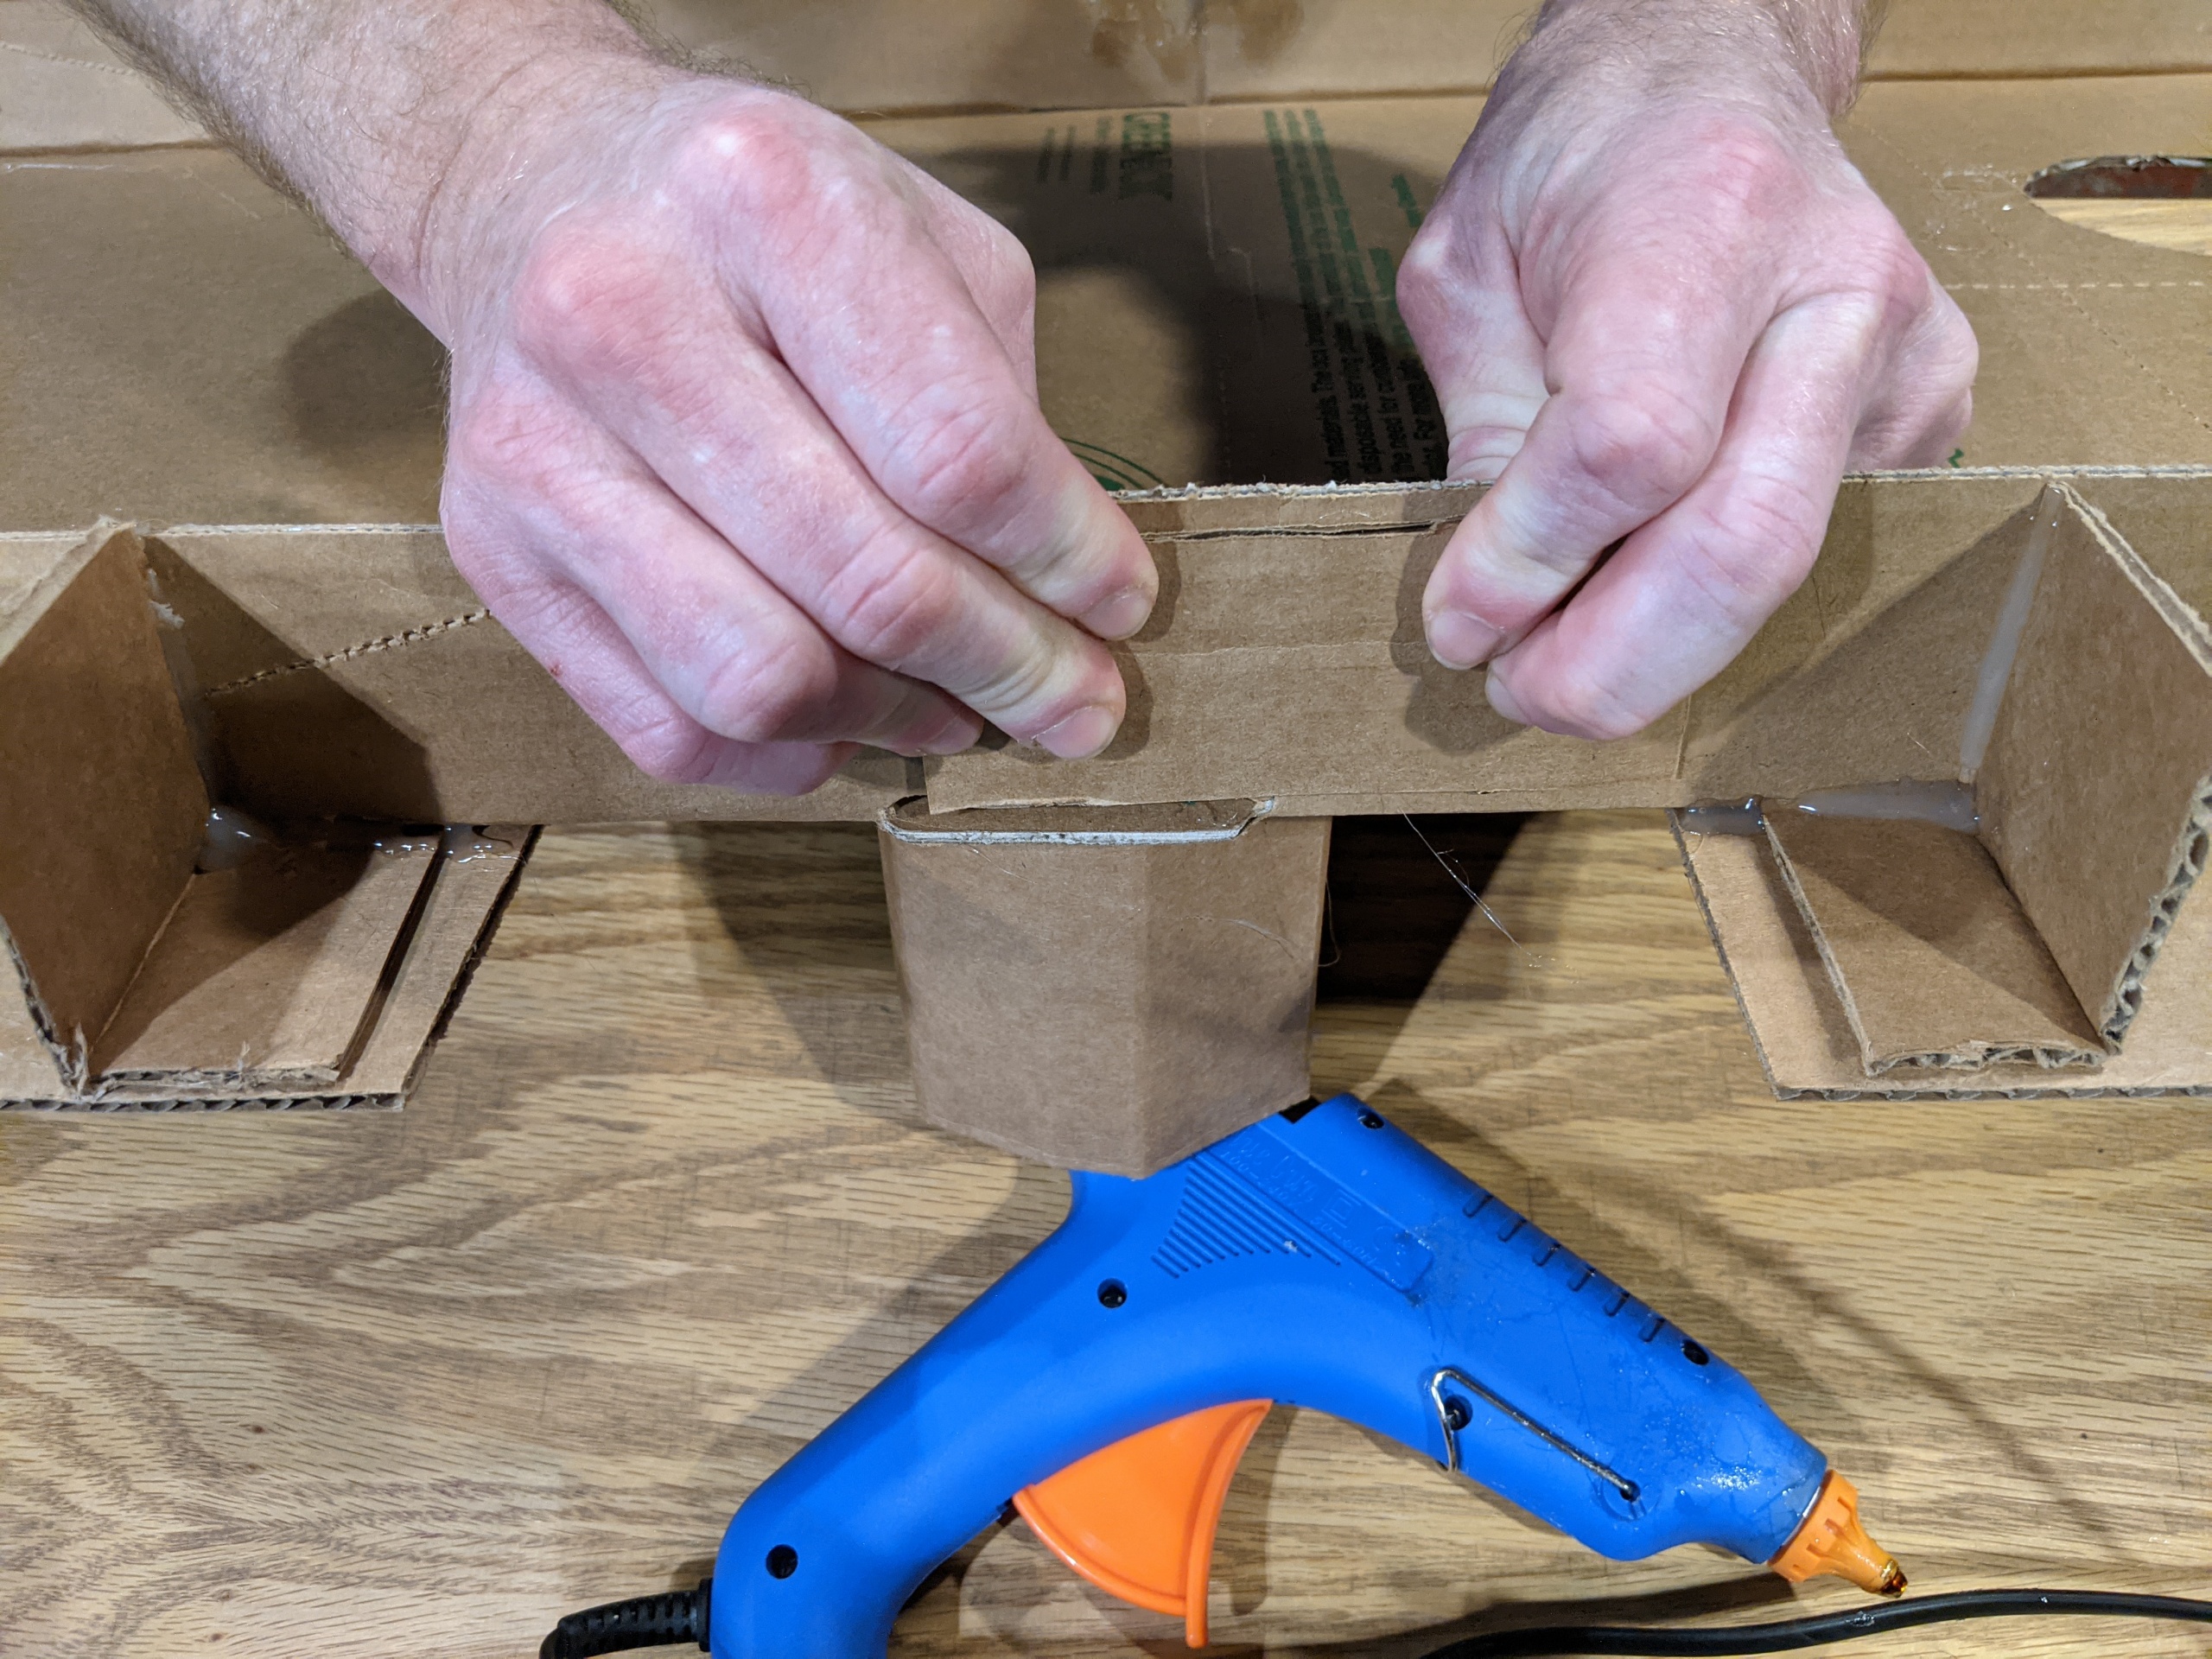
Choose butt joints or lap Joints
Butt Joints will be joined from the underside. They have the advantage of allowing the ball to roll either way over the joint.

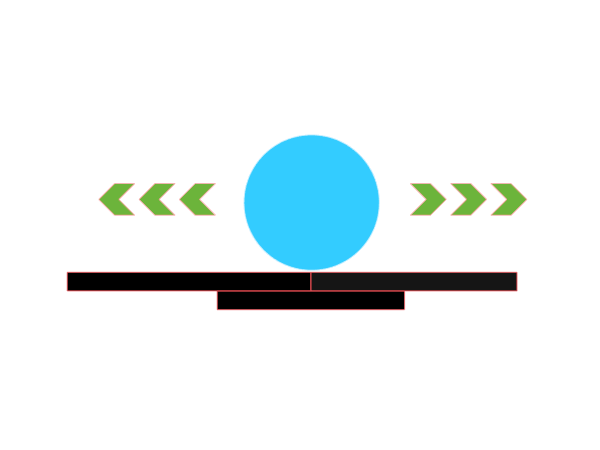
Lap joints don’t need the joiner piece but the ball doesn’t travel smoothly in both directions. Lap your joints in the direction the ball travels. Make the ball travel over the joint and not hit the joint.
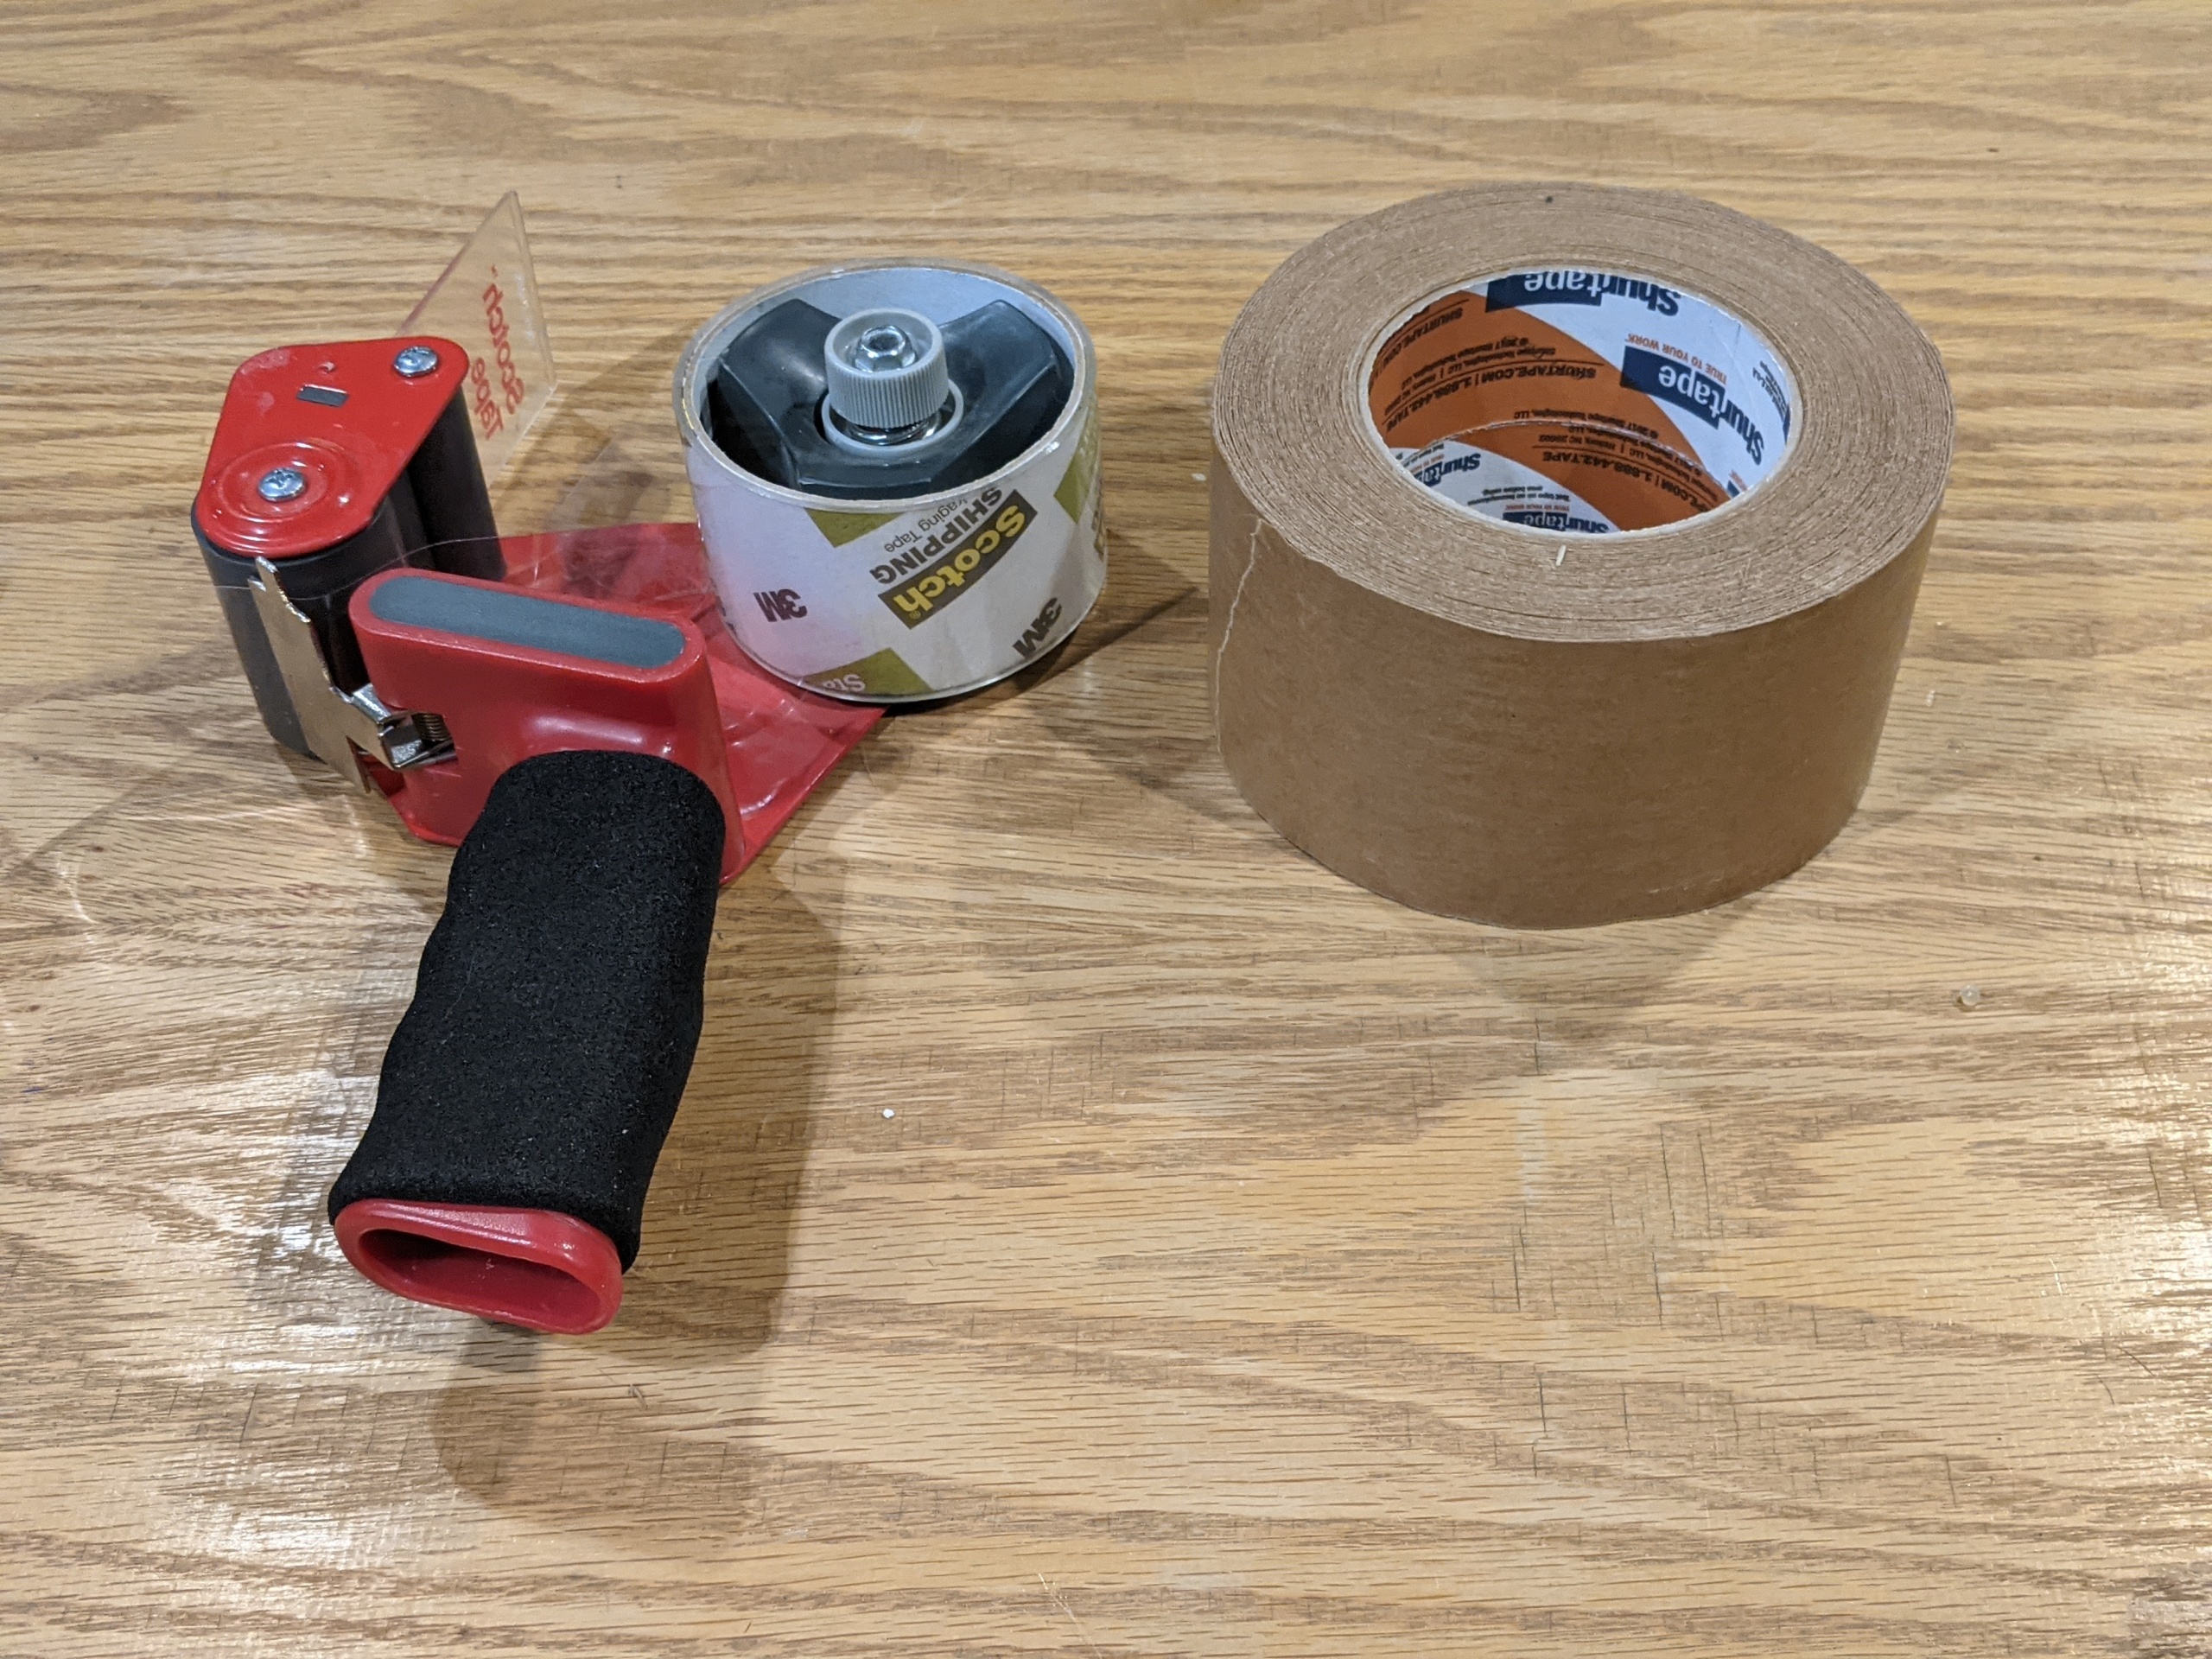
You can tape your joints but most tape is not paintable.
Connect your wall sections
Run your wires