
The Crickit is used to supply additional power to the motors and lights the Micro:bit controls.
The Micro:bit can handle a only small amount of power. It will burn out if you attempt to power more than a small motor or a few of LEDs. The Micro:bit controls the Crickit which supplies the power. Think of the Micro:bit as the brains and the Crickit as the muscle.
Connecting Crickit and Micro:bit
Start by connecting the Crickit and Micro:bit.
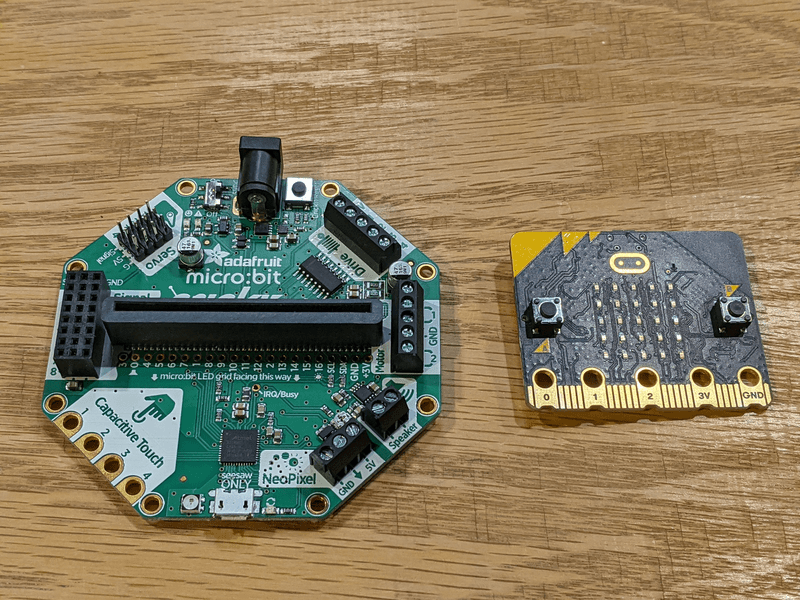
Insert the Micro:bit into the slot in the center of the Crickit.
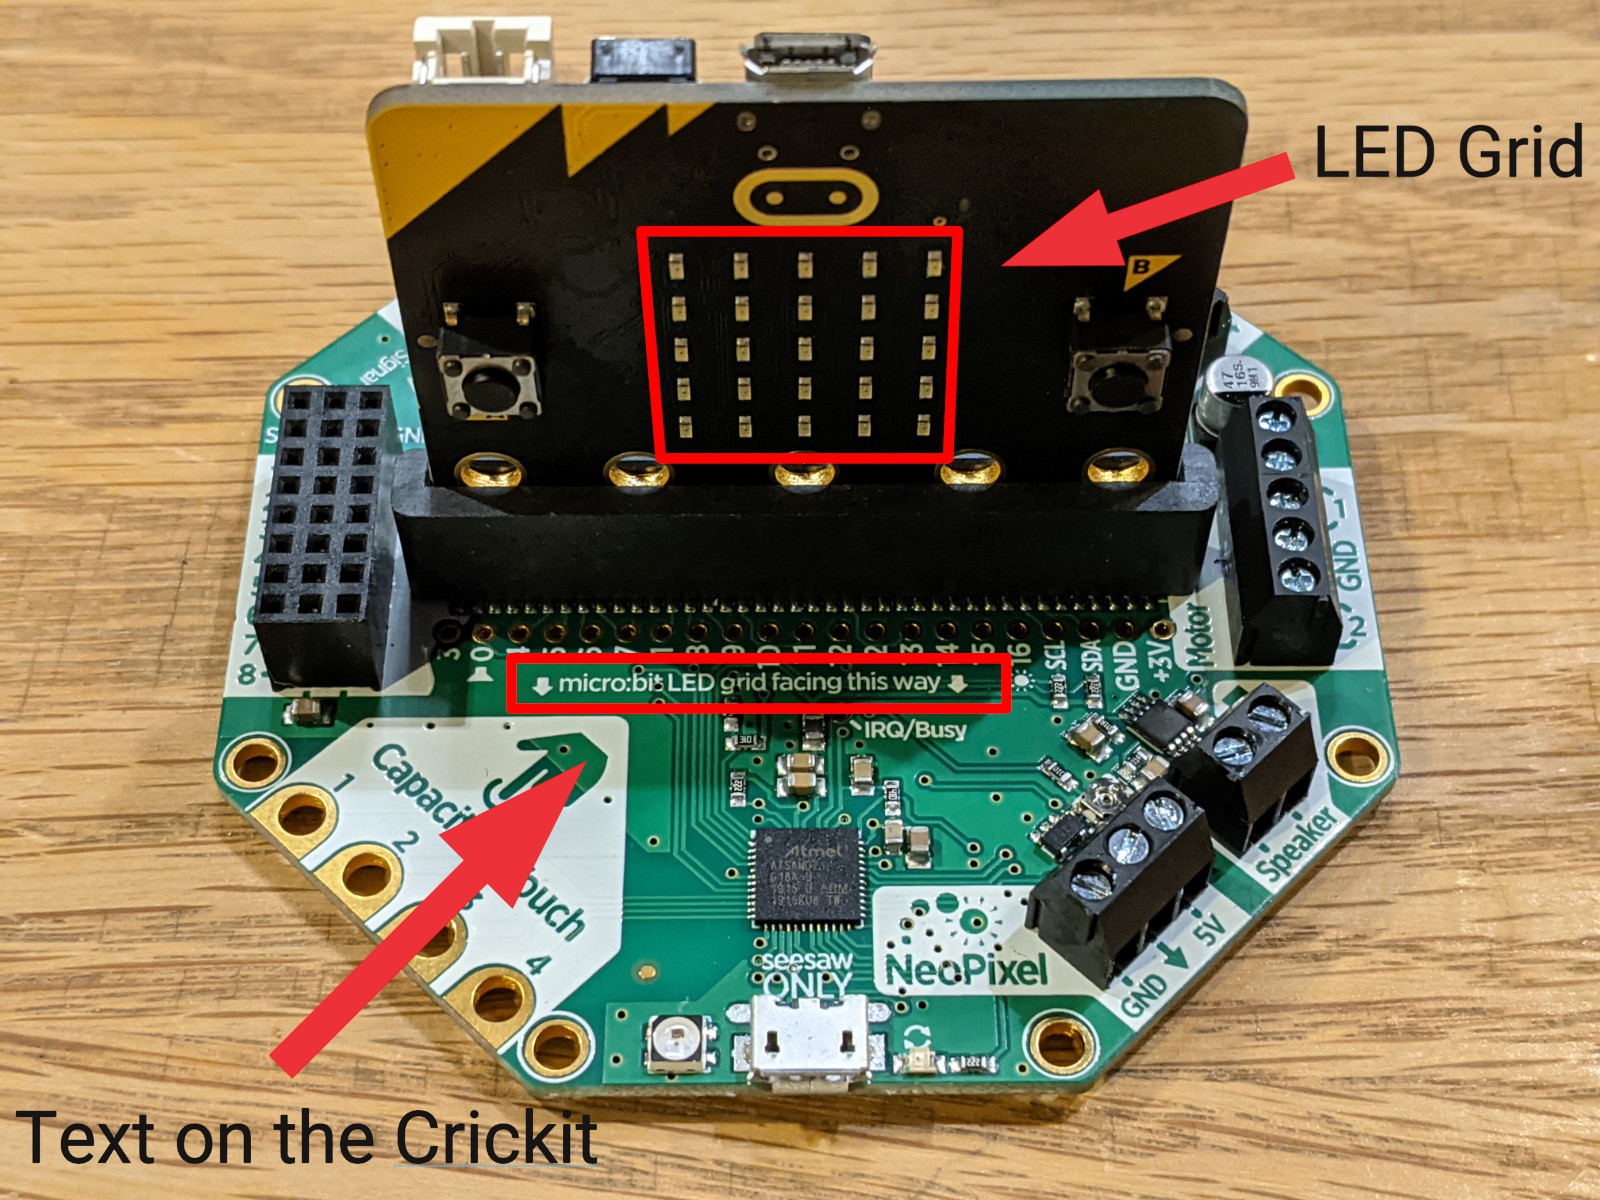
Make sure the LEDs on the Micro:bit are facing the text on the Crickit that says: “Micro:bit LED grid facing this way” – as noted in the picture. The LEDs are in a 5 x 5 grid that is visible on one side of the Micro:bit.
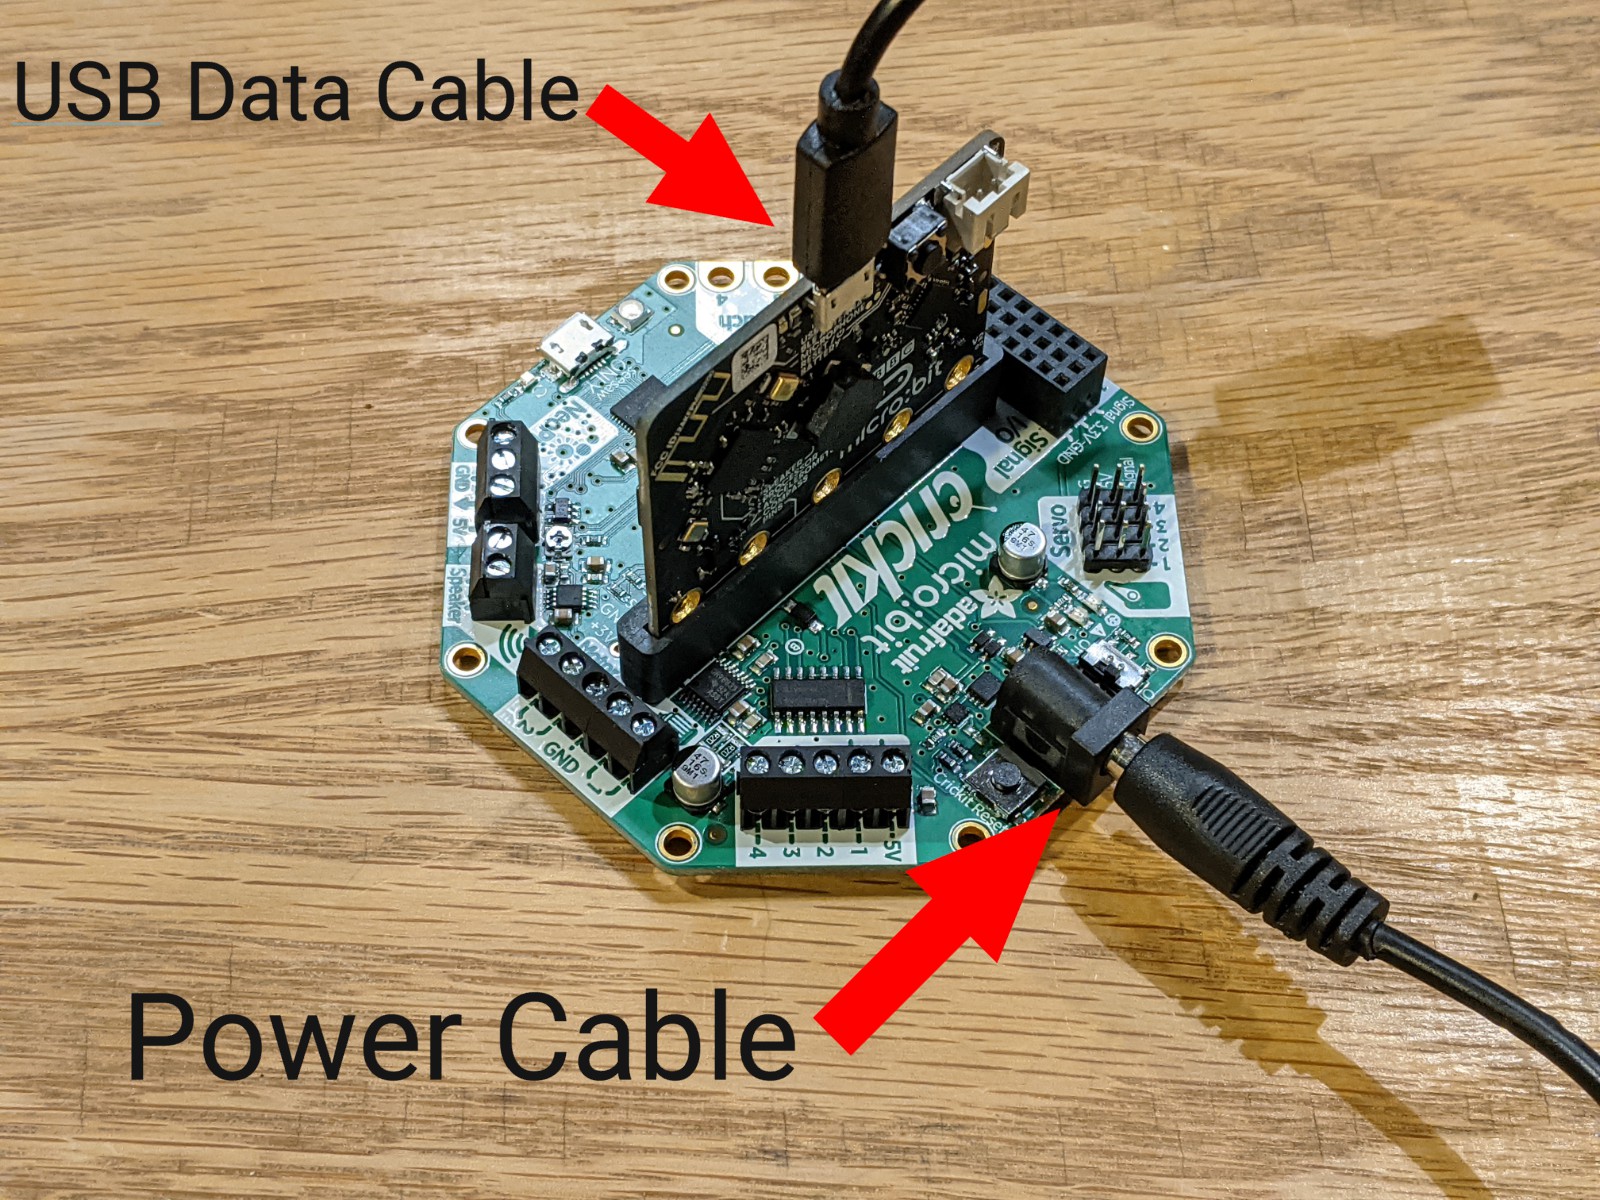
Connect the power adapter to the Crickit and plug the power adapter into an outlet and Connect the Micro:bit to your Chromebook, laptop, or computer with the USB data cable.
If all goes correctly the LED next to the USB jack on the Micro:bit will flash once to indicate it has power, pause 1 second and then flash 3+ times to indicate data is passing.
Load the Crickit Extension
To use the Crickit with the Micro:bit you need to load the Crickit extension into the Micro:bit Makecode editor.
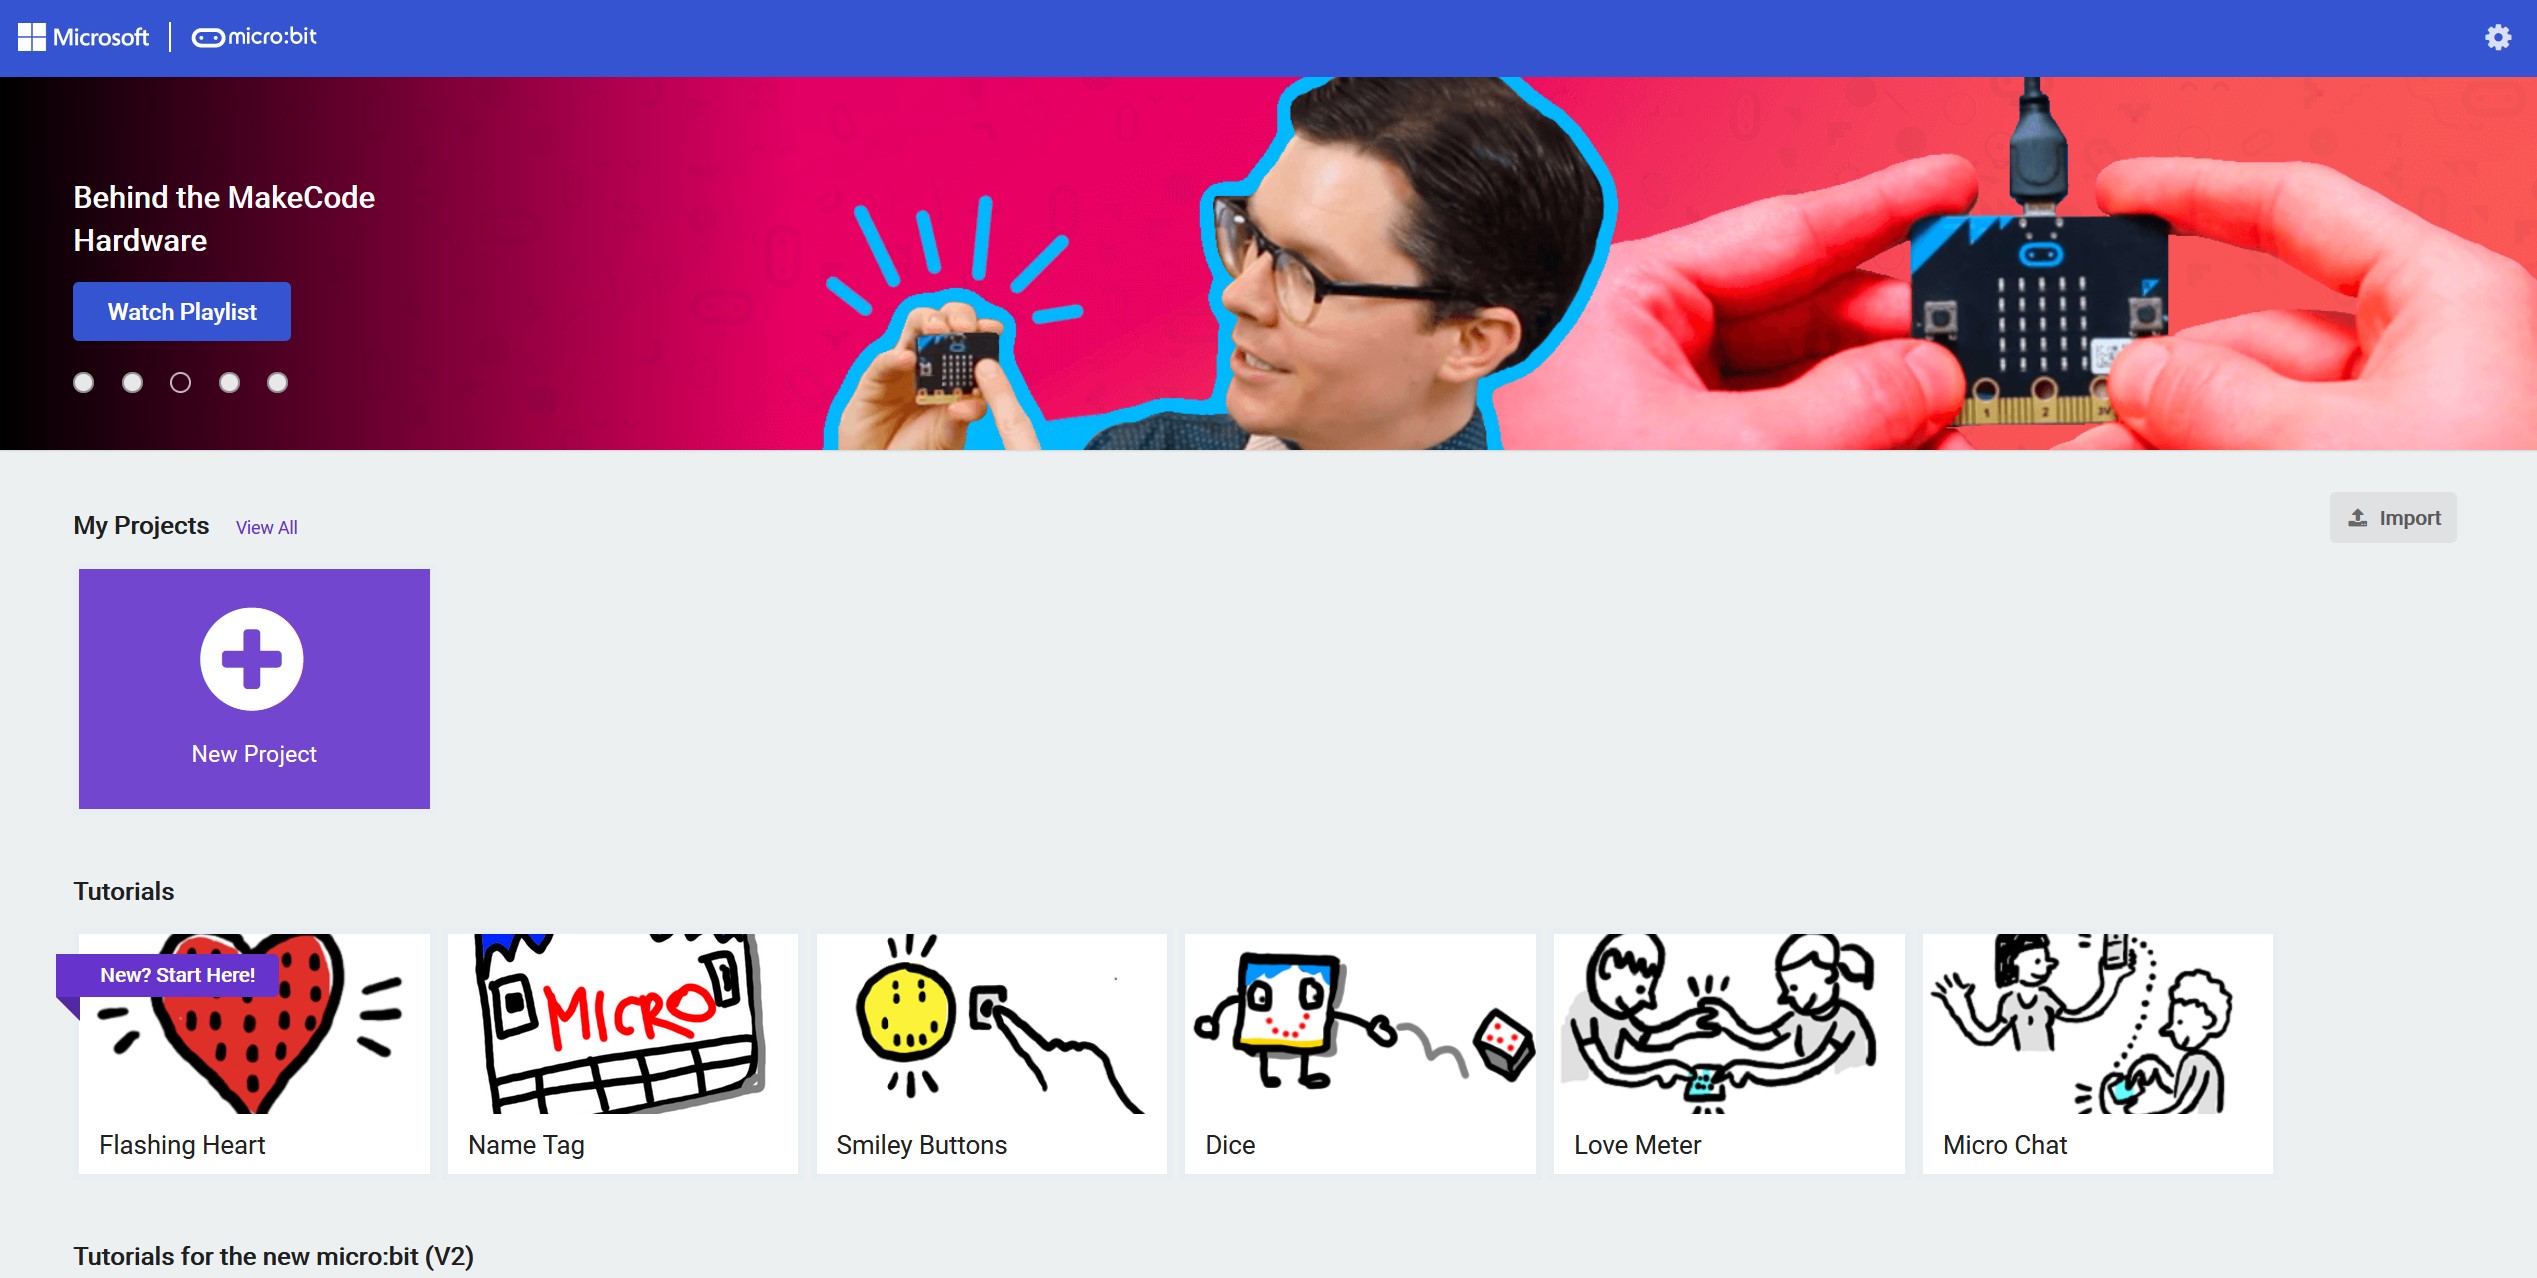
Start by opening the MakeCode editor
for Micro:Bit: https://makecode.microbit.org
for Circuit Playground: https://makecode.adafruit.com/
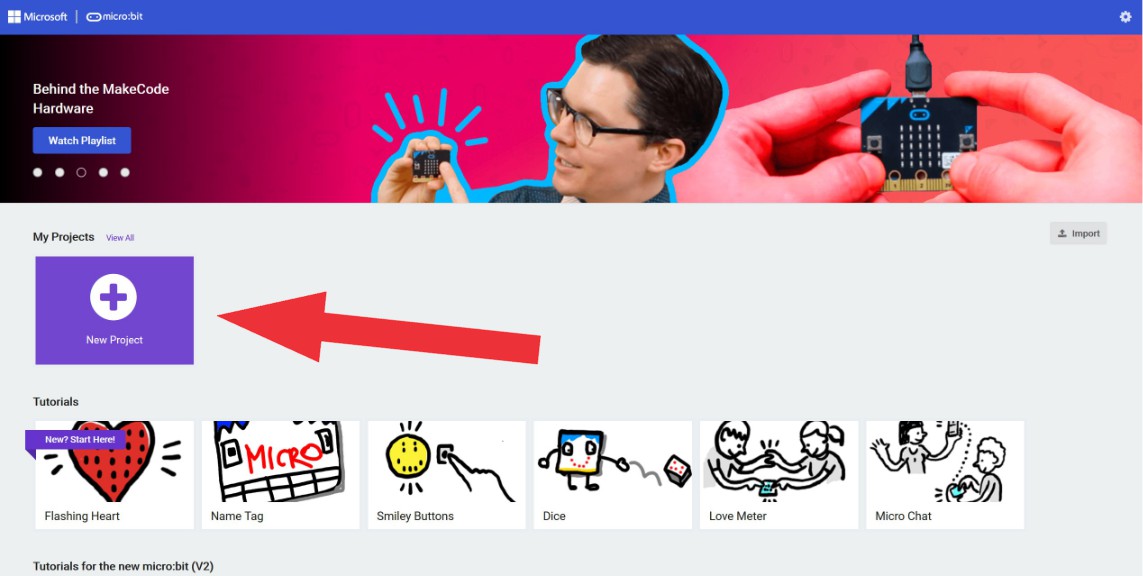
Start a “New Project”
Name the project whatever you want and click “create”
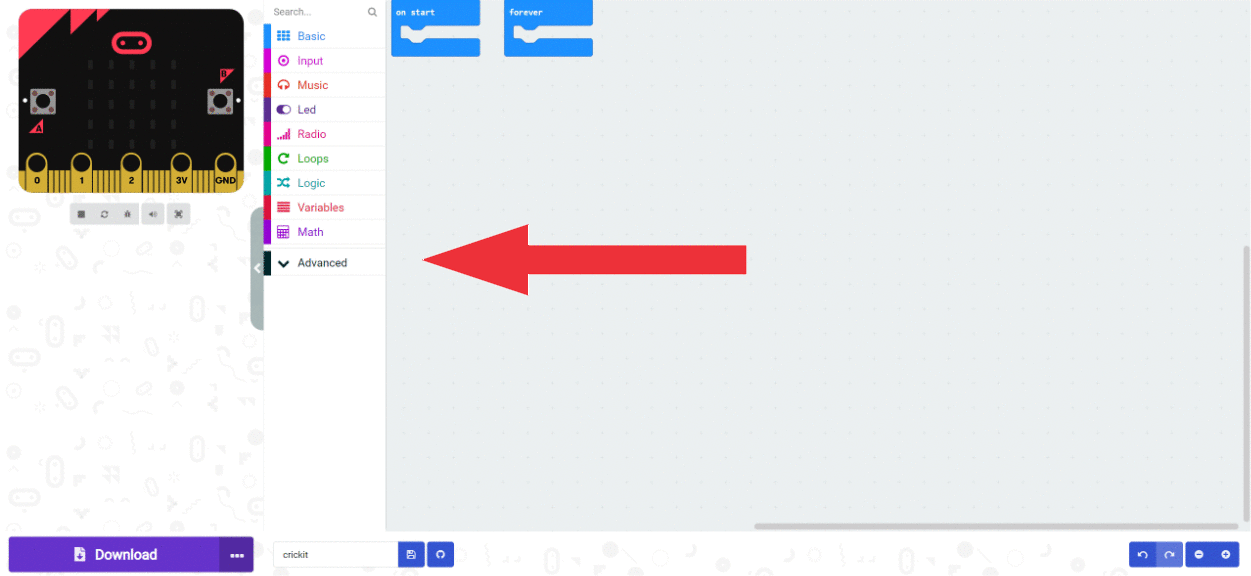
Click on advanced —> extensions
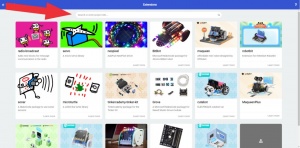
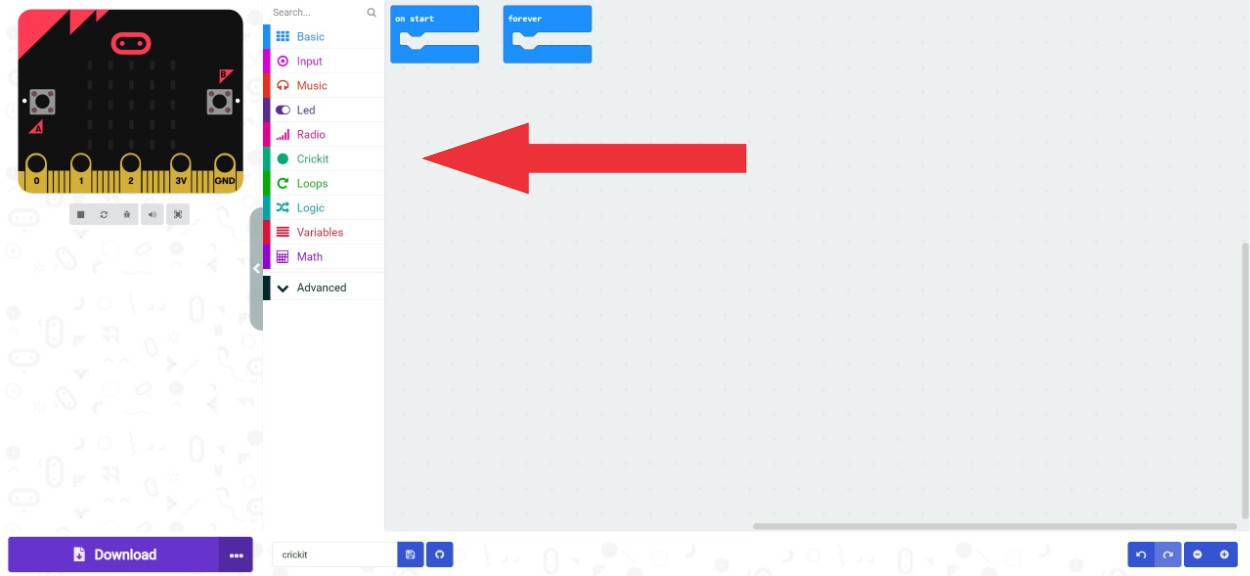
Type “crickit” into the search box at the top of the extensions page.
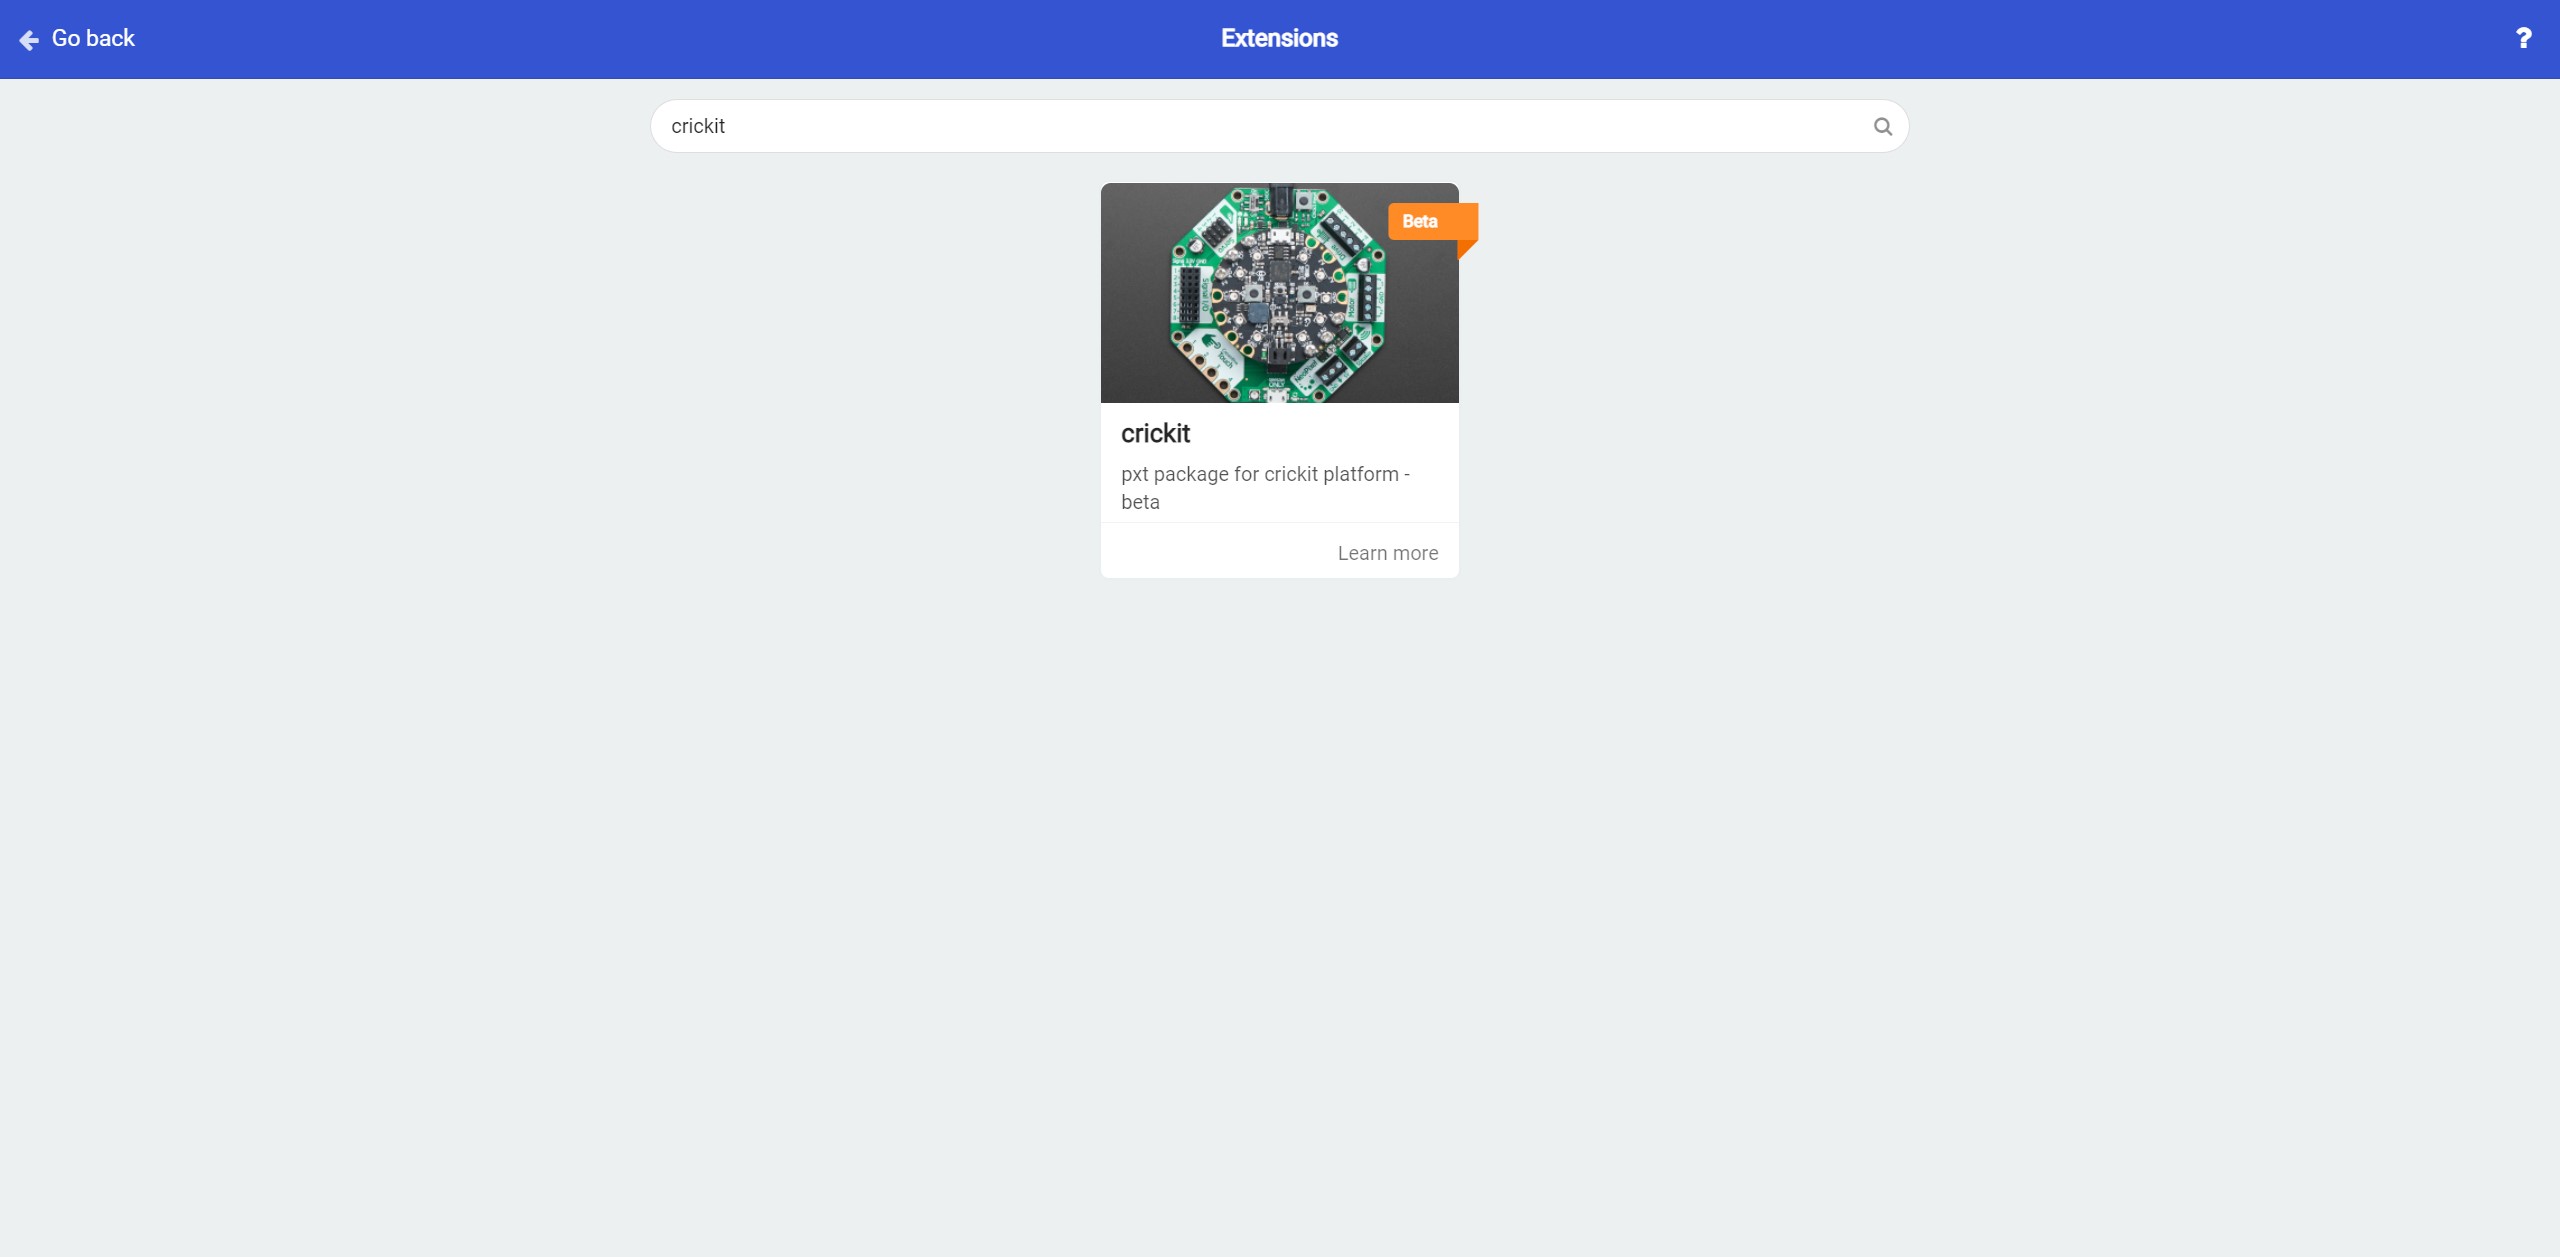
Click on the Crickit extension to add it.
Note: if the Crickit extension is not visible: Cut and paste this url to the same search box at the top of the extensions page: https://github.com/adafruit/pxt-crickit
You should now have a green tab for Crickit in your main Micro:bit programming window.
This video is a quick run through of connecting the Crickit to the Micro:bit and loading the Crickit extension.